


Getting started with WhatsApp
Prerequisites:
The MailerSend WhatsApp add-on is available for paid plans, so you’ll need a Hobby, Starter or Professional plan.
A dedicated phone number not used on WhatsApp or another provider (You can also get a phone number from Meta)
A Meta Business Account
How to get started with WhatsApp
Step 1: Purchase the MailerSend WhatsApp add-on
a) From the left-hand navigation menu, click WhatsApp, select Get started, and then click Get add-on.
b) The add-on modal will appear, choose how many messages per month you'd like, and then click Continue to checkout.
Alternatively, you can go to Plan & billing > Add-ons and purchase the add-on from there.
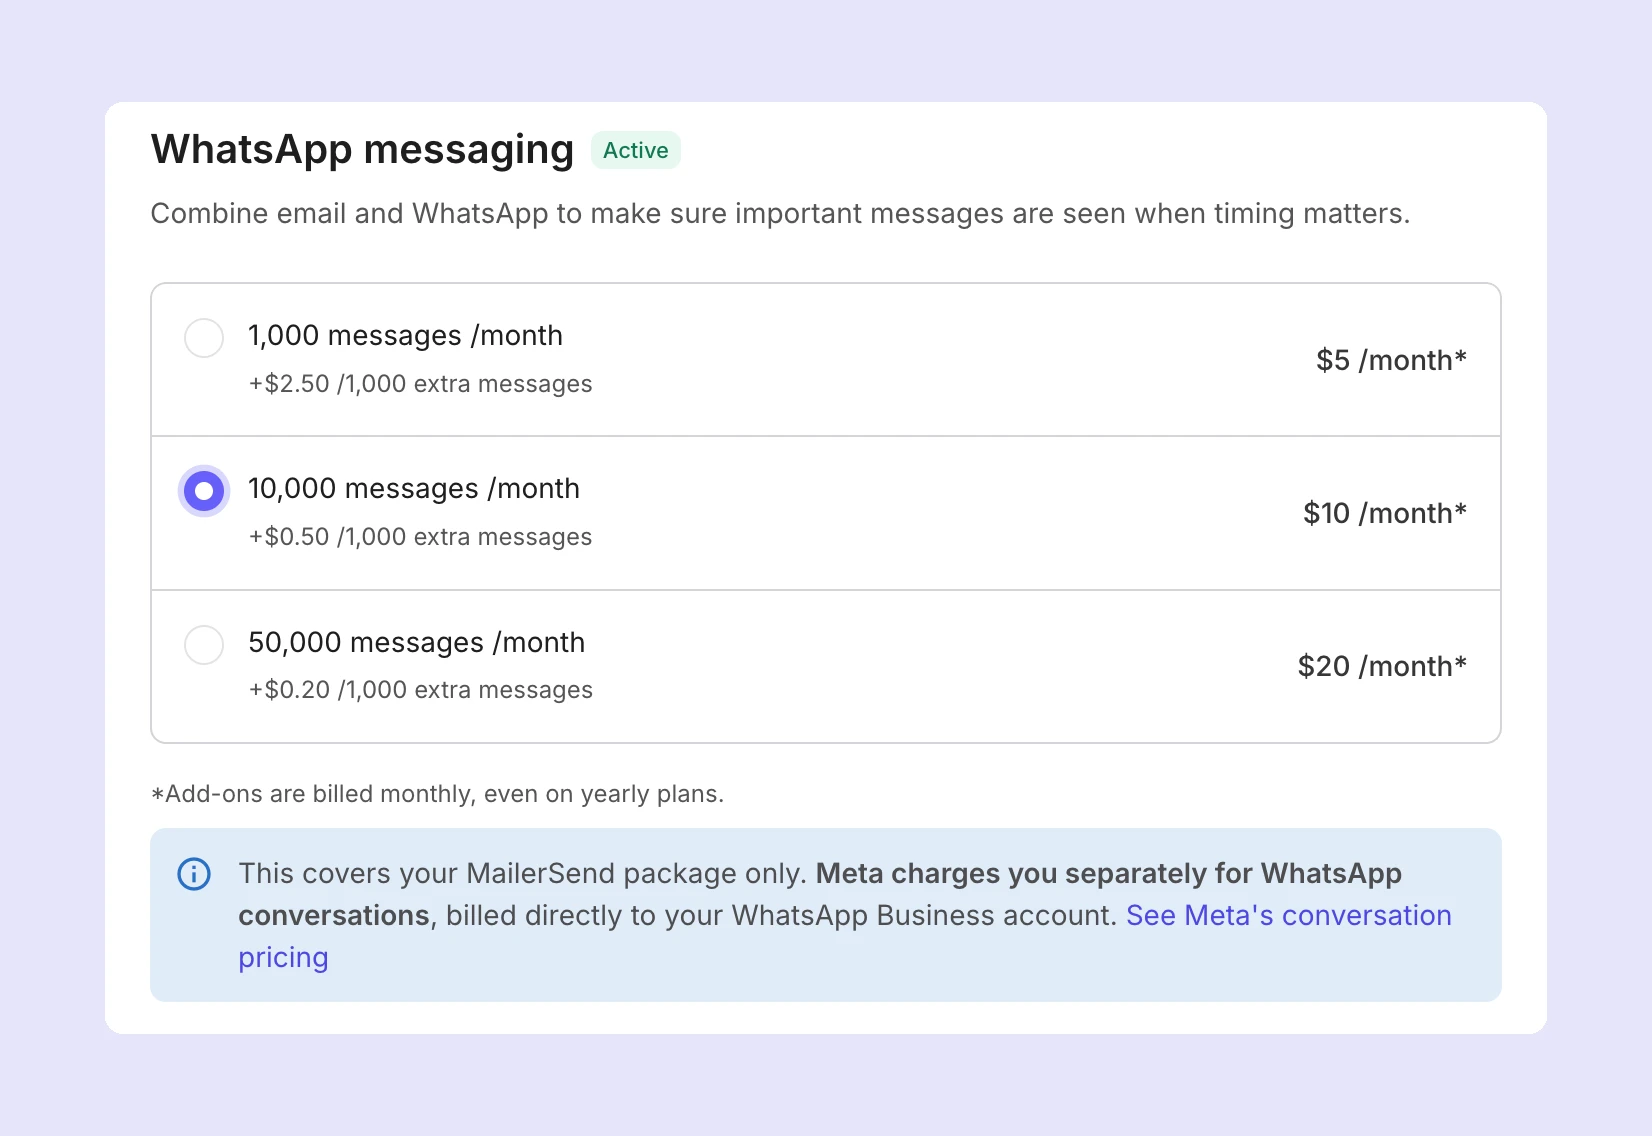
c) On the Checkout page, enter or confirm your billing details and click Checkout. When your purchase is confirmed, you’ll be able to get started by connecting a phone number.
Step 2: Connect a phone number
a) Under WhatsApp in the left-hand navigation menu, click Connect. Then click Connect number to begin the setup with Meta.
Before beginning the connection process, you must have:
A dedicated phone number (you can also create one in Meta during setup)
Meta Business Manager access to a business account that is verified (you can connect to a non-verified account, but verification will need to be done later to avoid restrictions and to increase message limits. This takes a couple of days to be verified by Meta)
Your business details on hand
b) After clicking Connect number to begin the Meta connection process, first make sure you are signed in with the correct Facebook account and click Continue as [Account Name].
c) At the next step, “Chat with WhatsApp users”, click Get started. You’ll then be prompted to link your Meta account with MailerSend and allow the necessary permissions. To do this, click Continue.
d) Create or select your Meta Business account and click Next.
e) Then create or select your WhatsApp Business account and profile. Click Next.
f) On the next step, select Add a new or existing number, then click Next.
g) Add the phone number you want to use and choose the verification method. Click Next.
h) When the account is connected, you’ll receive a confirmation message. You can go ahead and click Finish. Your phone number will now be visible under WhatsApp > Phone numbers in MailerSend.
How to check your WhatsApp usage
When the WhatsApp add-on is purchased, the corresponding monthly message allowance will be applied to your plan: 50,000, 10,000, or 1,000 messages/month.
If you exceed this allowance within a billing period, overusage costs will apply:
50,000: $0.20/1,000 messages
10,000: $0.50/1,000 messages
1,000: $2.50/1,000 messages
You can check your current usage in two ways:
1. From the usage monitor in the left-hand panel on any page in the app.
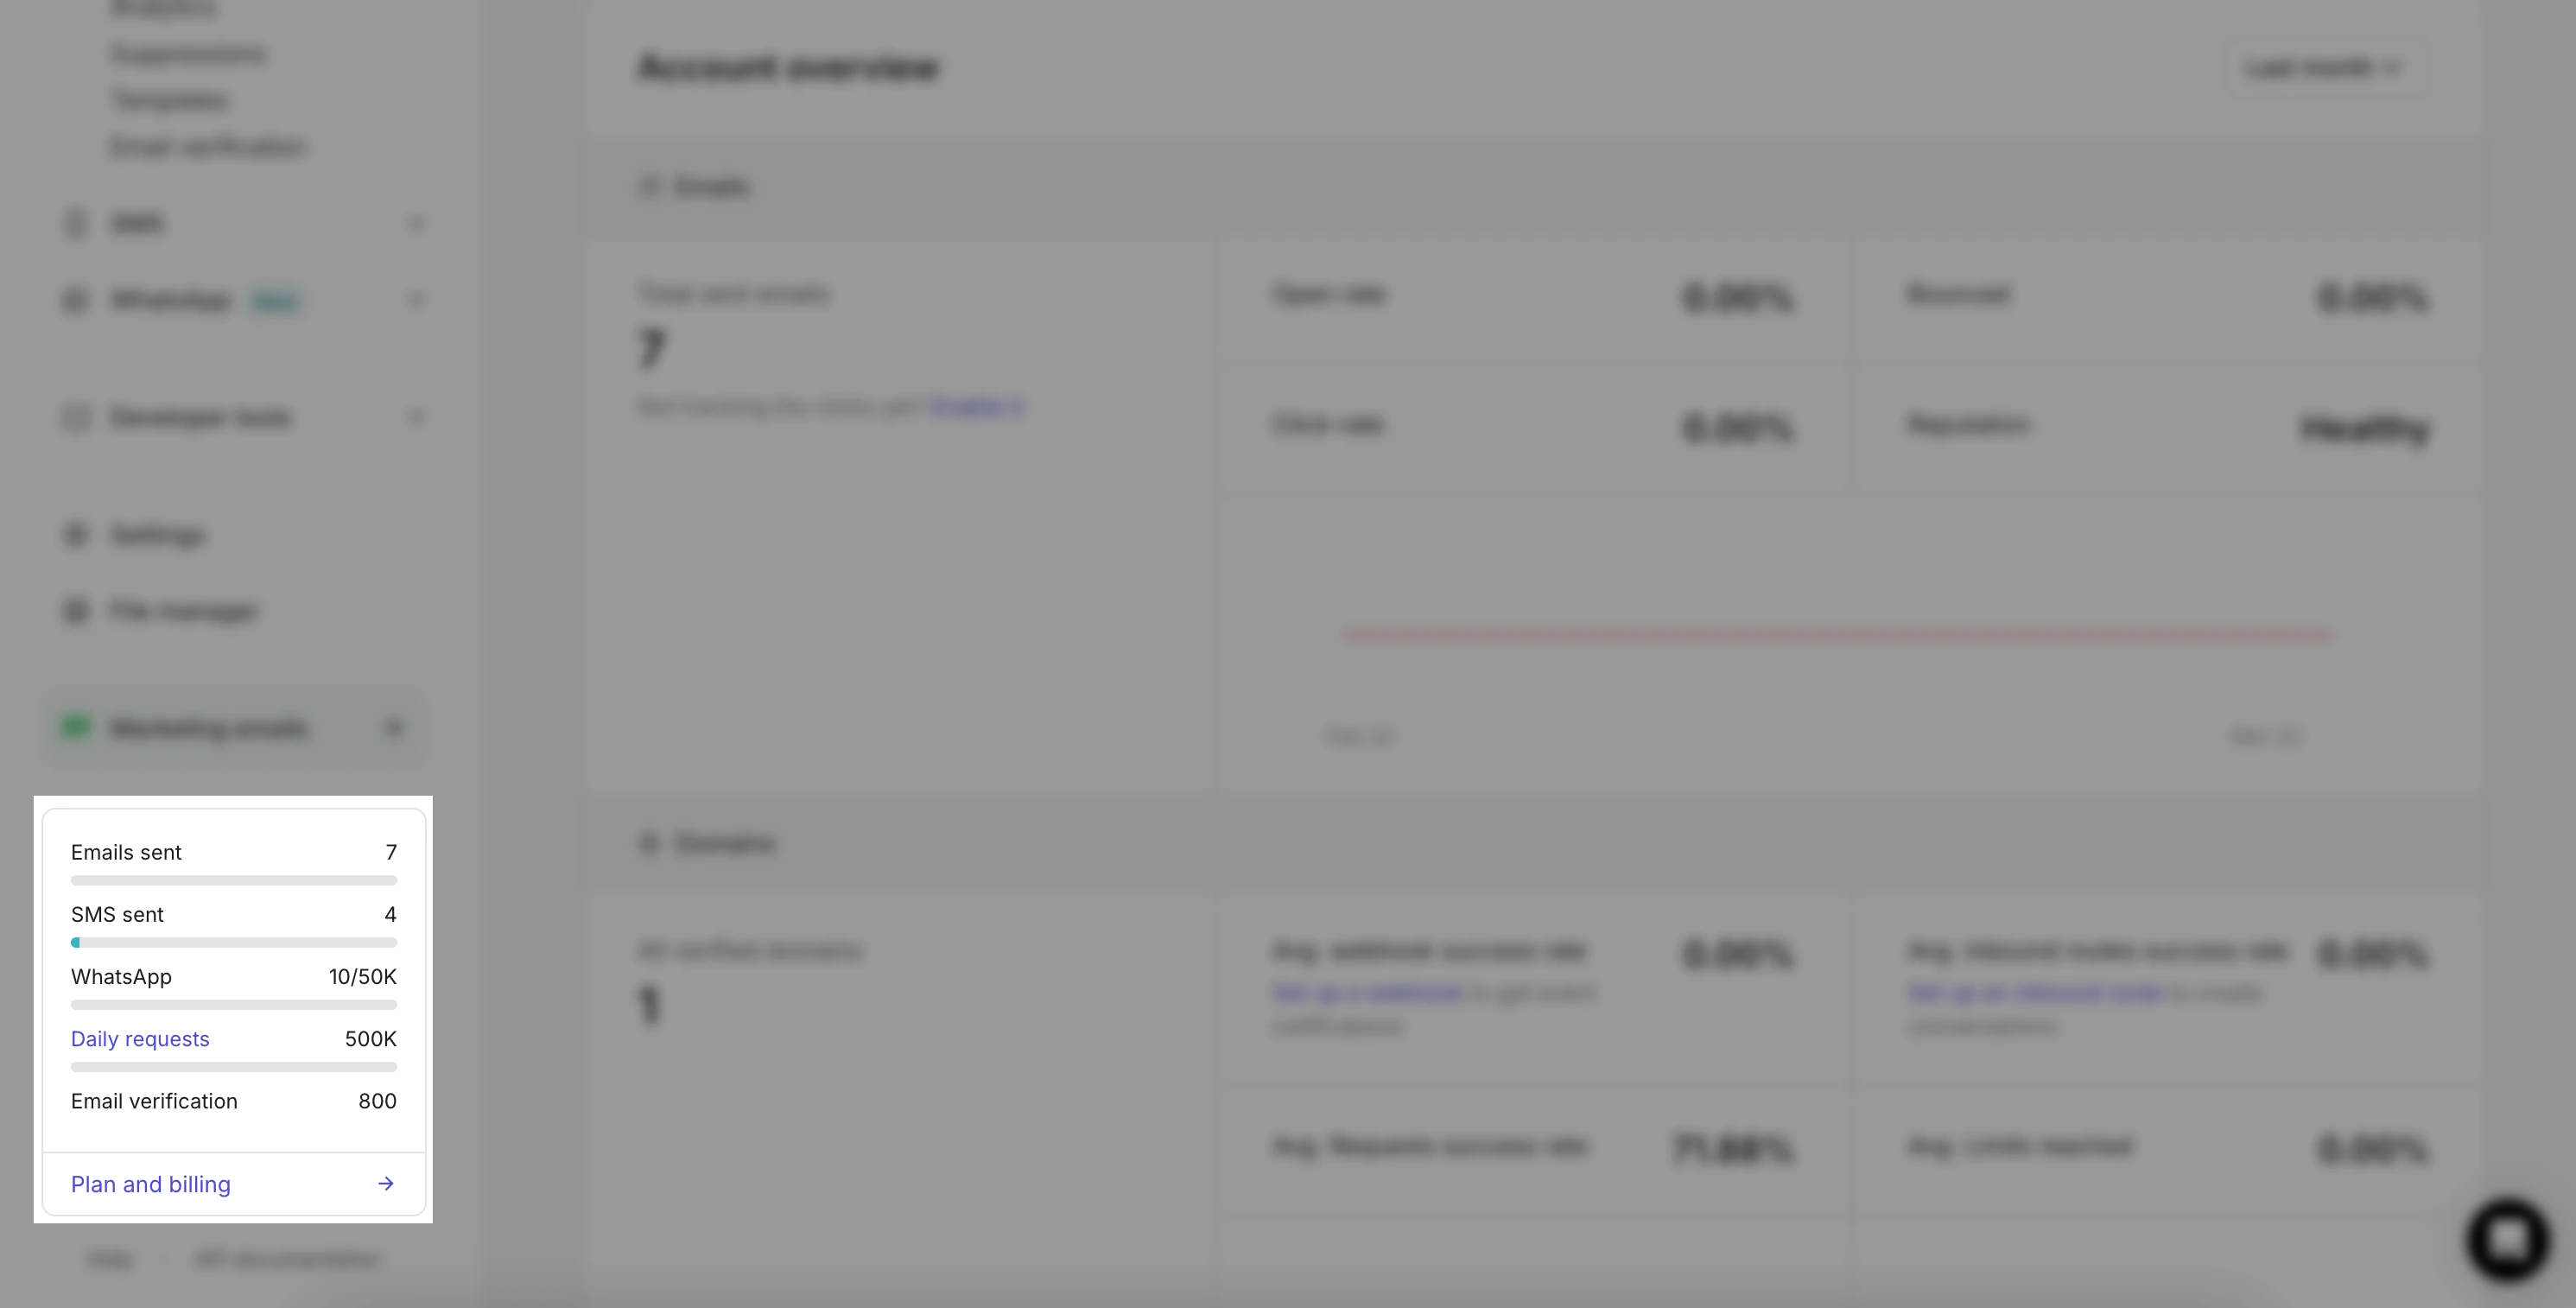
2. By going to Plan & billing and scrolling down to the WhatsApp section in the Your plan tab.
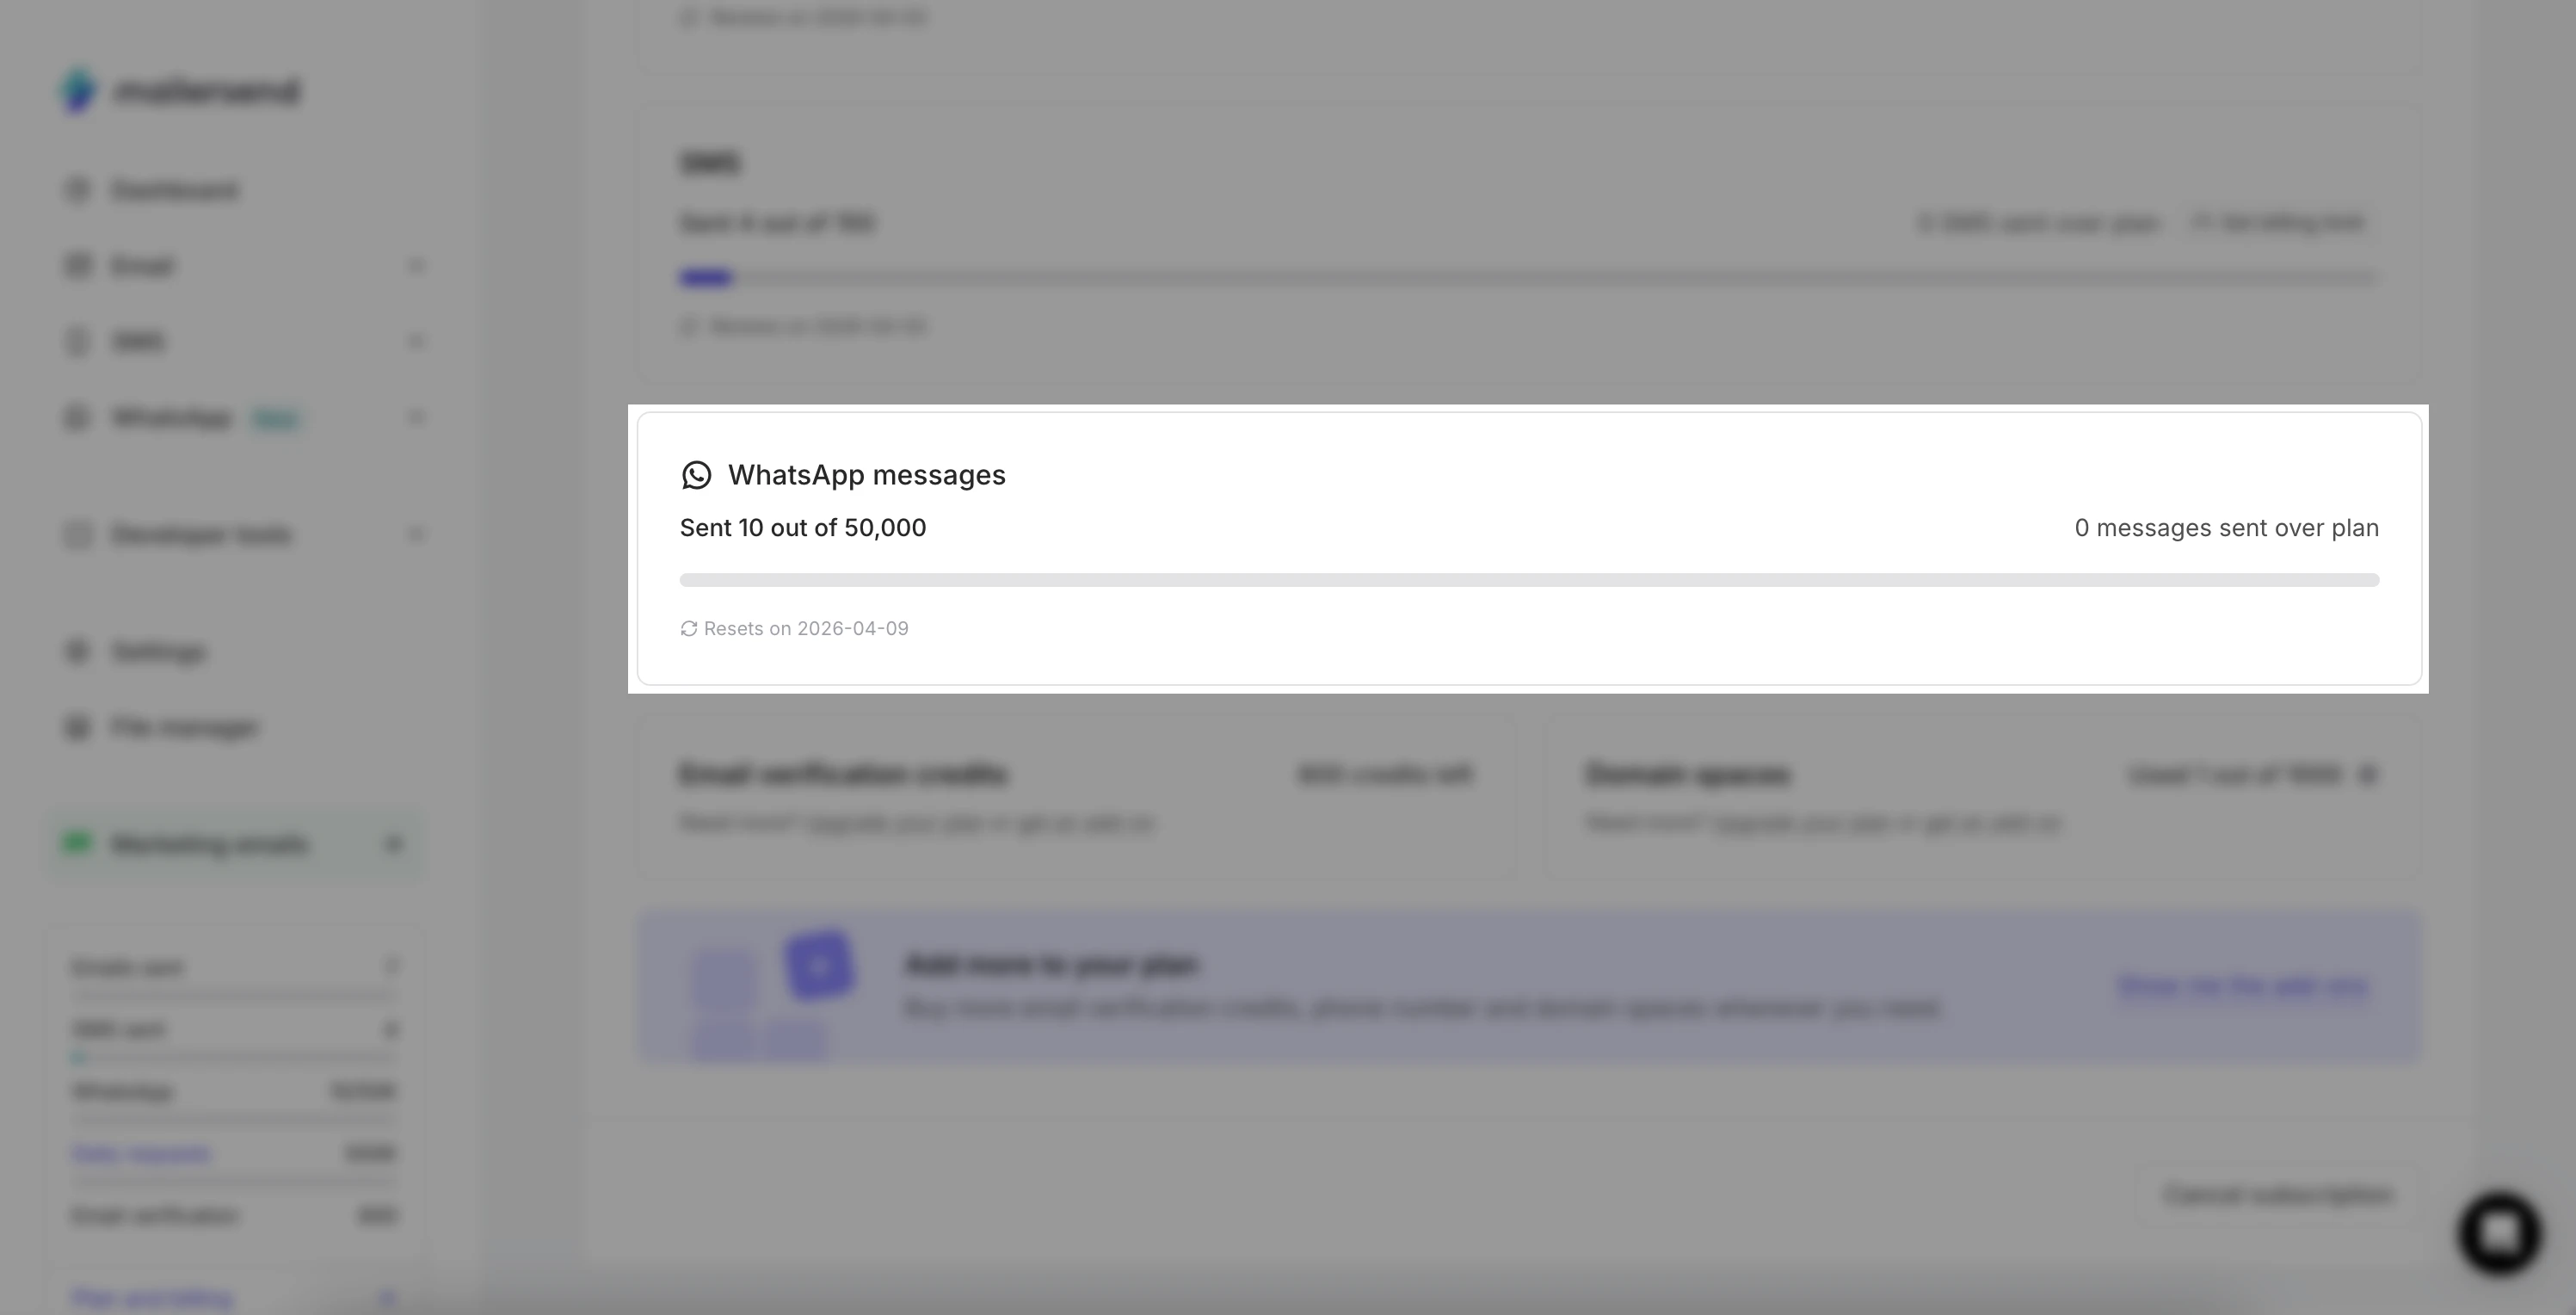
Need more info?
Feel free to reach out to support@mailersend.com. A member of our support team will gladly assist you.