How to manage multiple users in your account
Share the load by collaborating with colleagues on your transactional emails. Hobby and Starter accounts can add up to 5 users to one MailerSend account, and Professional accounts have unlimited user seats, so multiple team members can have access and provide input.
How to add another user to your account
To add another user to your account:
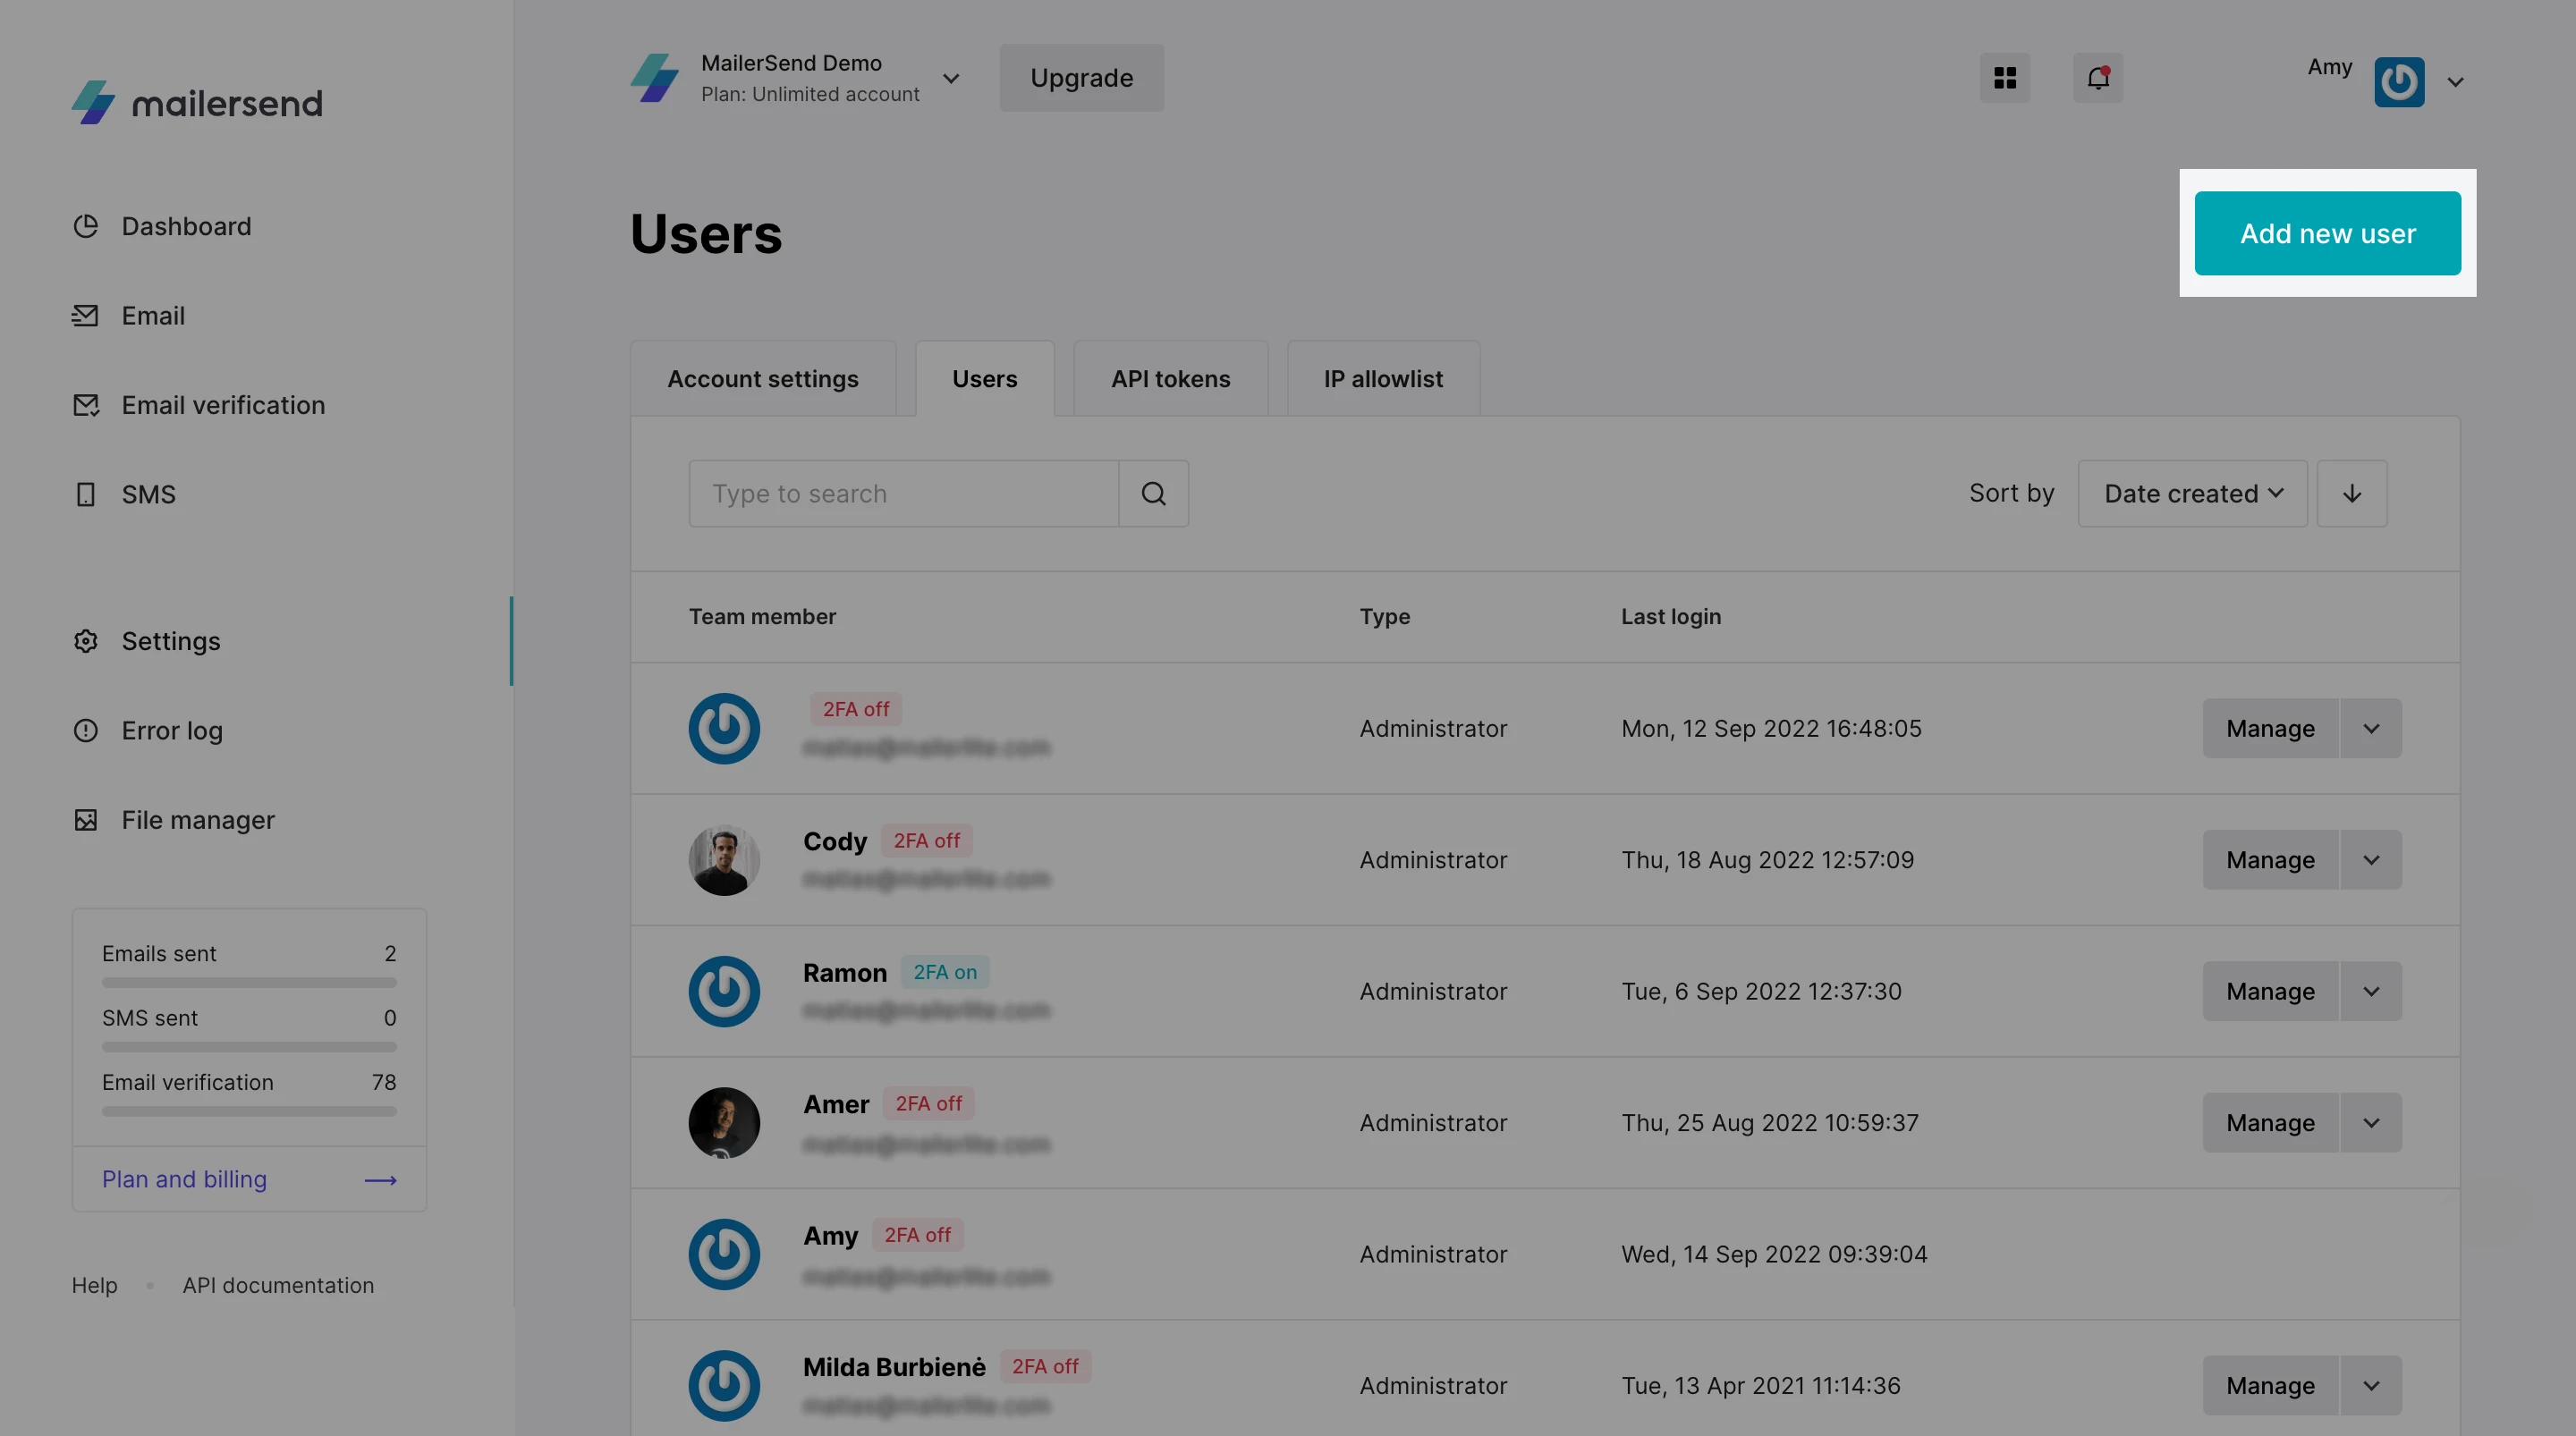
1. Use the left-hand navigation menu to go to the Settings page.

2. Select the Users tab and then click Add new user.
3. In the Email address field, enter the email address of the user you wish to add. An invitation email with instructions will be sent to the address you enter here.
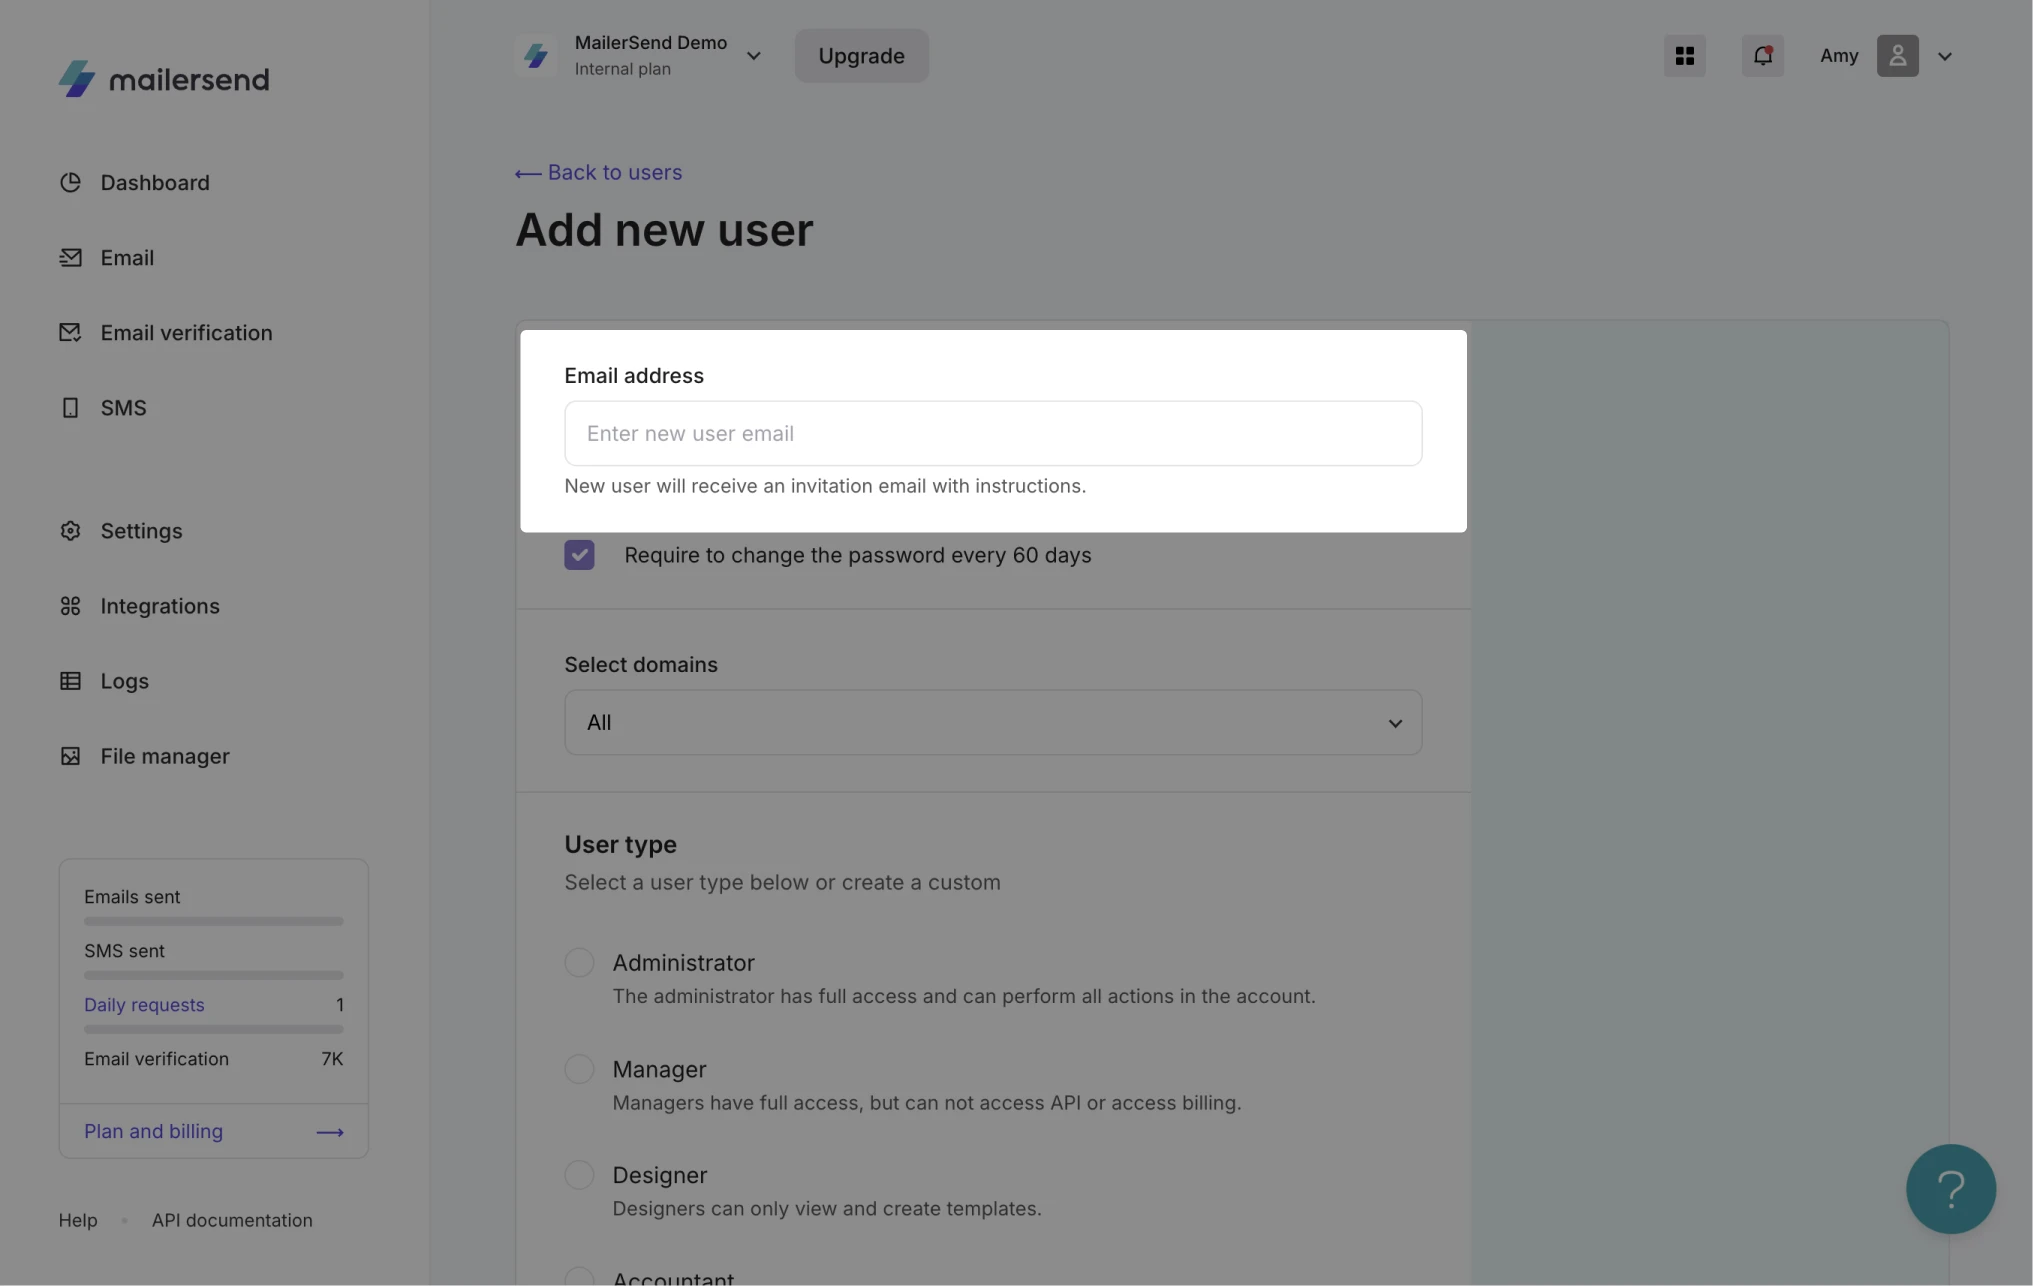
4. Select the User type for your user.
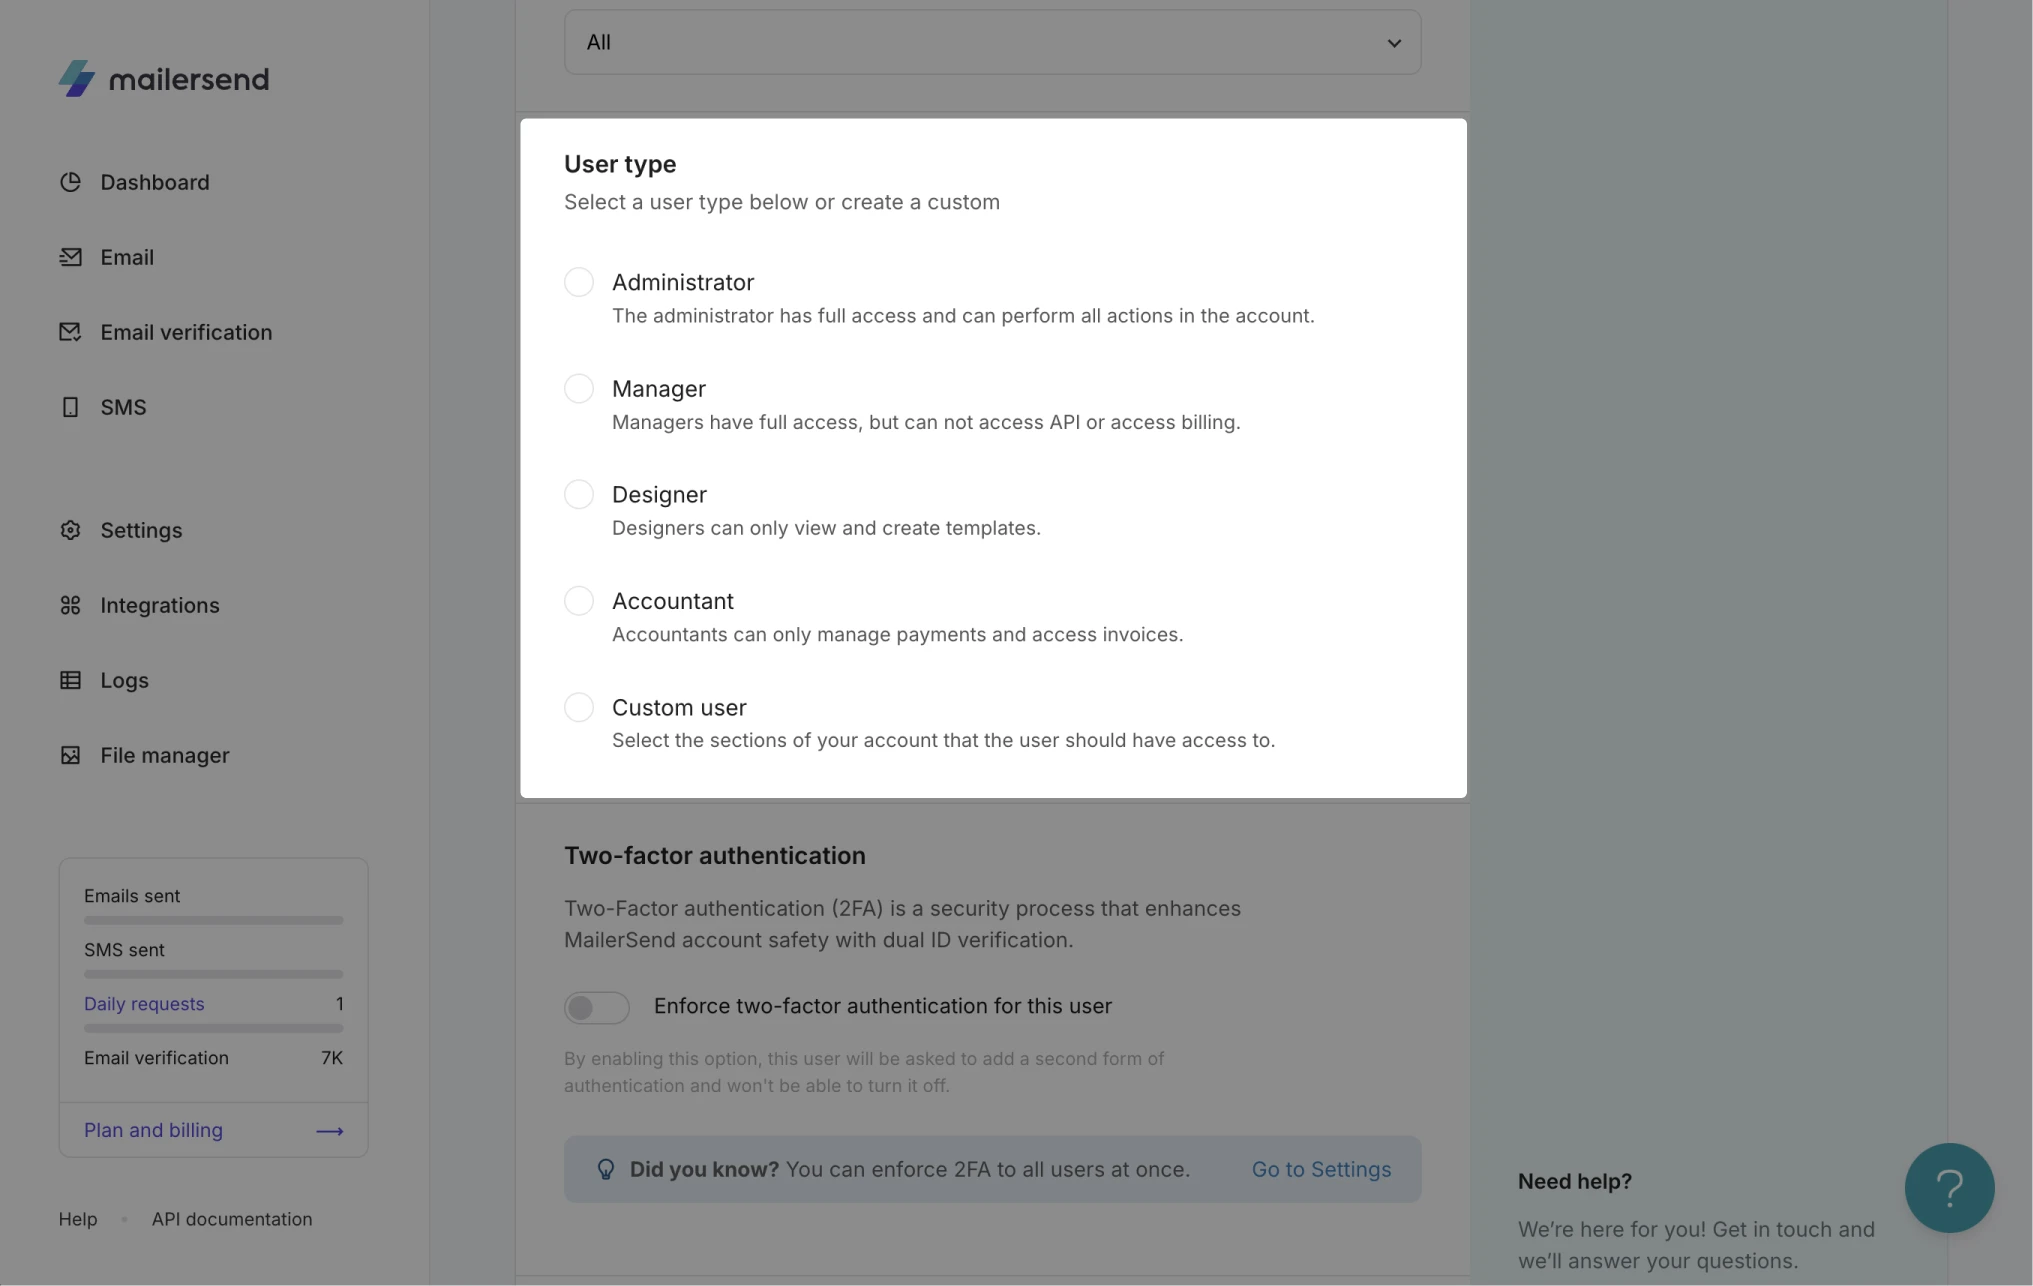
The User type determines the level of access each user has to the account. There are 5 user types to choose from:
Administrator: Administrators have full access and can perform all actions in the account
Manager: Managers have full access, but can not access API or access billing
Designer: Designers can only create and view templates
Accountant: Accountants can only manage payments and access invoices
Custom user: When you select Custom user, you can pick and choose which actions this user has access to across all areas including domains, templates, billing, activity, analytics and more
| Accountant | Administrator | Designer | Manager | Custom | |
|---|---|---|---|---|---|
| Plan and Billing | |||||
| View billing | Configurable | ||||
| Manage plan | Configurable | ||||
| View invoices | Configurable | ||||
| Accounts | |||||
| Manage account | Configurable | ||||
| View suppressions | Configurable | ||||
| Manage suppressions | Configurable | ||||
| View error log | Configurable | ||||
| View IP addresses | Configurable | ||||
| Manage IP addresses | Configurable | ||||
| User | |||||
| Manage user | Configurable | ||||
| View user | Configurable | ||||
| Domains | |||||
| View domains | Configurable | ||||
| View specific domains | Configurable | ||||
| Manage domains | Configurable | ||||
| Manage API tokens | Configurable | ||||
| View SMTP users | Configurable | ||||
| Manage SMTP users | Configurable | ||||
| Manage sendings | Configurable | ||||
| Manage tracking options | Configurable | ||||
| Manage webhooks | Configurable | ||||
| Manage inbound routes | Configurable | ||||
| Templates | |||||
| View all templates | Configurable | ||||
| View specific templates | Configurable | ||||
| Manage templates | Configurable | ||||
| View file manager | Configurable | ||||
| Activity | |||||
| View activity | Configurable | ||||
| View emails | Configurable | ||||
| Analytics | |||||
| View analytics | Configurable | ||||
| Recipient | |||||
| View recipients | Configurable | ||||
| SMS | |||||
| Manage verified recipients | Configurable | ||||
| Manage phone numbers | Configurable | ||||
| View SMS activity | Configurable | ||||
| View SMS webhooks | Configurable | ||||
| Manage SMS webhooks | Configurable | ||||
| View SMS inbound routes | Configurable | ||||
| Manage SMS inbound routes | Configurable | ||||
| Email Verification | |||||
| View email verification lists | Configurable | ||||
| Manage email verification lists | Configurable | ||||
| Sender identities | |||||
| View sender identities | Configurable | ||||
| Manage sender identities | Configurable | ||||
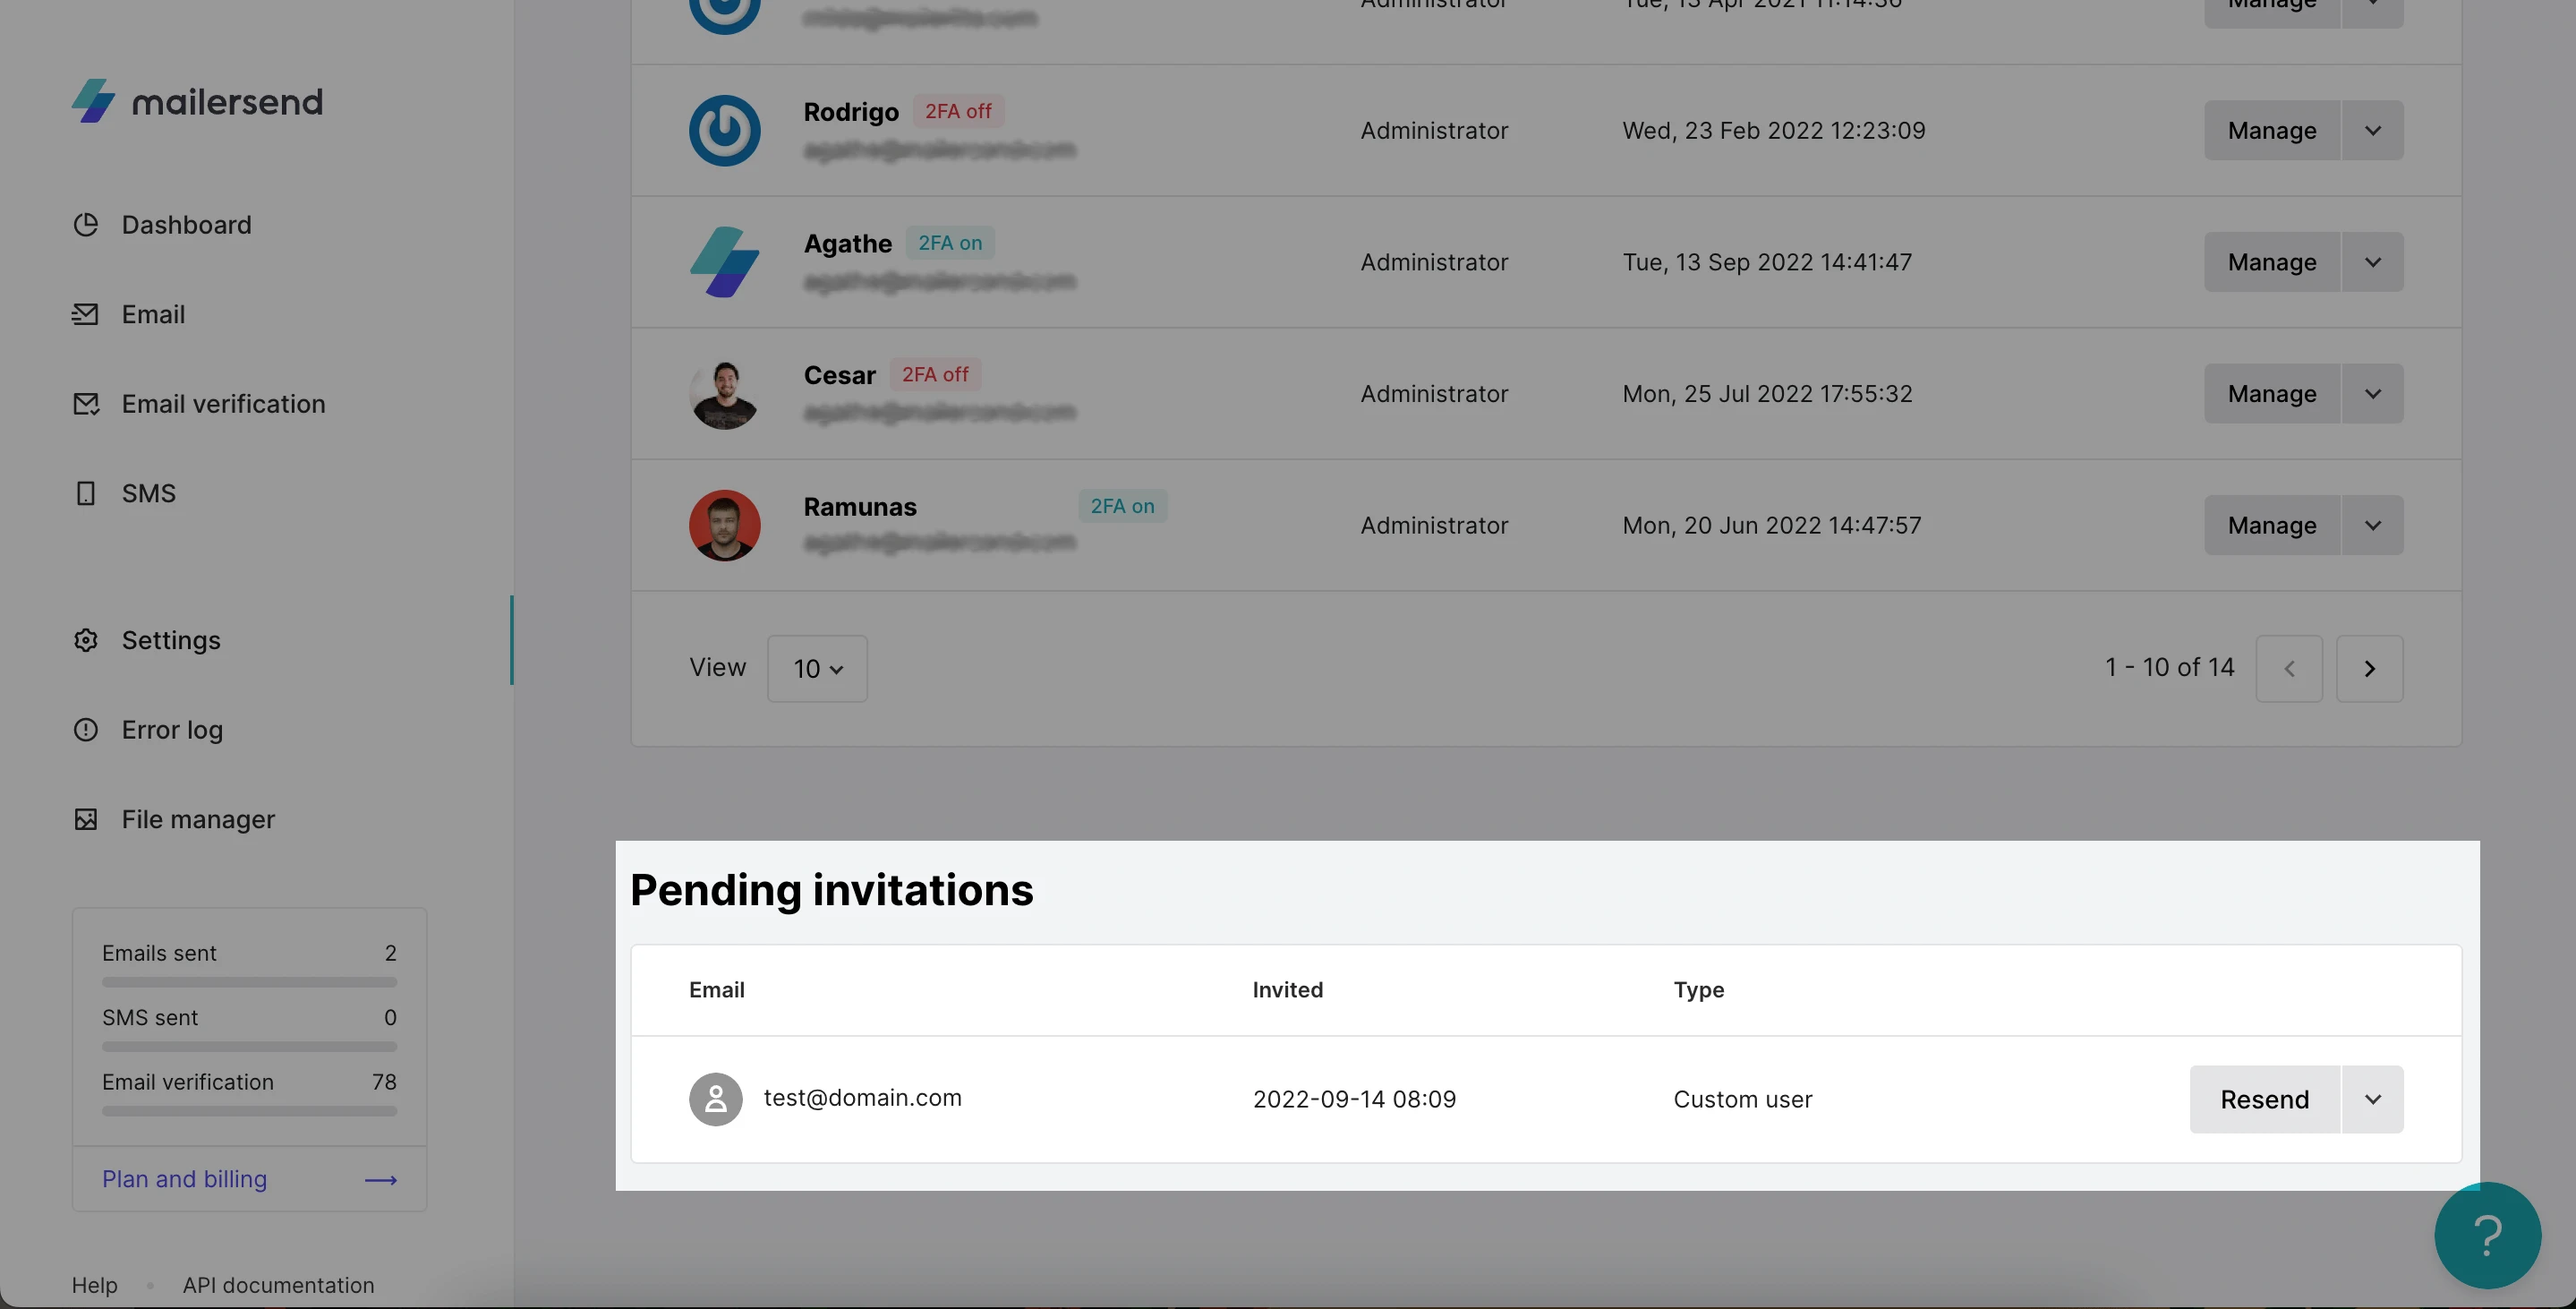
5. Once you have entered your new user’s email address and selected their user type, click Invite user to join. An email invitation will be sent to your new user.
That’s it! You can now find the pending invitation on the Users page where you can also Resend or Cancel the invitation.
Need more info?
Feel free to reach out to support@mailersend.com. A member of our support team will gladly assist you.