SMS verification and usage limits
Upon acquiring a phone number via the Plan & Billing section, completing the verification form is a crucial step. This process is required by mobile carriers to ensure that your SMS services are used responsibly and according to compliance standards. Failure to verify will prevent SMS delivery. After submitting the form, you’ll receive a notification regarding the status of your phone number verification.
Verifying your phone number: Step-by-step
1. Navigate to the SMS section.
2. Select Phone numbers.
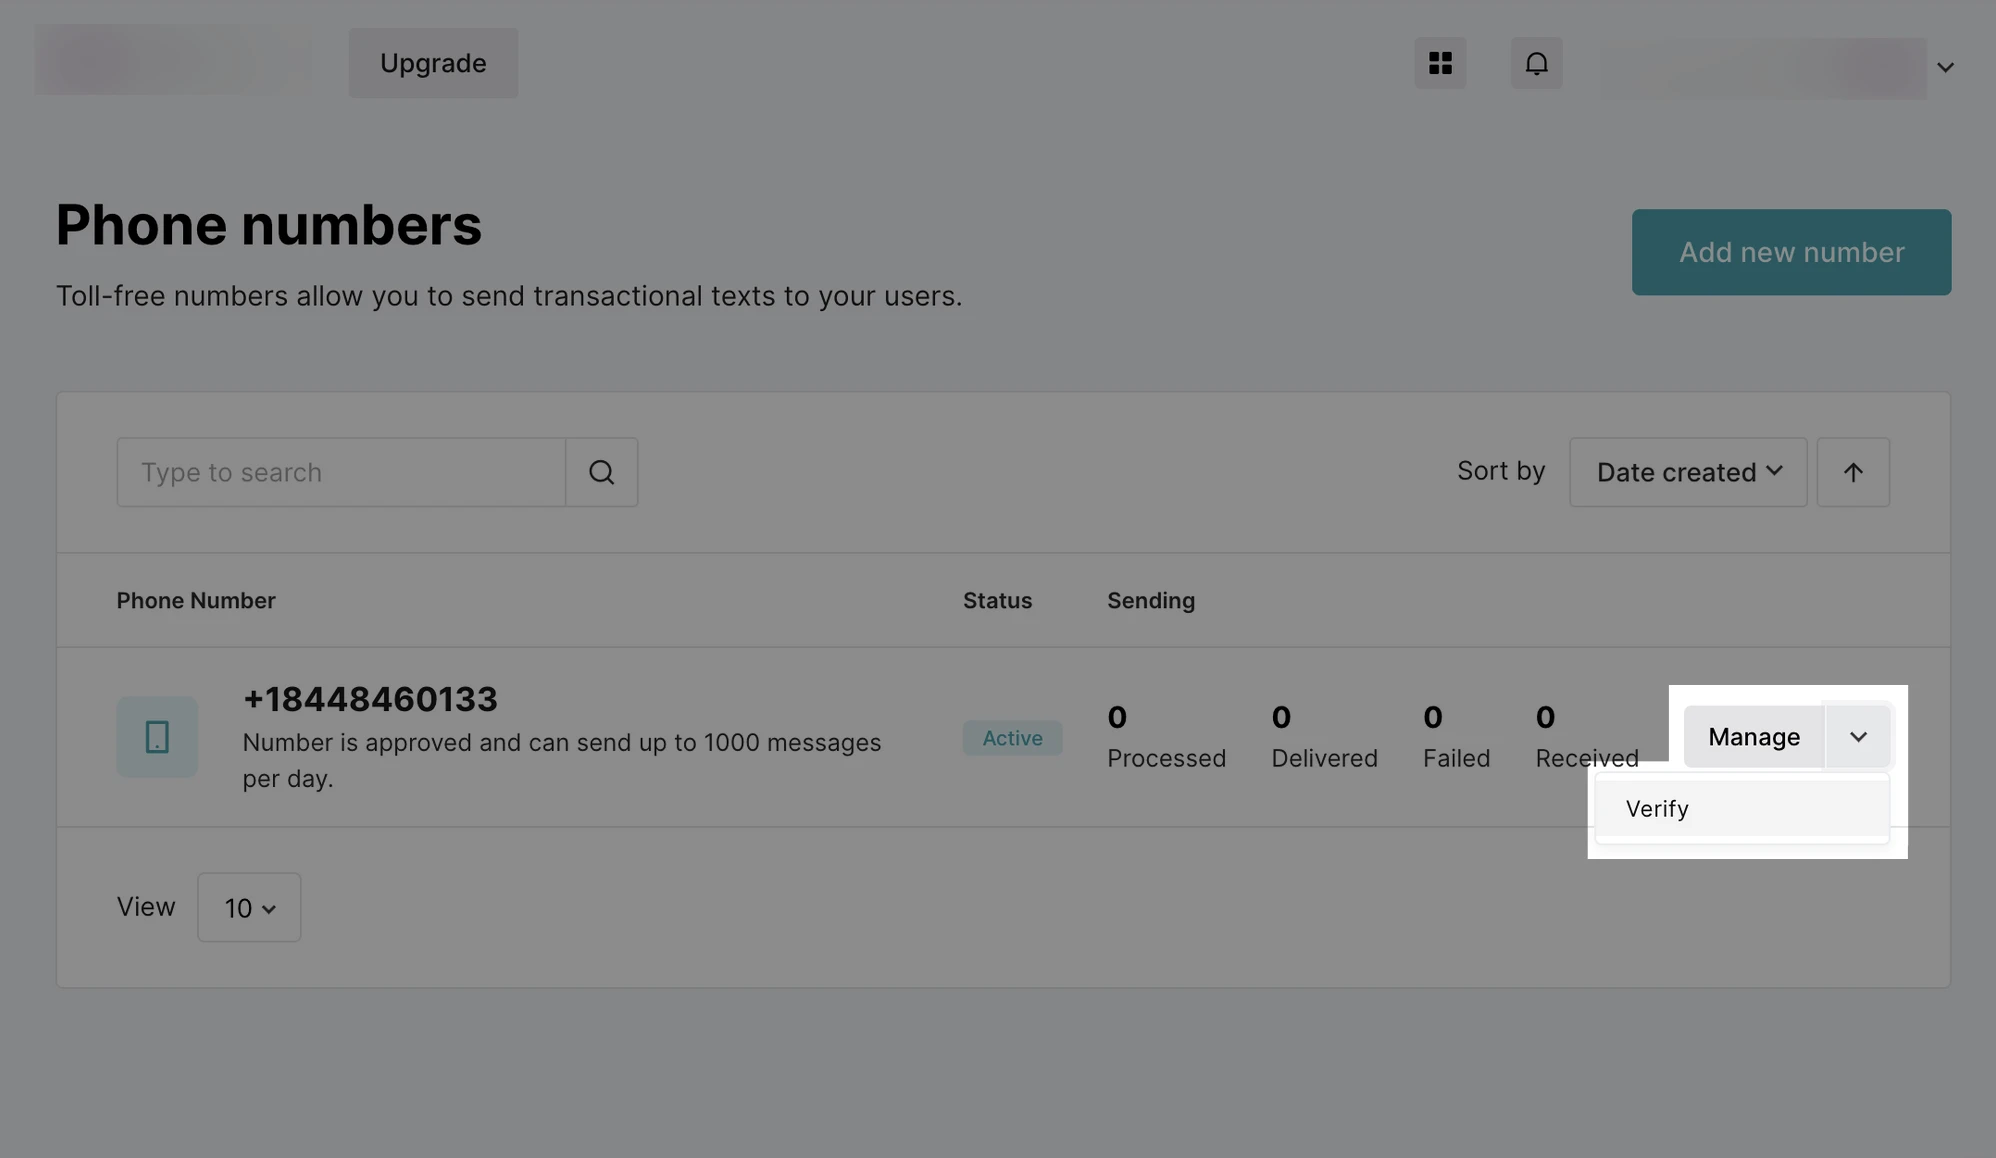
3. For the desired number, click the arrow beside Manage, then select Verify.
4. Fill in the verification form with your business details and intended SMS usage. This information is required by our carrier. You'll need to provide:
Company name
Business address
Business website URL
Business contact: Name, email address and phone number
The category that best represents your SMS use case
Details on how you collect SMS opt-in consent and your public SMS opt-in URL
1-3 examples of the types of messages you'll be sending
An estimate of how many SMS messages you plan to send each month
Business registration number and type
5. When you've filled in your details, click Submit.
Verified recipients
Add up to 10 verified recipients for testing the SMS functionality of your app, ensuring that each step of your messaging service is thoroughly vetted for real-world use.
Recipient verification serves dual purposes:
Pre-approval testing: Before your phone number approval, utilize the trial number to send SMS to verified recipients.
Post-approval evaluation: After approval, continue testing app updates or new features using your verified recipients from either the trial number or your purchased one.
To add a verified recipient:
Go to SMS.
Open the Verified recipients page.
Click Add recipient.
Enter the phone number in international format (e.g., +19192223456). At this time, only US phone numbers are accepted.
When adding a verified recipient, the owner of the phone number will have to verify it by entering the verification code in the modal. Only then can this number receive SMS marketing messages.