How to whitelist IPs
Starter, Professional, and Enterprise Plan users can add IP addresses to their allowlist (whitelist) to make their account more secure. The IP allowlist affects how a user can access the API and the SMTP credentials. If you choose to add one or more IPs to the allowlist, you will only be able to make SMTP or API calls from these IPs. SMTP or API calls made from an unlisted IP address will be denied.
Using the IP allowlist feature will allow you to make your account more safe, securing it against non-consensual use and protecting your domain reputation.
How to add an IP address to the allowlist
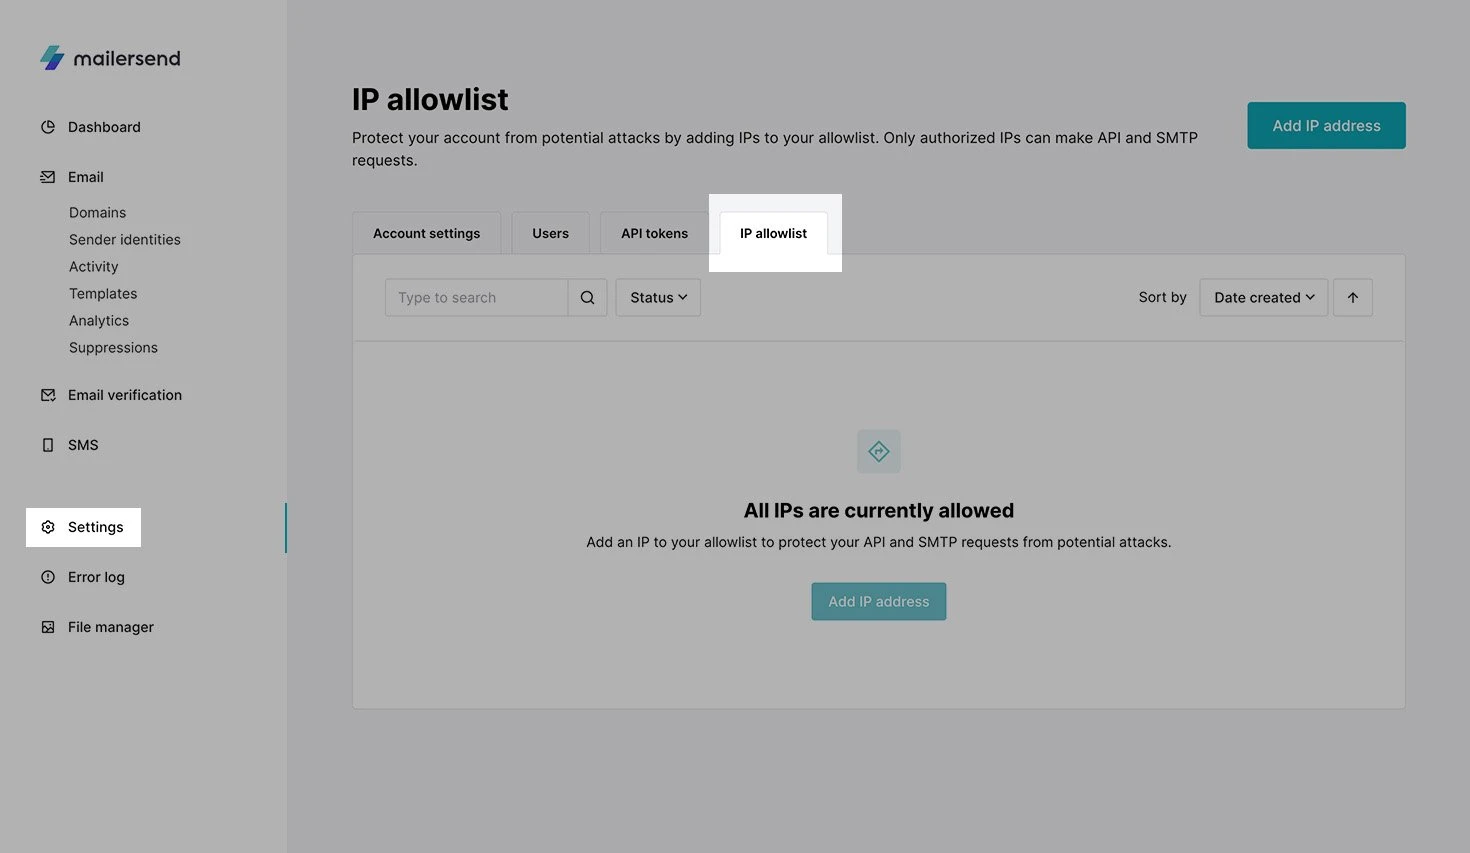
1. From the MailerSend dashboard, navigate to IP allowlist tab from the Settings page.
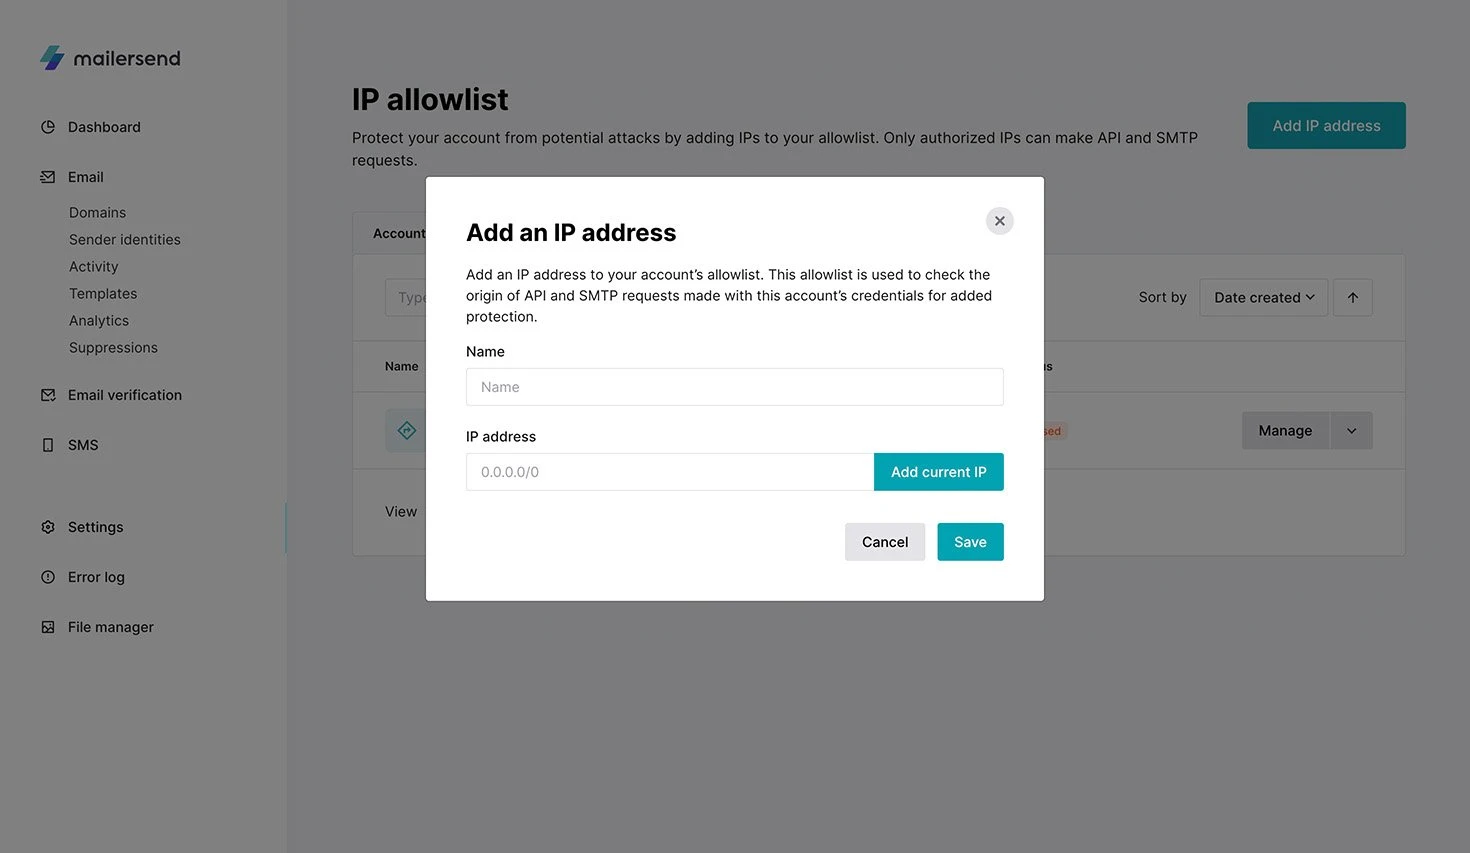
2. Click the Add IP address button and enter the IP address you want to allow and a name to identify it and click Save. You can click Add current IP to have the field automatically populated with the IP address you are currently using.
Managing IP addresses
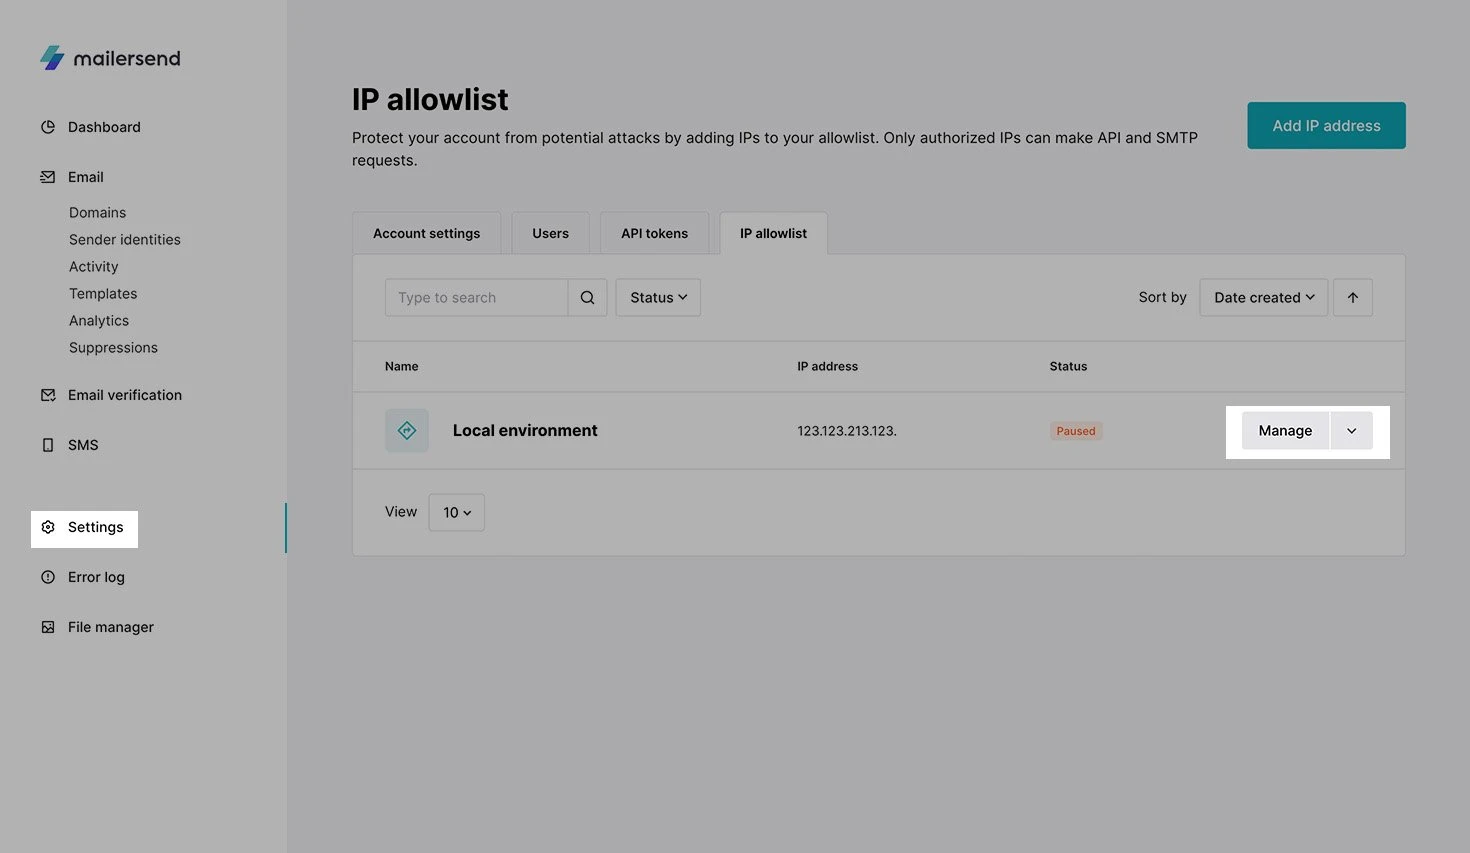
On the IP allowlist page, you can change the name or IP of a saved IP address by clicking on Manage. You can also pause or delete an IP address by clicking on the drop-down arrow next to it.
Need more info?
Feel free to talk with us via live chat or contact us at support@mailersend.com.