How to change or cancel your plan
Once your account is approved, you can upgrade your account to a Free, Hobby, Starter or Professional plan, or downgrade at any time, by following these steps:
Change your plan type or size
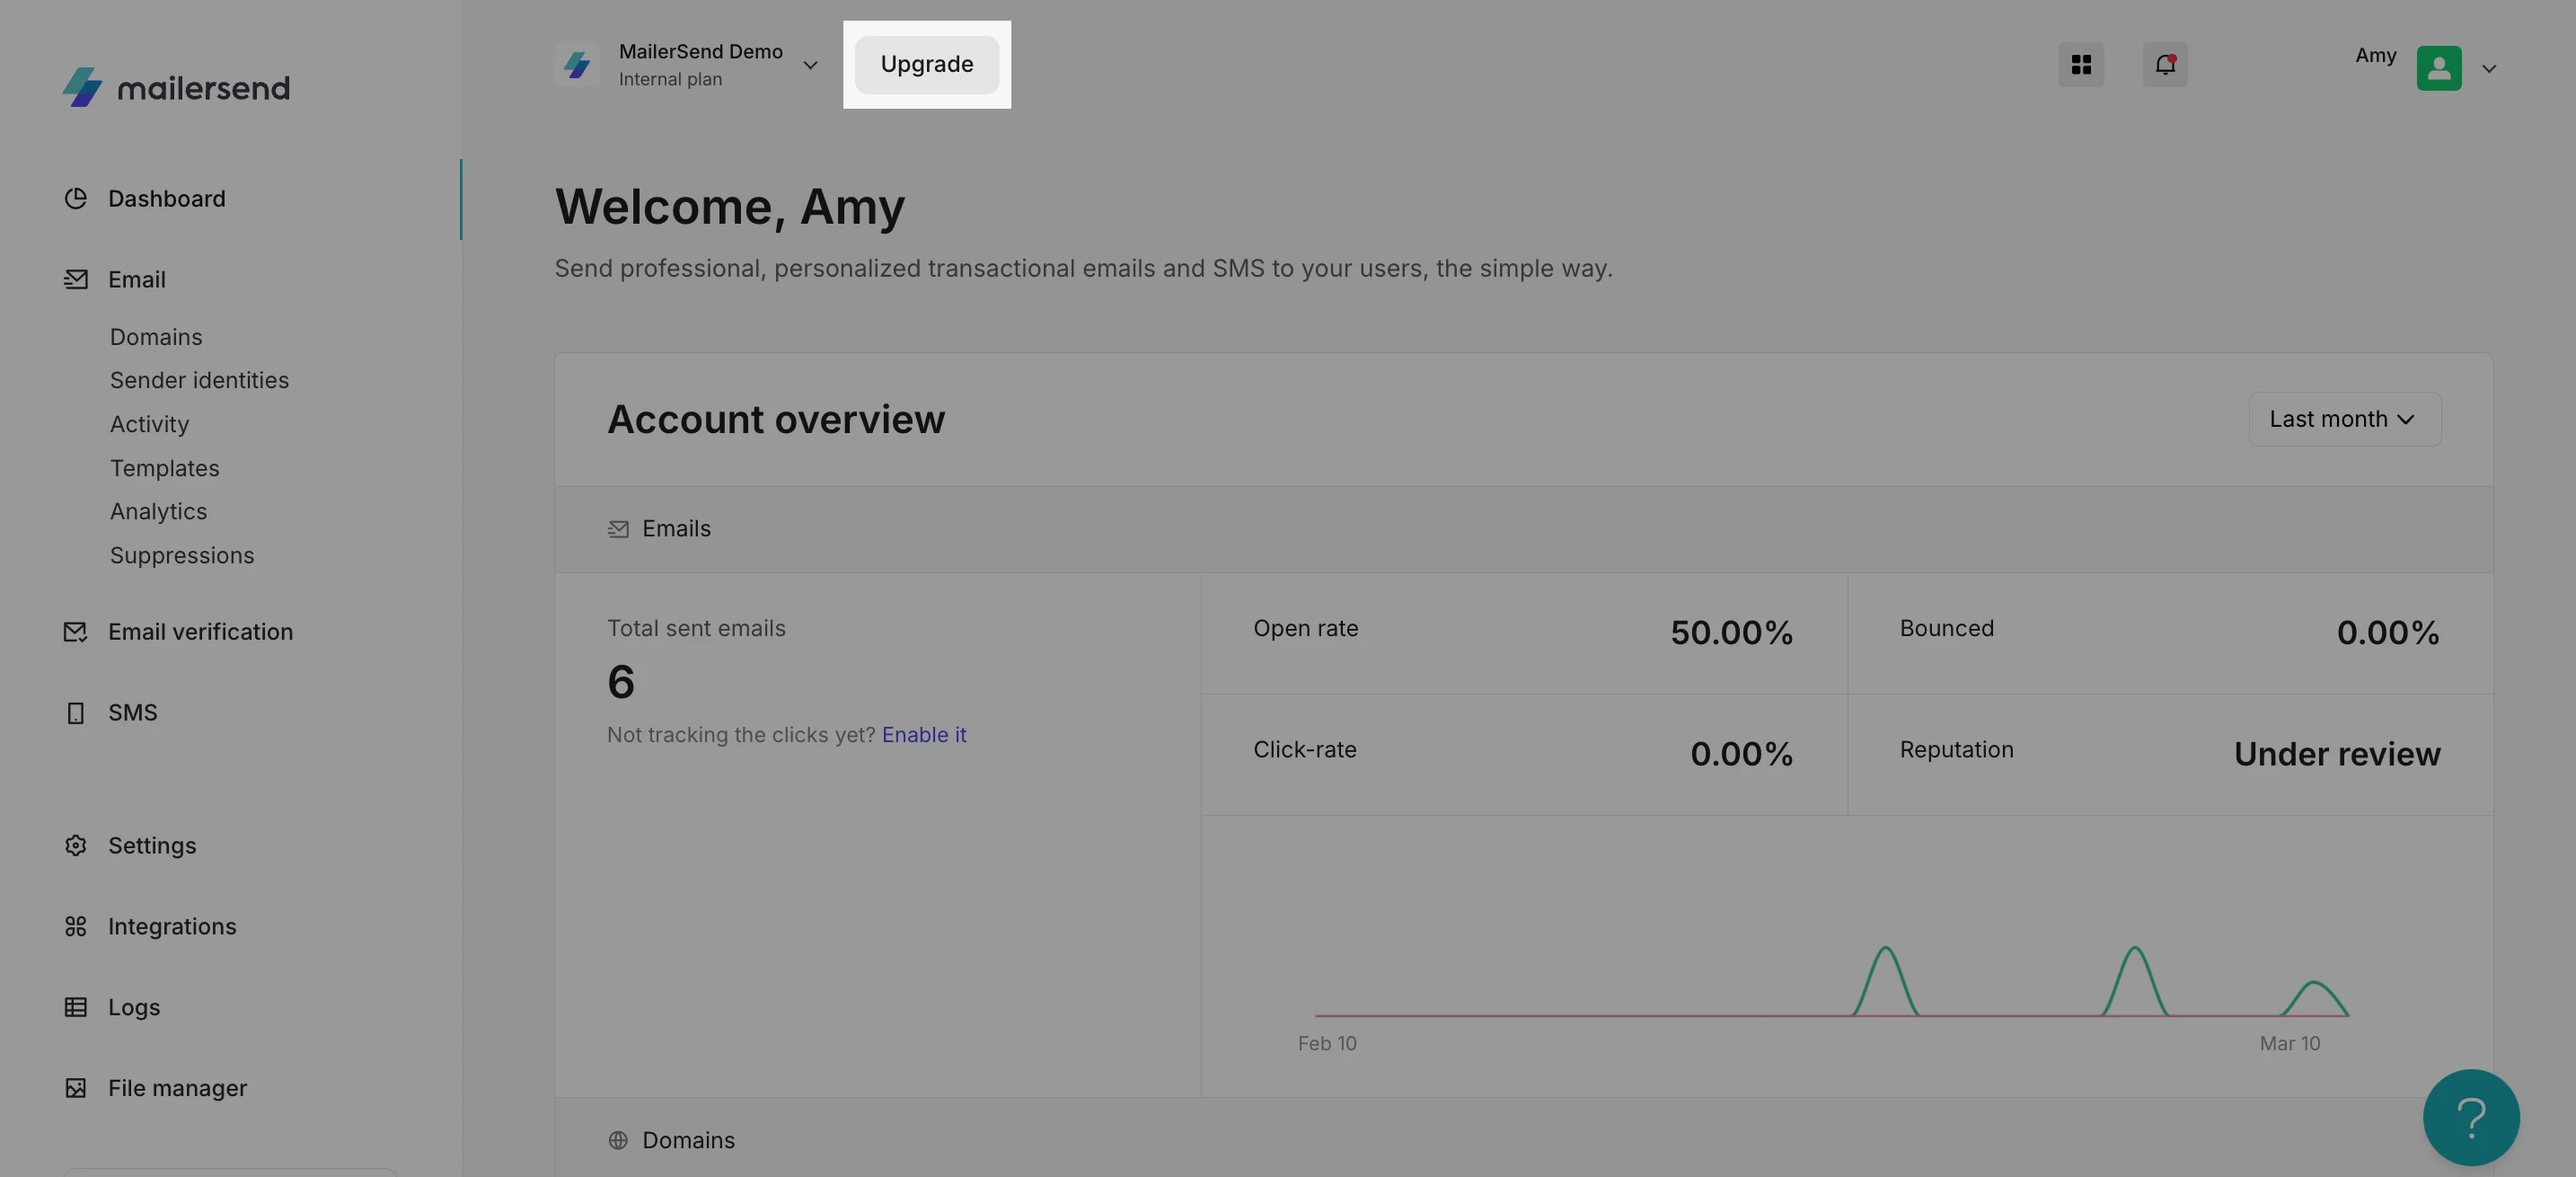
1. From the dashboard, click the Upgrade button next to the top left account menu to navigate to the Plan and billing page.
2. Use the slider to select your subscription based on how many emails you need to send. To select the Free plan, drag the slider all the way to the left. Scroll down to view a comparison of all the plans.
3. Once you've selected the number of emails you need, click Upgrade or Downgrade in the plan type you wish to change to. For Enterprise plans, you can contact us to discuss options.
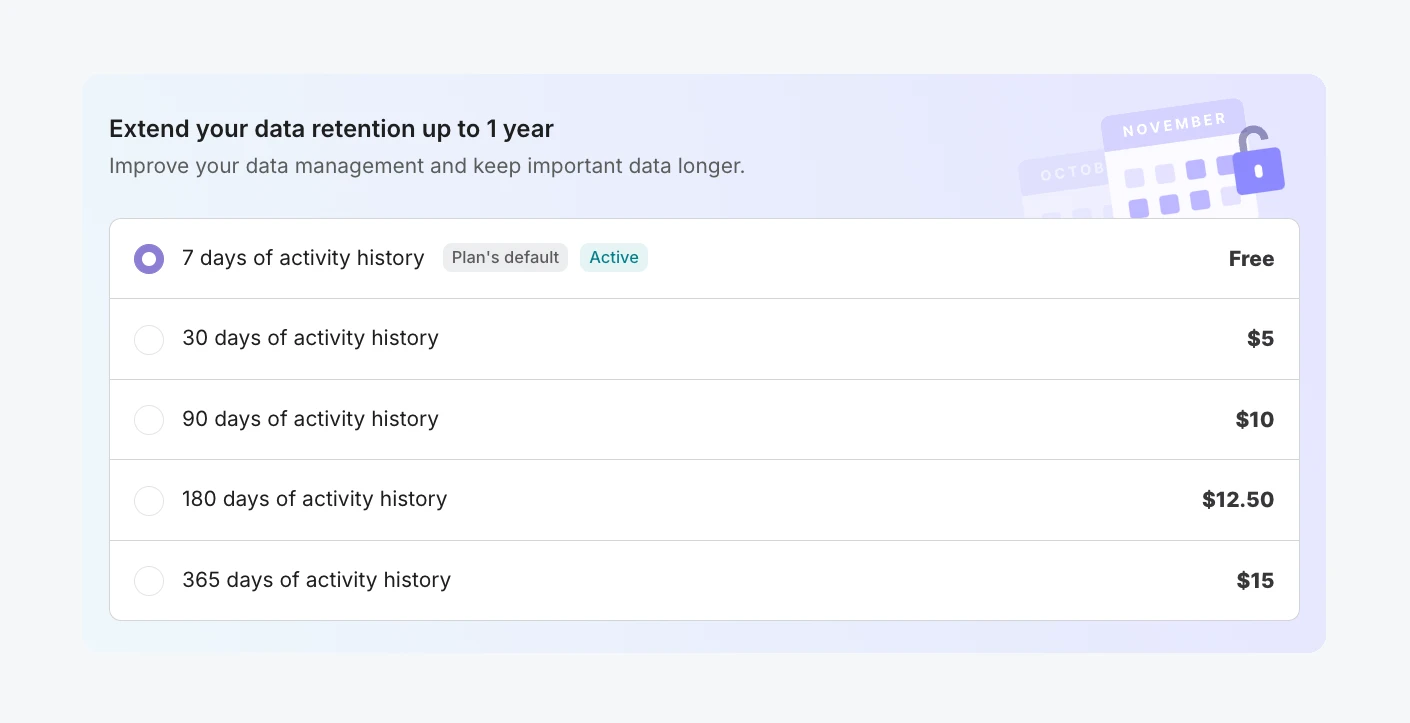
4. If you're downgrading, simply click Change plan. If you're upgrading, you'll be taken to the Billing page. Enter your payment details and add a payment method. You can also upgrade your data retention period in the add-on section.
5. When this is complete, click Checkout to finalize your plan subscription.
That’s it! Your plan is now active and ready to use. Your monthly email quota will reset on your next billing day.
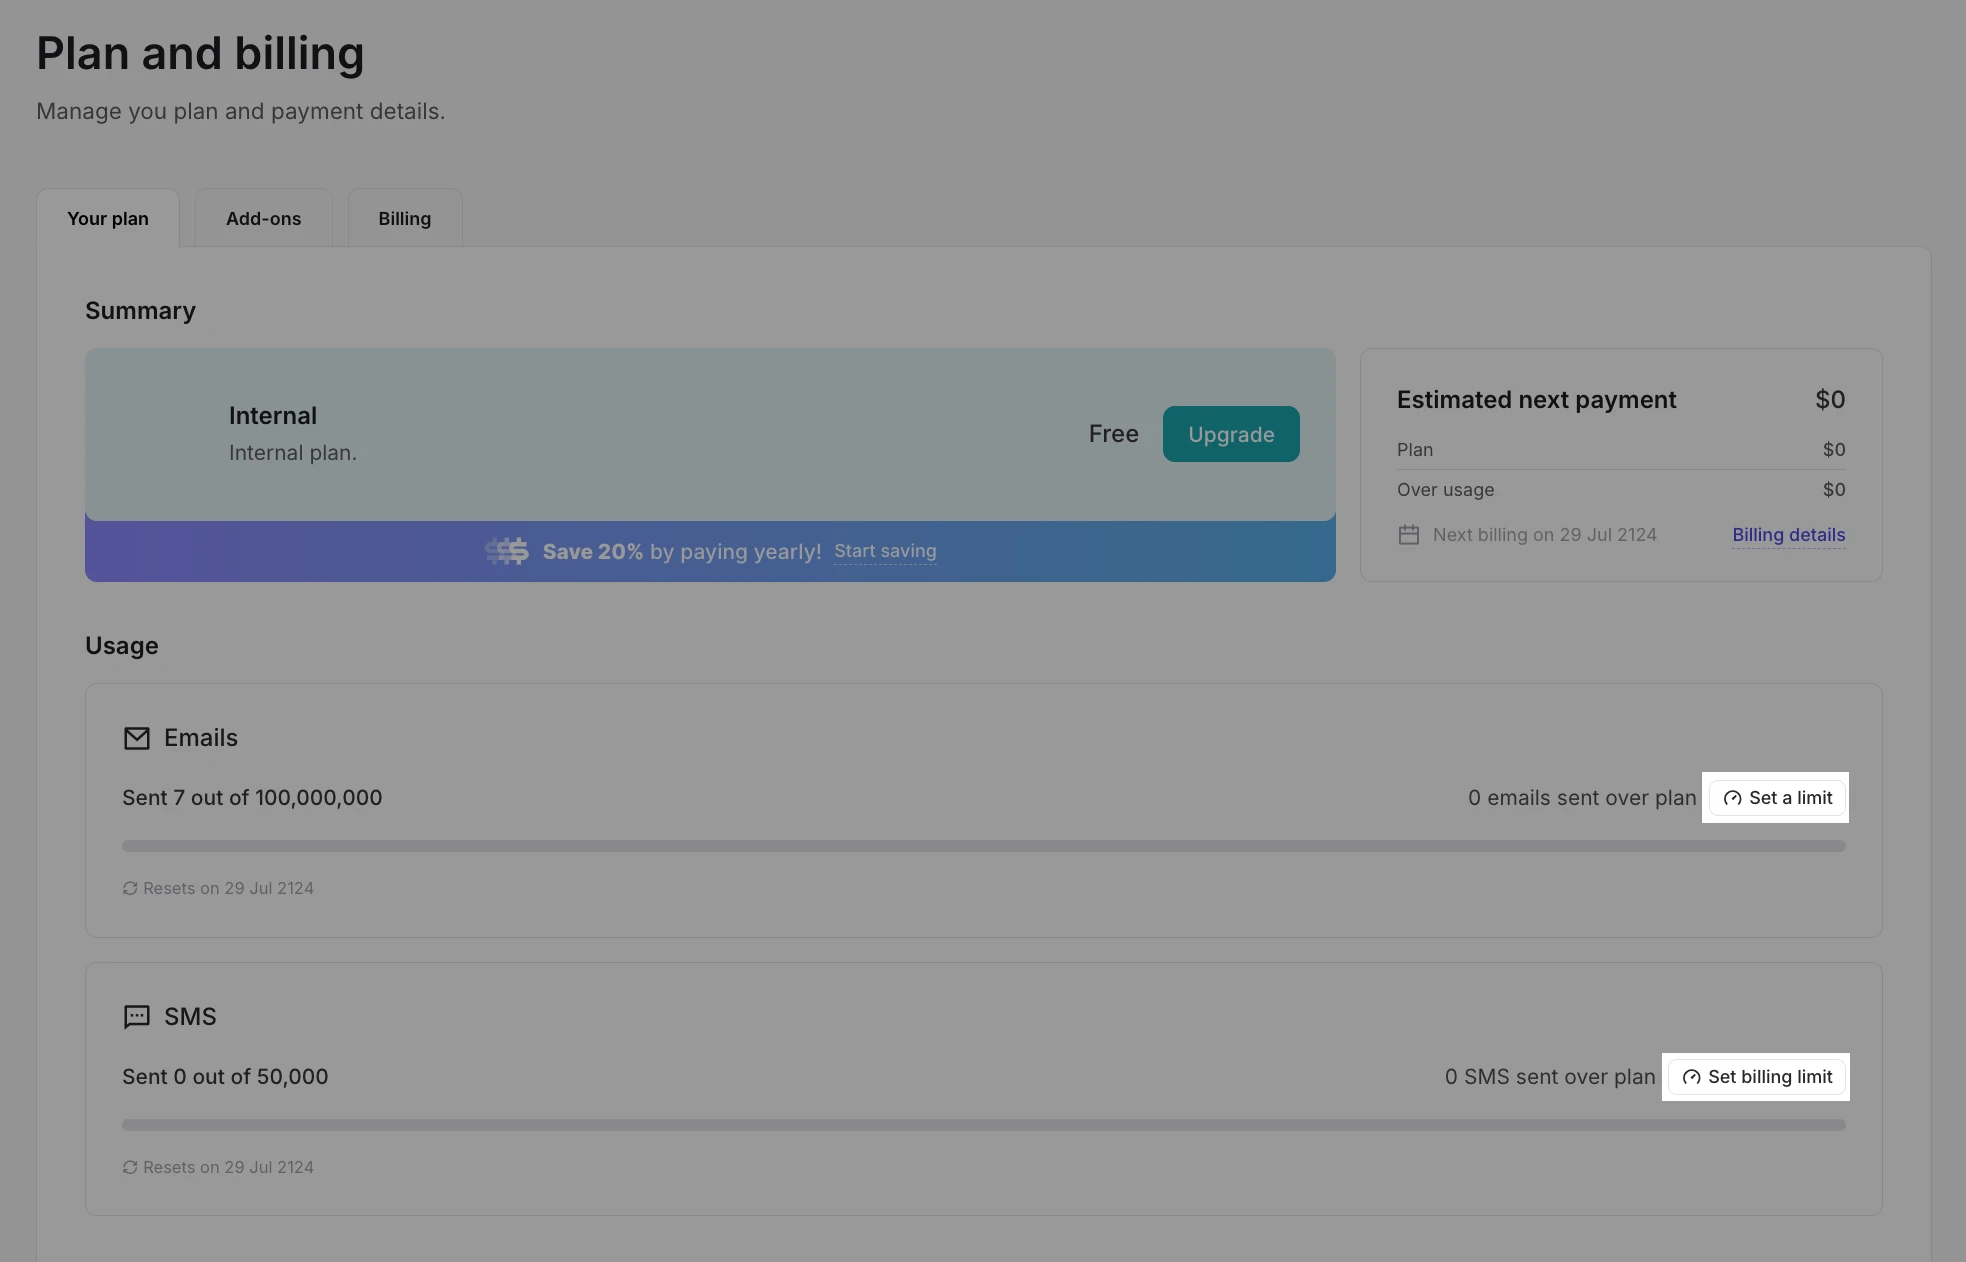
On your Plan and billing page in the Your plan tab, you can now find all the information pertaining to your plan, including:
The number of emails and SMS that you have sent during the current month
Your account's over-usage
The number of email verification credits you have
Available domain spaces
Your next billing day
Setting billing limits for your account
You can also set a limit for the number of emails and SMS your account can send over the limit. To set a limit, click the Set a limit button.
Then enter the number of additional emails or SMS you would like your account to send above your plan's sending limit. The additional cost will be automatically calculated.
Switching to a monthly or yearly subscription
To switch to a monthly or yearly plan:
Navigate to the Plan and billing page and click View all plans.
Choose the Monthly or Yearly tab and click Upgrade for your plan.
Click Checkout to activate your new plan.
Yearly plans are billed upon subscription and the subscription stays active until the end of the billing period. Keep in mind, any overcharges will be billed at the end of each month.
How to cancel your plan
If you no longer require the use of your MailerSend plan, you can cancel your subscription in 3 simple steps.
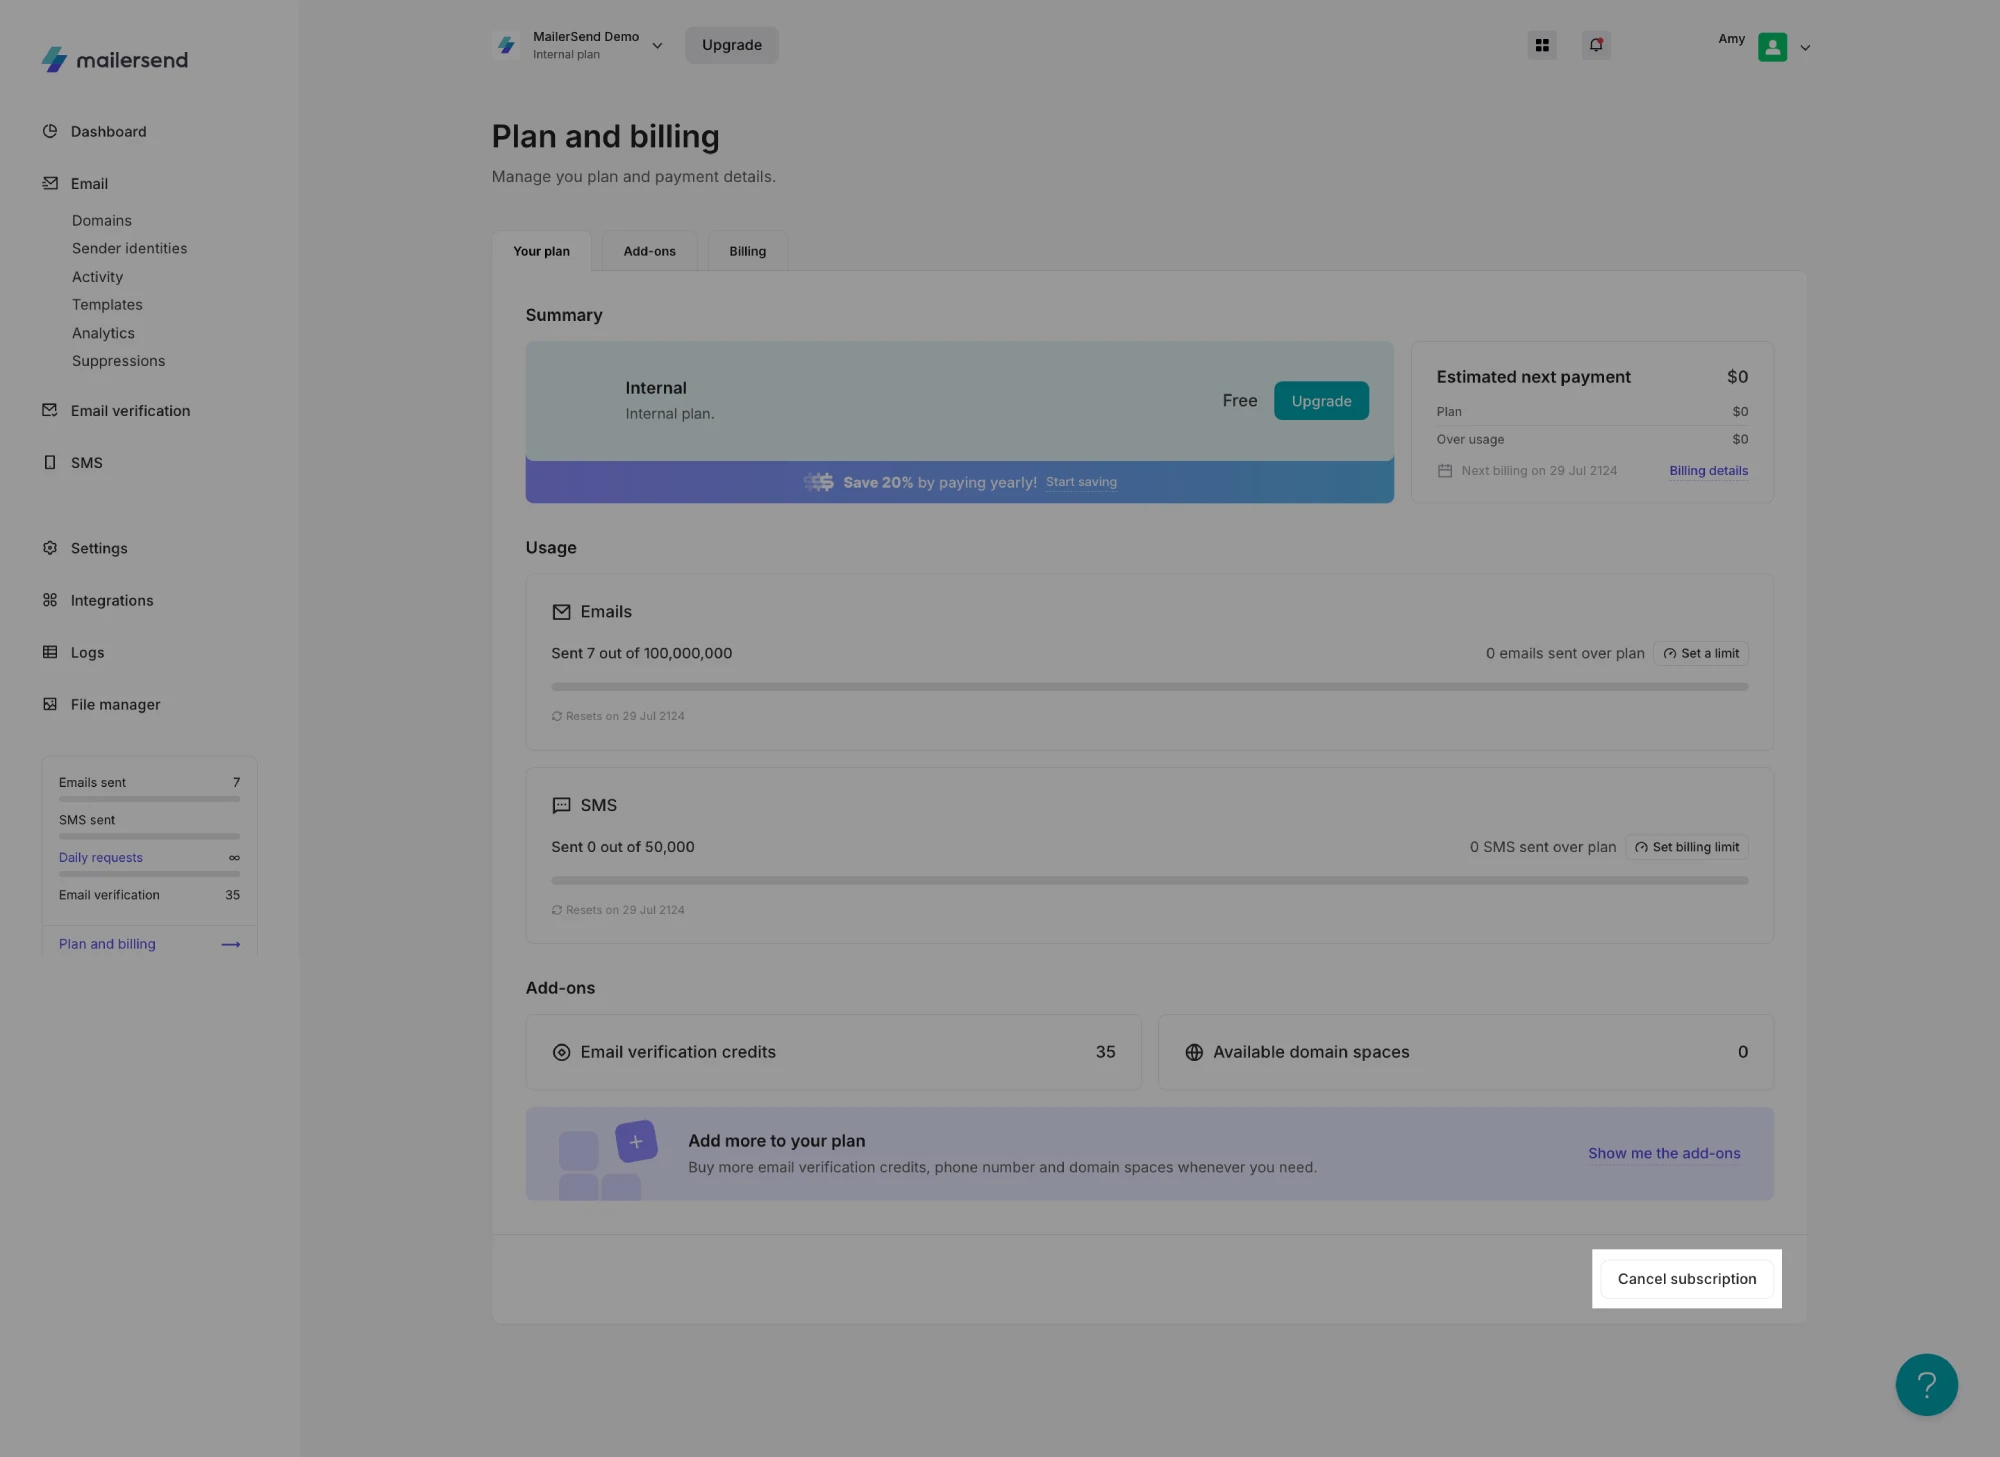
1. Navigate to the Plan and billing page.
2. Click the Your plan tab.
3. Click the Cancel subscription button at the bottom of the page.
Your plan will remain active until the end of your current billing period.
After this, your account will revert back to the Trial plan and certain features may no longer be available, such as:
Inbound routing
Customer support
Bulk emailing
Webhooks
Usage limits will also downgrade to:
1 user
1 sending domain
1 template
24 hours of data retention
100 daily API requests
Need more info?
Feel free to reach out to support@mailersend.com. A member of our support team will gladly assist you.