Creating sub-accounts for clients
In MailerSend, there is no need to create traditional “sub-accounts” to onboard multiple clients. Instead, you can manage clients’ emails through a single agency account with two core methods: domains and sender identities.
This setup makes it quicker and easier to add a client as a new sender and get an overview of all clients’ activity in one place, while still keeping client data isolated. Additionally, with a Professional plan, you’ll get unlimited users, domains, and sender identities, so there’s no extra cost every time you add a new client.
Step 1: Choosing your client onboarding method
Before getting started, you’ll need to decide whether you want to add your client to your account with their domain or as a sender identity.
By using the domain method, you will add and authenticate the client’s domain on your agency account. This method is the best for most use cases, and especially if the client will be sending more than 2,000-3,000 emails per month.
All emails will be sent through the client’s domain, and API keys, client user accounts, and activity data will all be scoped to that domain. The client’s sending activity will only influence their domain reputation; it won’t impact yours or any other client’s.
By using sender identities, you will simply add and verify the client’s email address(es) on your domain. This means when an email is sent with the client’s sender identity, they will appear as the sender in the recipient’s inbox, but your domain will be used for the sending. They are best reserved for low-volume or occasional senders.
No DNS changes are needed on the client’s domain, so this is the quickest method for onboarding. However, activity data and API keys will be tied to your domain, so you’ll need to use additional filtering and tagging for proper tracking. You also won’t be able to give user access to the account for anything but specific templates. However, you can create custom reports or dashboards for the client. Finally, any sending activity will be tied to your domain reputation.
Step 2A: Setting up a client via a domain
Pre-requisites:
The domain the client wants to use for sending
Login credentials for the client’s domain host (if you’re handling DNS updates)
1. Log in to your MailerSend account and navigate to Email > Domains.
2. Click Add domain, enter your client’s domain, and click Add domain again.
3. If automatic domain authentication is available for your client’s hosting account, you’ll be prompted to log in.
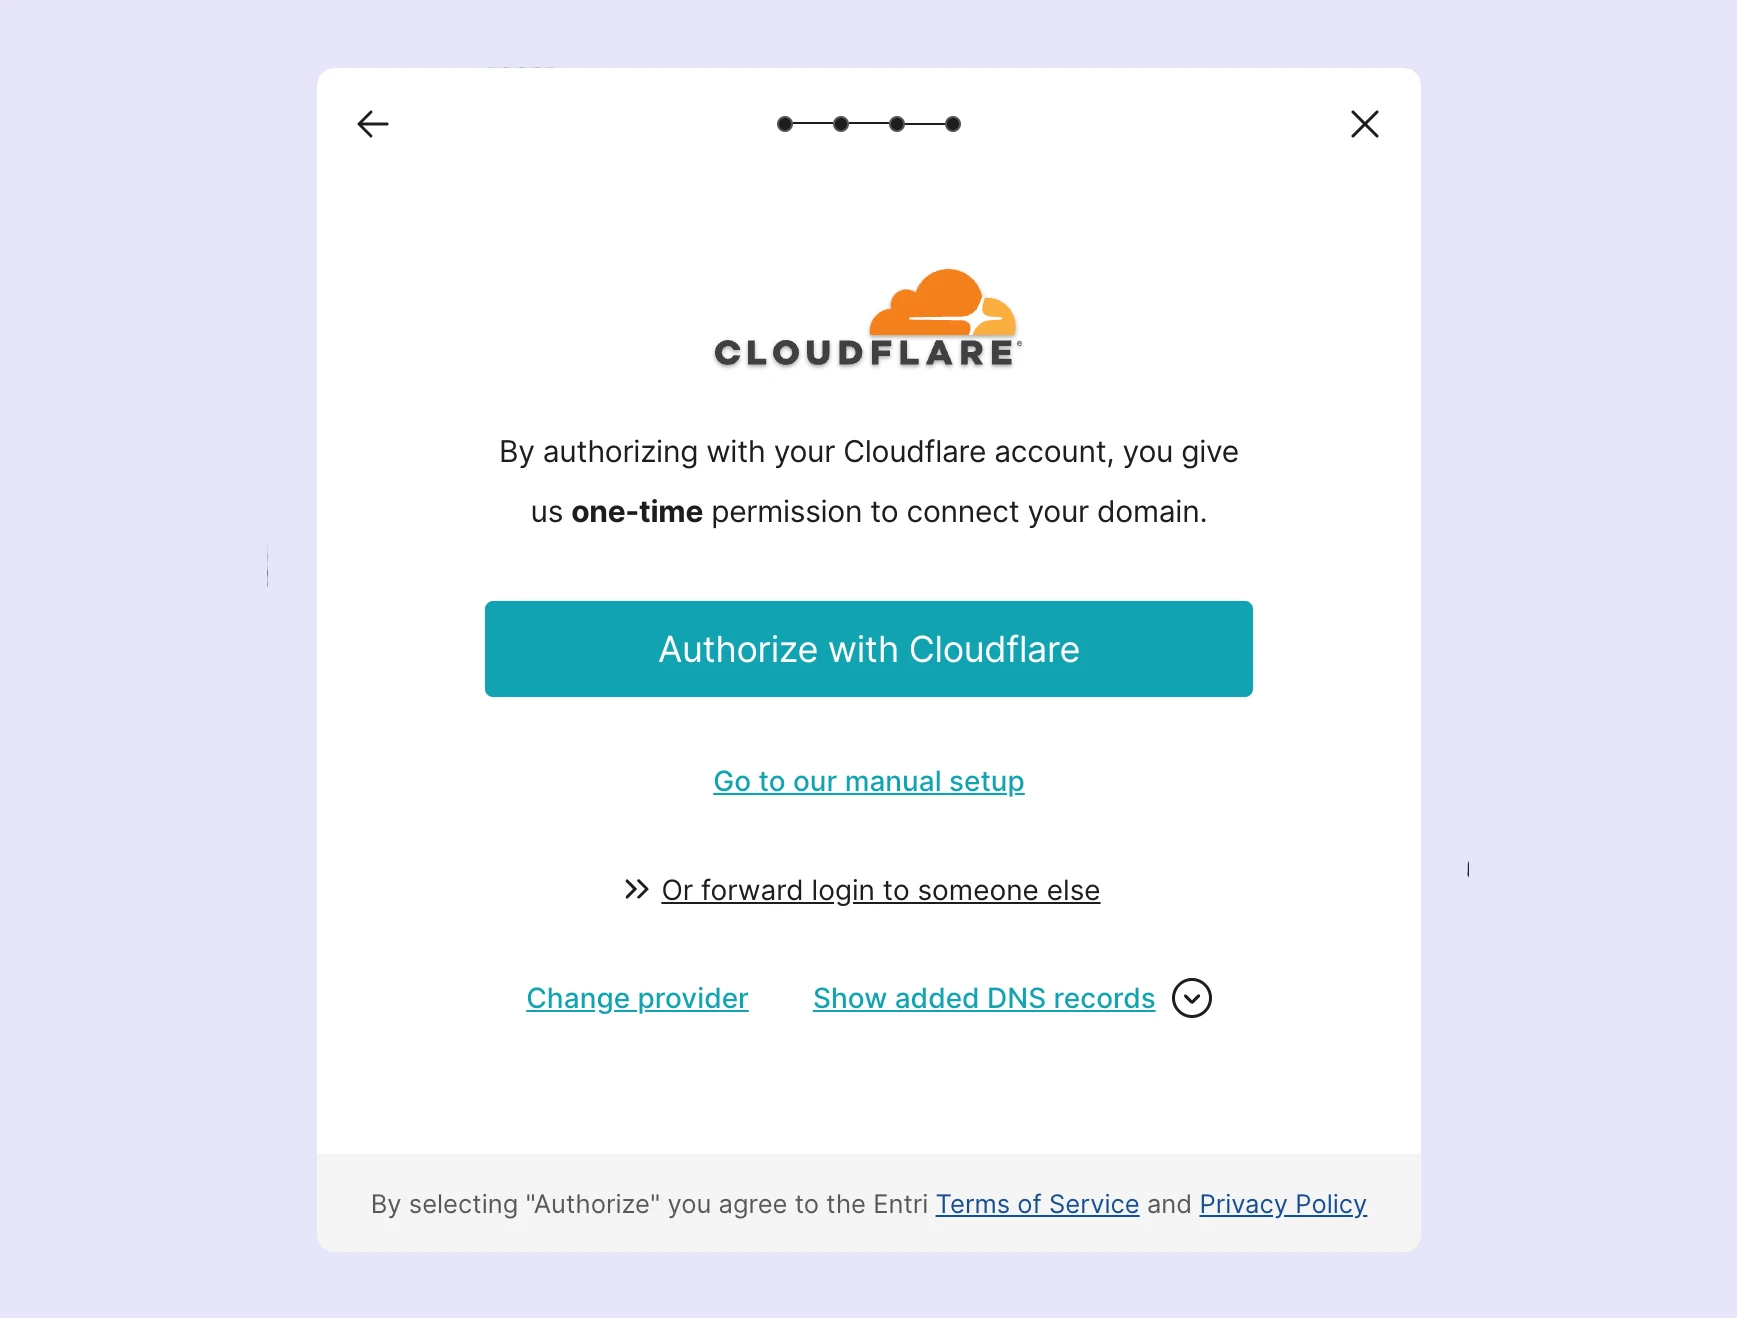
4. Authorize the connection and complete the necessary steps. MailerSend will configure the DNS records for your client’s domain automatically. If you proceed with automatic domain authentication, you can skip to step 9 of this section, as the next steps cover manual DNS setup.
5. If automatic domain authentication is unavailable, you can add the DNS records manually. Additionally, if you do not have direct access to your client’s hosting account, or you prefer manual configuration, you can close the pop-up to be redirected to the DNS records page in MailerSend.
6. Select the hosting provider to get the DNS records along with specific instructions, or select Other to simply retrieve the DNS records.
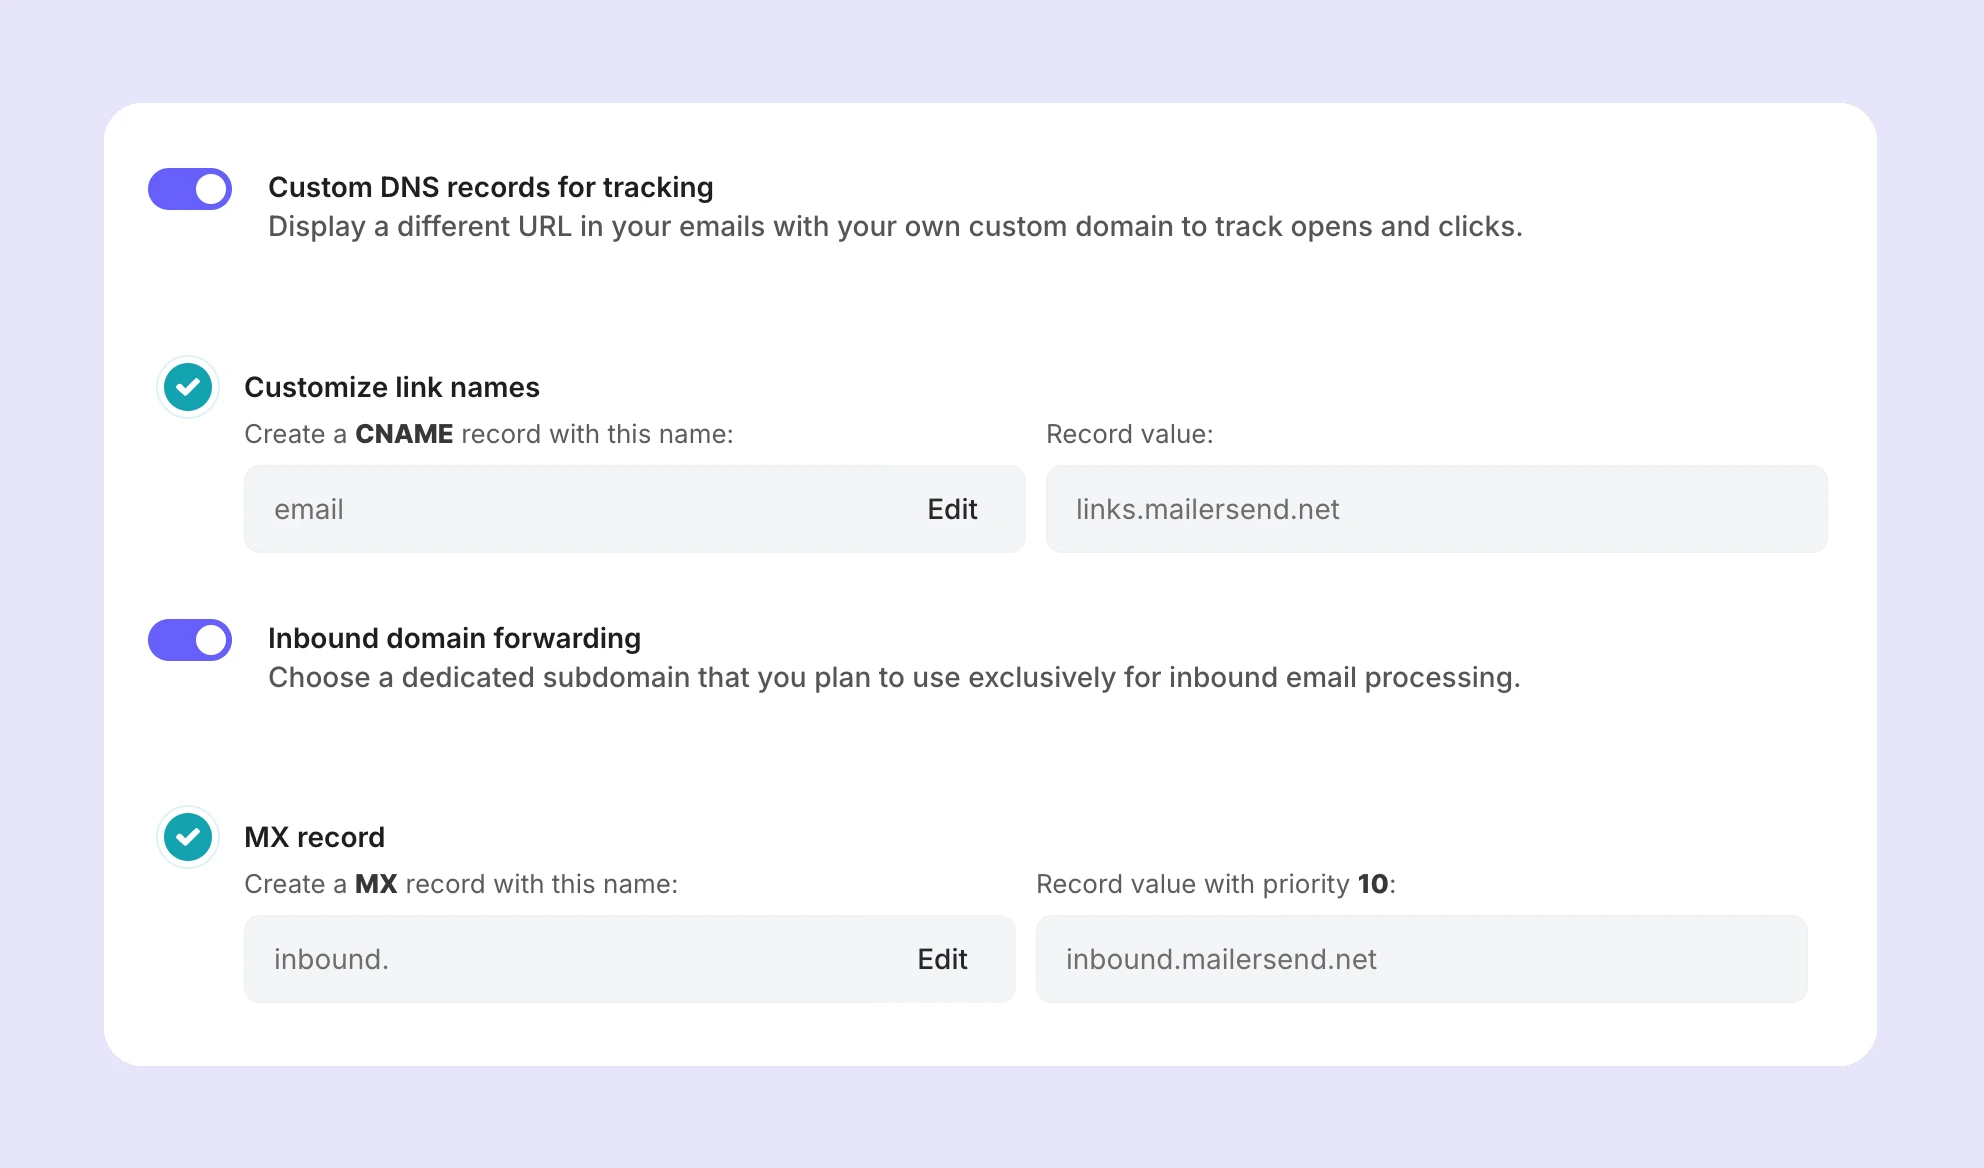
7. Add the DNS records to your client’s domain DNS zone. You’ll need to add an SPF record, a DKIM record, and a RETURN-PATH record.
Optionally, you can enable custom domain tracking (which creates branded tracking links under the client's subdomain, e.g., email.clientdomain.com) and inbound domain forwarding. Enabling these two options will require an additional CNAME record and MX record in the DNS settings.
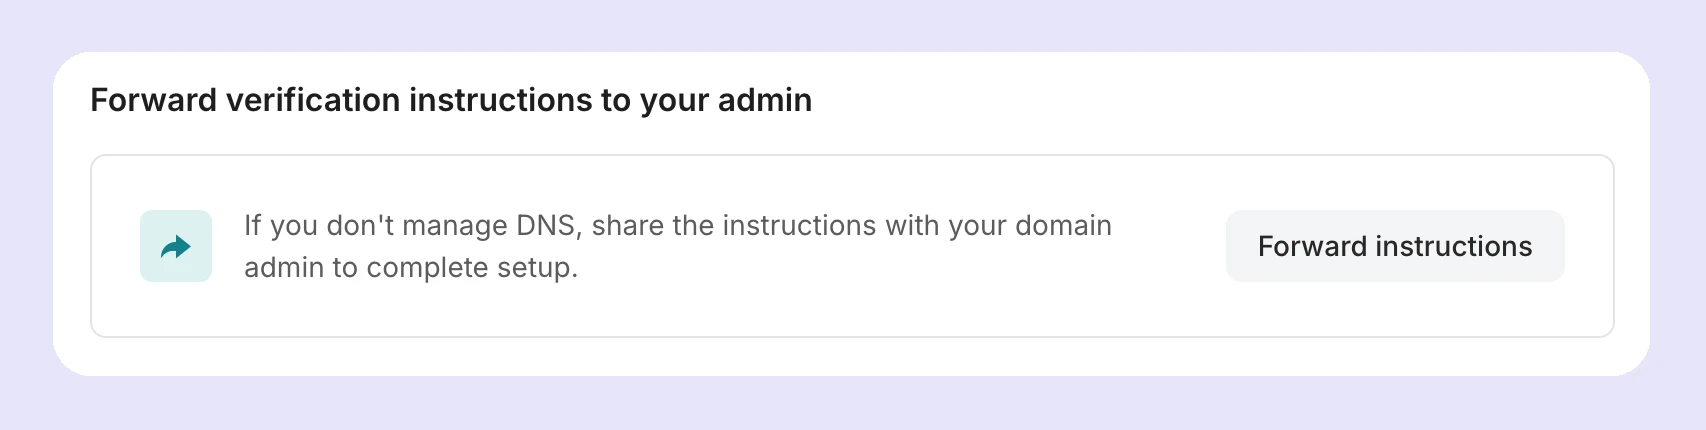
Alternatively, if you do not have access to the client’s DNS records, you can forward them to the appropriate person managing the domain. Simply click Forward instructions in the forwarding section at the bottom of the page.
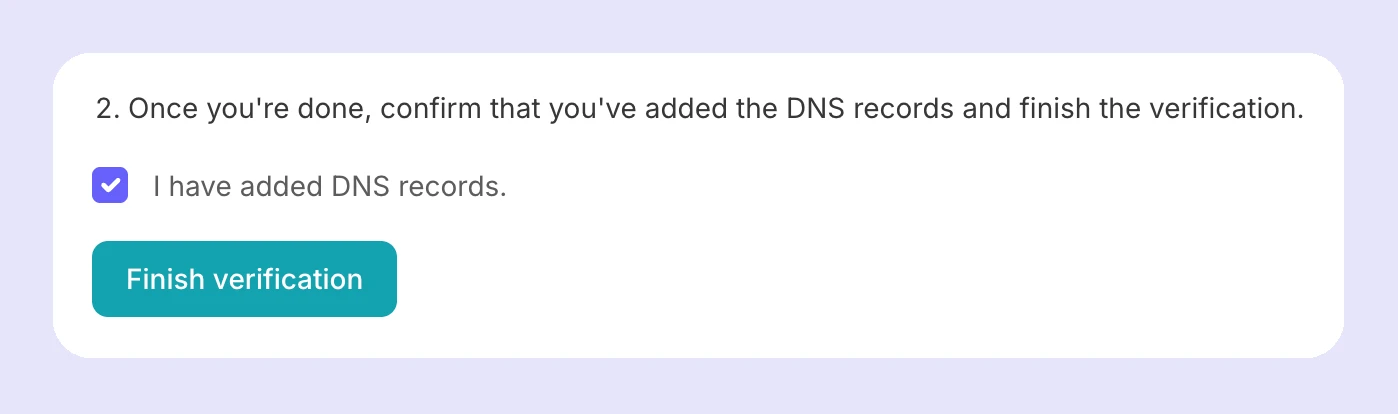
8. When you or your client has added the necessary records, return to MailerSend, check the I have added DNS records box, and click Finish verification.
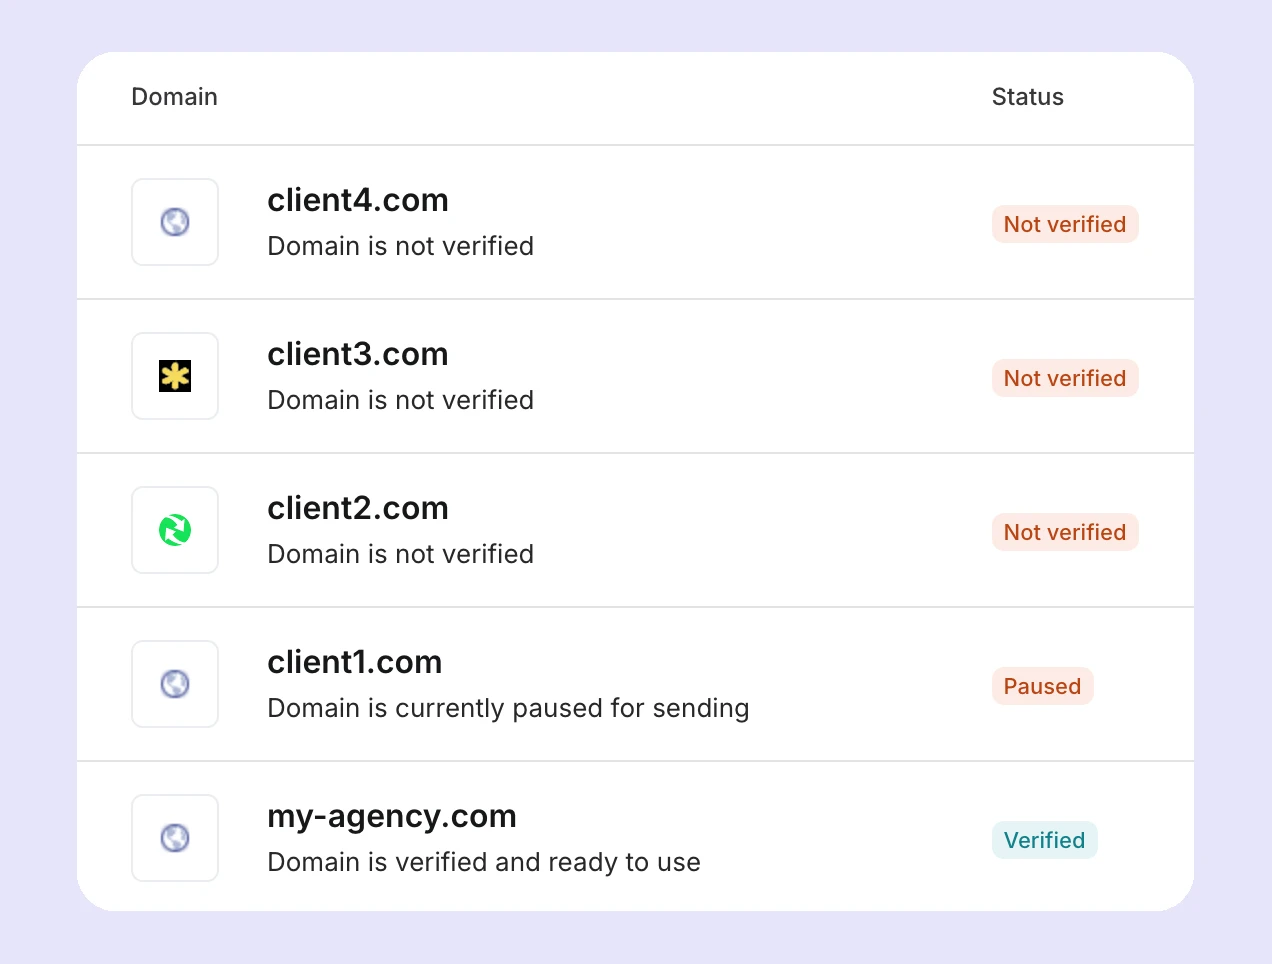
9. Back on the Domains page, you’ll be able to check the status of the domain to see when the authentication has completed. Authentication typically doesn’t take very long, but it can take up to 24 hours for the records to propagate, so don’t be alarmed if the status doesn’t appear as Verified immediately.
Troubleshooting domain authentication
If, after 48 hours, the domain still doesn’t appear as verified, double-check that all necessary fields are entered correctly in your client’s domain DNS zone.
Additionally, there should only be one SPF record. If the client already has an SPF record configured and it is in use, you’ll need to merge the records into one. Read this guide on merging SPF records to learn how.
Once you have confirmed that the DNS records are correct, open the domain settings in MailerSend by clicking on the domain, then click the DNS records button in the top right corner.
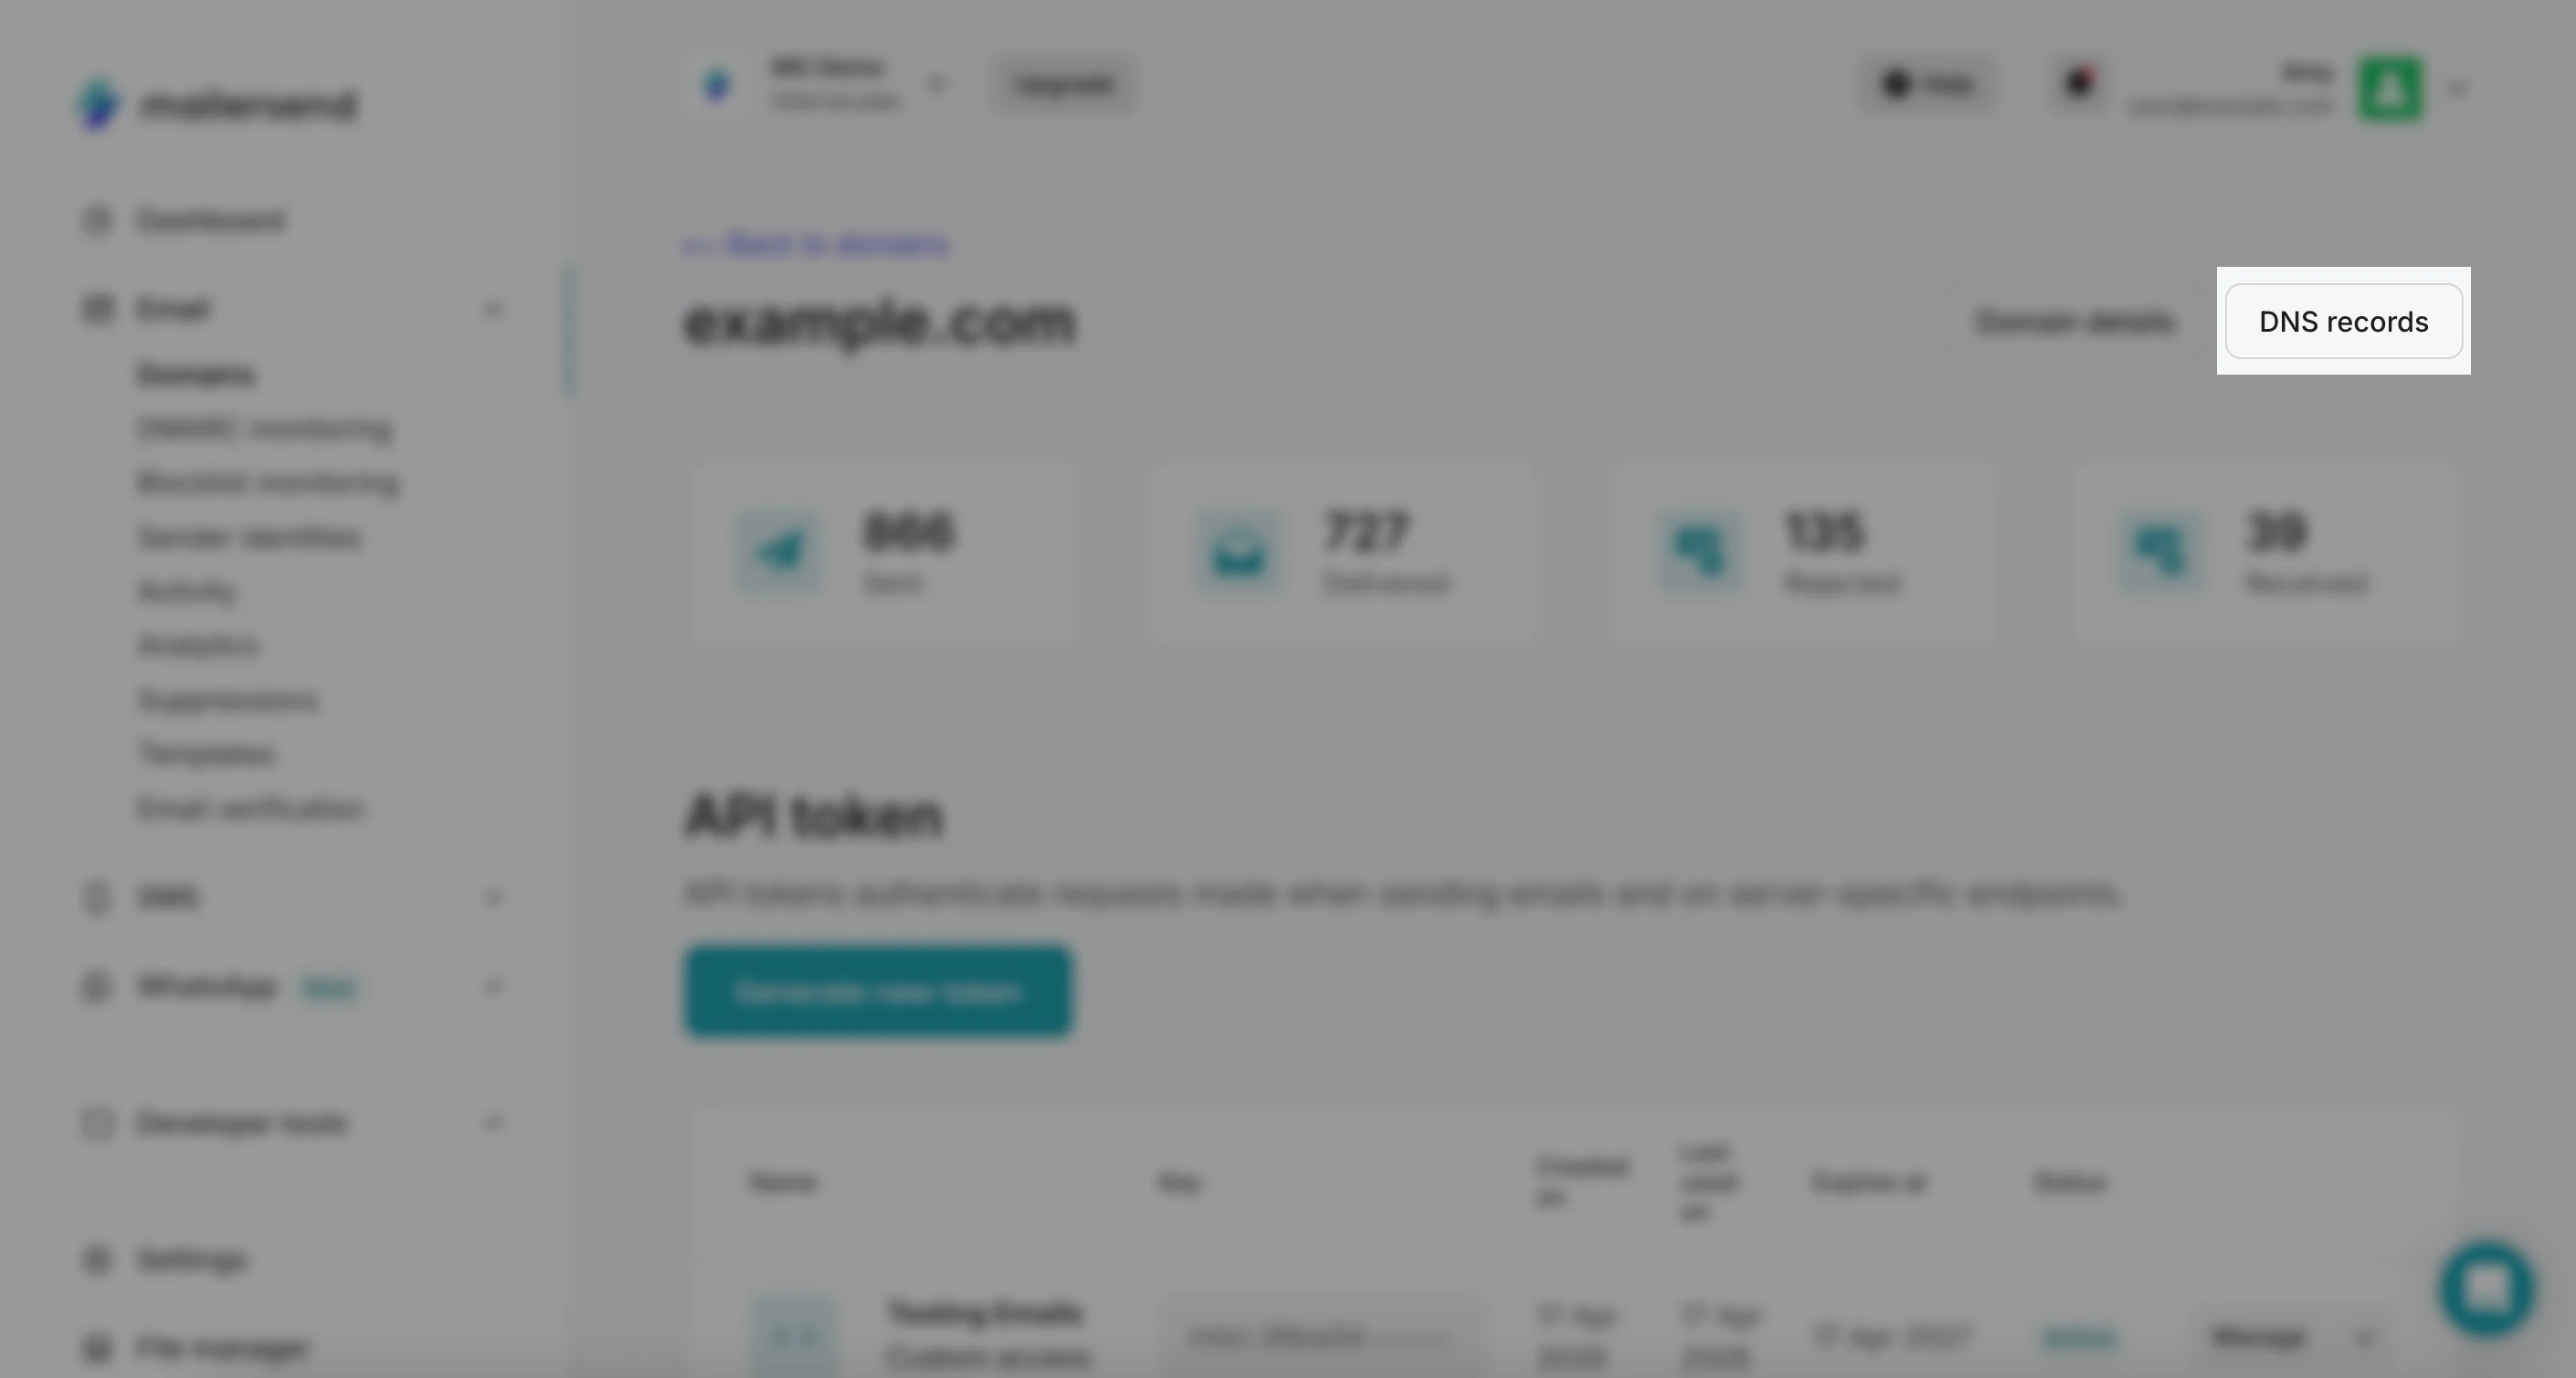
Scroll down to the bottom of the pop-up, toggle I have added DNS records, and click Re-check now.
If the domain remains unverified after 48 hours, contact our support team for assistance.
Step 2B: Setting up a client via a sender identity
1. Log in to your MailerSend account and navigate to Email > Sender identities.
2. Click New identity. Select the domain you would like your client’s sender identity to be associated with. This will be the domain that will be used to send any emails for the client (the client’s identity [i.e., their verified email address] is what will appear in recipients’ inboxes).
3. Enter the email address and name (optional) you want to use for the sender identity; this is the email address and name that will appear in inboxes.
4. If you or your client would like replies to go to a different email address, enable the Use a different reply-to address option and enter the email address and name (optional).
5. When you add a new sender identity, a verification email will be sent to your client so that they can confirm the email address and authorize its use. By enabling the Add a note to include in the confirmation email option, you can enter a customized note to be added to the email.

6. When you’ve entered the details and configured the options, click Next: Review.
7. Confirm that the details you have entered are correct and click Create sender identity. The verification email will be sent to your client. Once they confirm the use of the email address, it will be available for use.
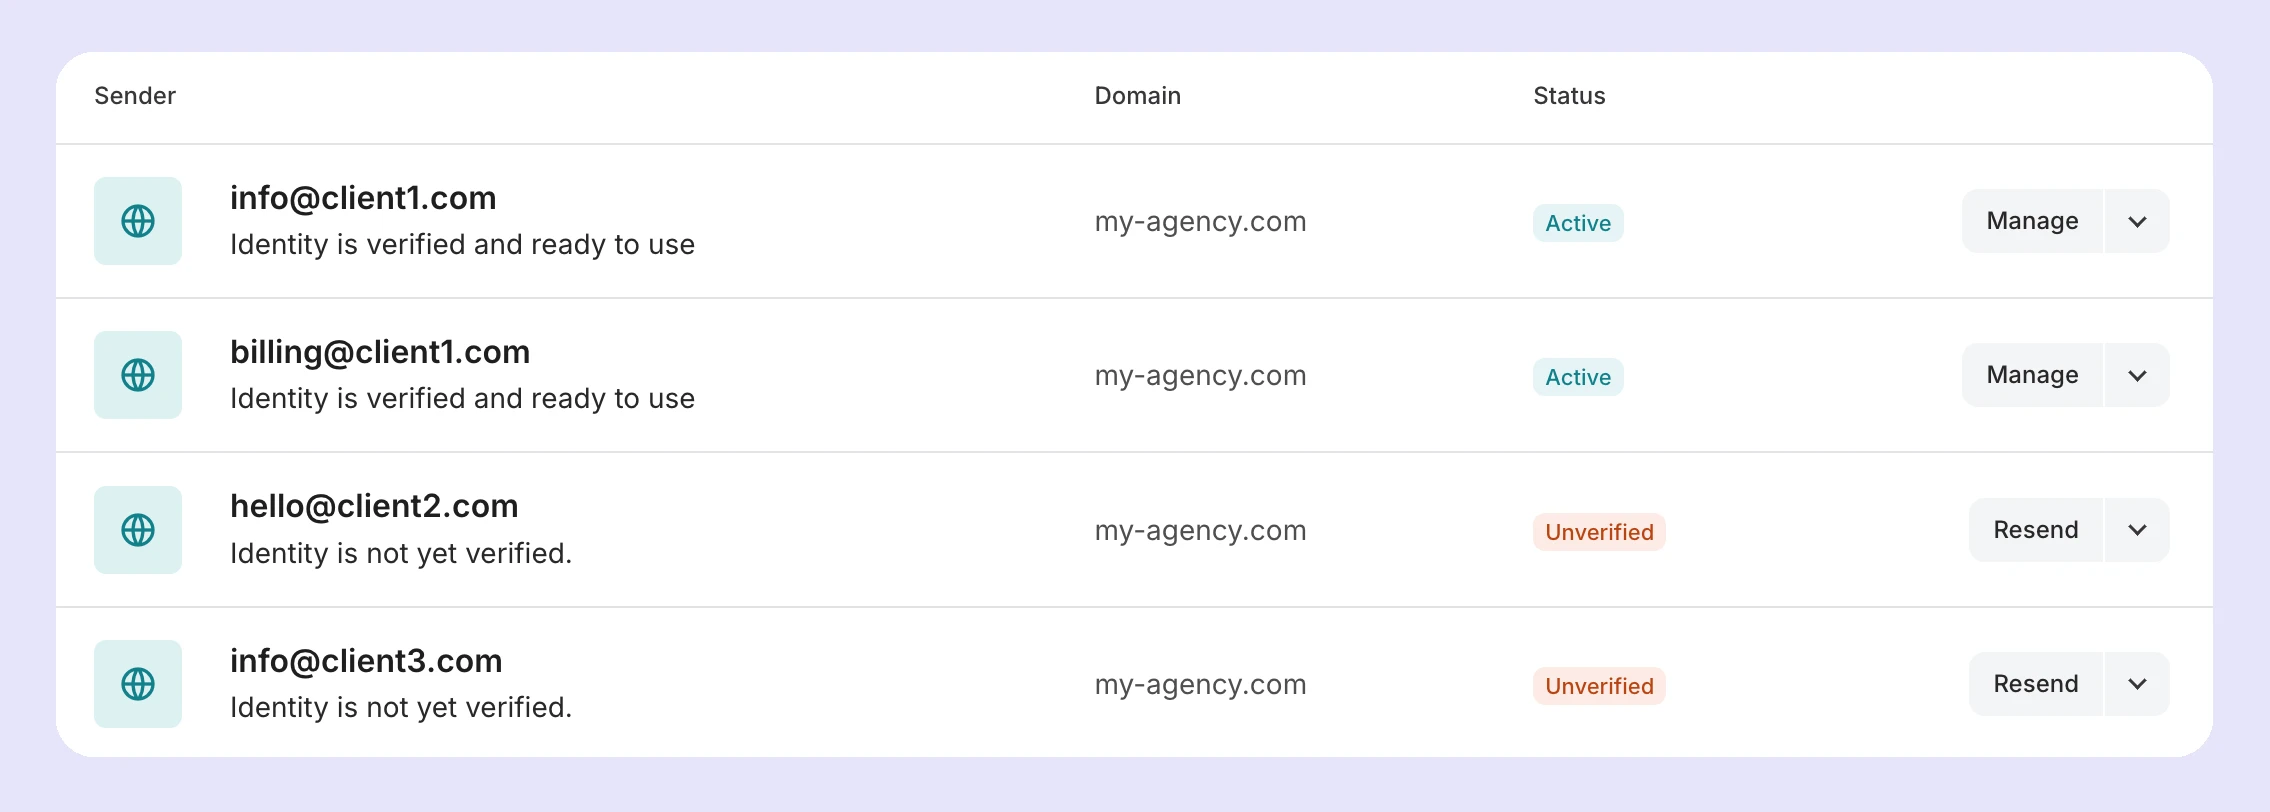
8. You can check the status of the sender identity on the Sender identities page.
Step 3: Configure API tokens for your client
The benefit of setting up client sub-accounts with domains is that you can create domain-scoped API tokens. Once you’ve added and authenticated your client’s domain:
1. Navigate to Email > Domains and click on their domain.
2. On the domain settings page, in the API token section, click Generate new token.
3. Enter a unique, recognizable name for the API token and set an expiration date.
4. Set the permissions for the API token. For the most secure configuration, only grant the exact permissions that the API token needs. You can always expand or reduce the token’s permissions later if necessary.
5. Click Generate token. You will now be able to use this API key for your client’s domain.
You can also access API tokens by going to Developer tools > API tokens in the main navigation menu, where you can filter your clients’ API tokens by domain.
Sender identities
Since clients added via sender identity do not have a unique, verified domain, you cannot create domain-specific API tokens for them. However, you can create unique API tokens for each client, ensuring that you do not reuse them for multiple senders.
Step 4: Create unique templates for your client
To make onboarding as smooth as possible, we recommend creating one or multiple template frameworks that you can easily copy and customize for clients. You can get started with our pre-built template library or build your own from scratch with our drag-and-drop, rich-text, and HTML email builders.
To get started with creating a template:
1. Navigate to Email > Templates and click Create template.
2. Choose the template builder you want to use. If you select the drag-and-drop editor, you can choose a pre-built template to start out with, or start from scratch.
Once you’ve created a template, configure the settings so that the template can be used only by the client’s domain and can be easily filtered for reporting and activity tracking.
1. On the Templates page, hover over your template and click Manage.

2. Enter an easily recognizable name for the template and a description.
3. Select your client’s domain from the dropdown, and any categories you want to add the template to.
4. In the Template settings, you can enter the Subject, From name and email address, Reply-to name and email address, and any tags. If you prefer to define these settings via the API, you can do so by toggling the Manage via API option.

5. Once you’ve configured all the information for the template, click Save changes.
Sender identities
For templates you create for clients added via sender identities, you’ll need to select the domain that is associated with the identity.
Tags
For easier tracking and filtering of activity and analytics, you can apply tags to the templates, using unique tags for each client.
You can add tags on the Template settings page by toggling Manage via API off and entering them in the Tags field. Or you can add tags to the API request you use to send the email, with the tags parameter.
"tags": ["client-1", "transactional", "order-confirmation"]Step 5: Invite your client as a user (optional)
For clients that you add using the domain method, you can give them custom user access for their domain, allowing them to have as much or as little control as you want.
To invite a client user:
1. Go to Settings, select the Users tab, and click Add new user.
2. Enter your client’s email address and select their domain(s) from the dropdown.
3. Select the Manager or Designer user role or create a custom role by selecting Custom user.
For complete control over client access, we recommend that you create a custom user. Here you can select the exact features, settings and data you want to give your client access to.
Sender identities
For clients that you add via sender identity, you should not give user access to your account. If necessary, you can give access to their templates only:
1. Go to Settings, select the Users tab and click Add new user.
2. Enter your client’s email address and select the domain their identity is associated with from the dropdown.
3. Select the Custom user role and check only the View specific templates option.
4. Click [0] next to View specific templates and select your client’s templates, making sure that you don’t select any templates that don’t belong to them.
Step 5: Monitoring and reporting
Ongoing monitoring is essential to ensure maintained deliverability and reputation for your clients, as well as your account reputation. The following features offer full visibility into sending activity and performance.
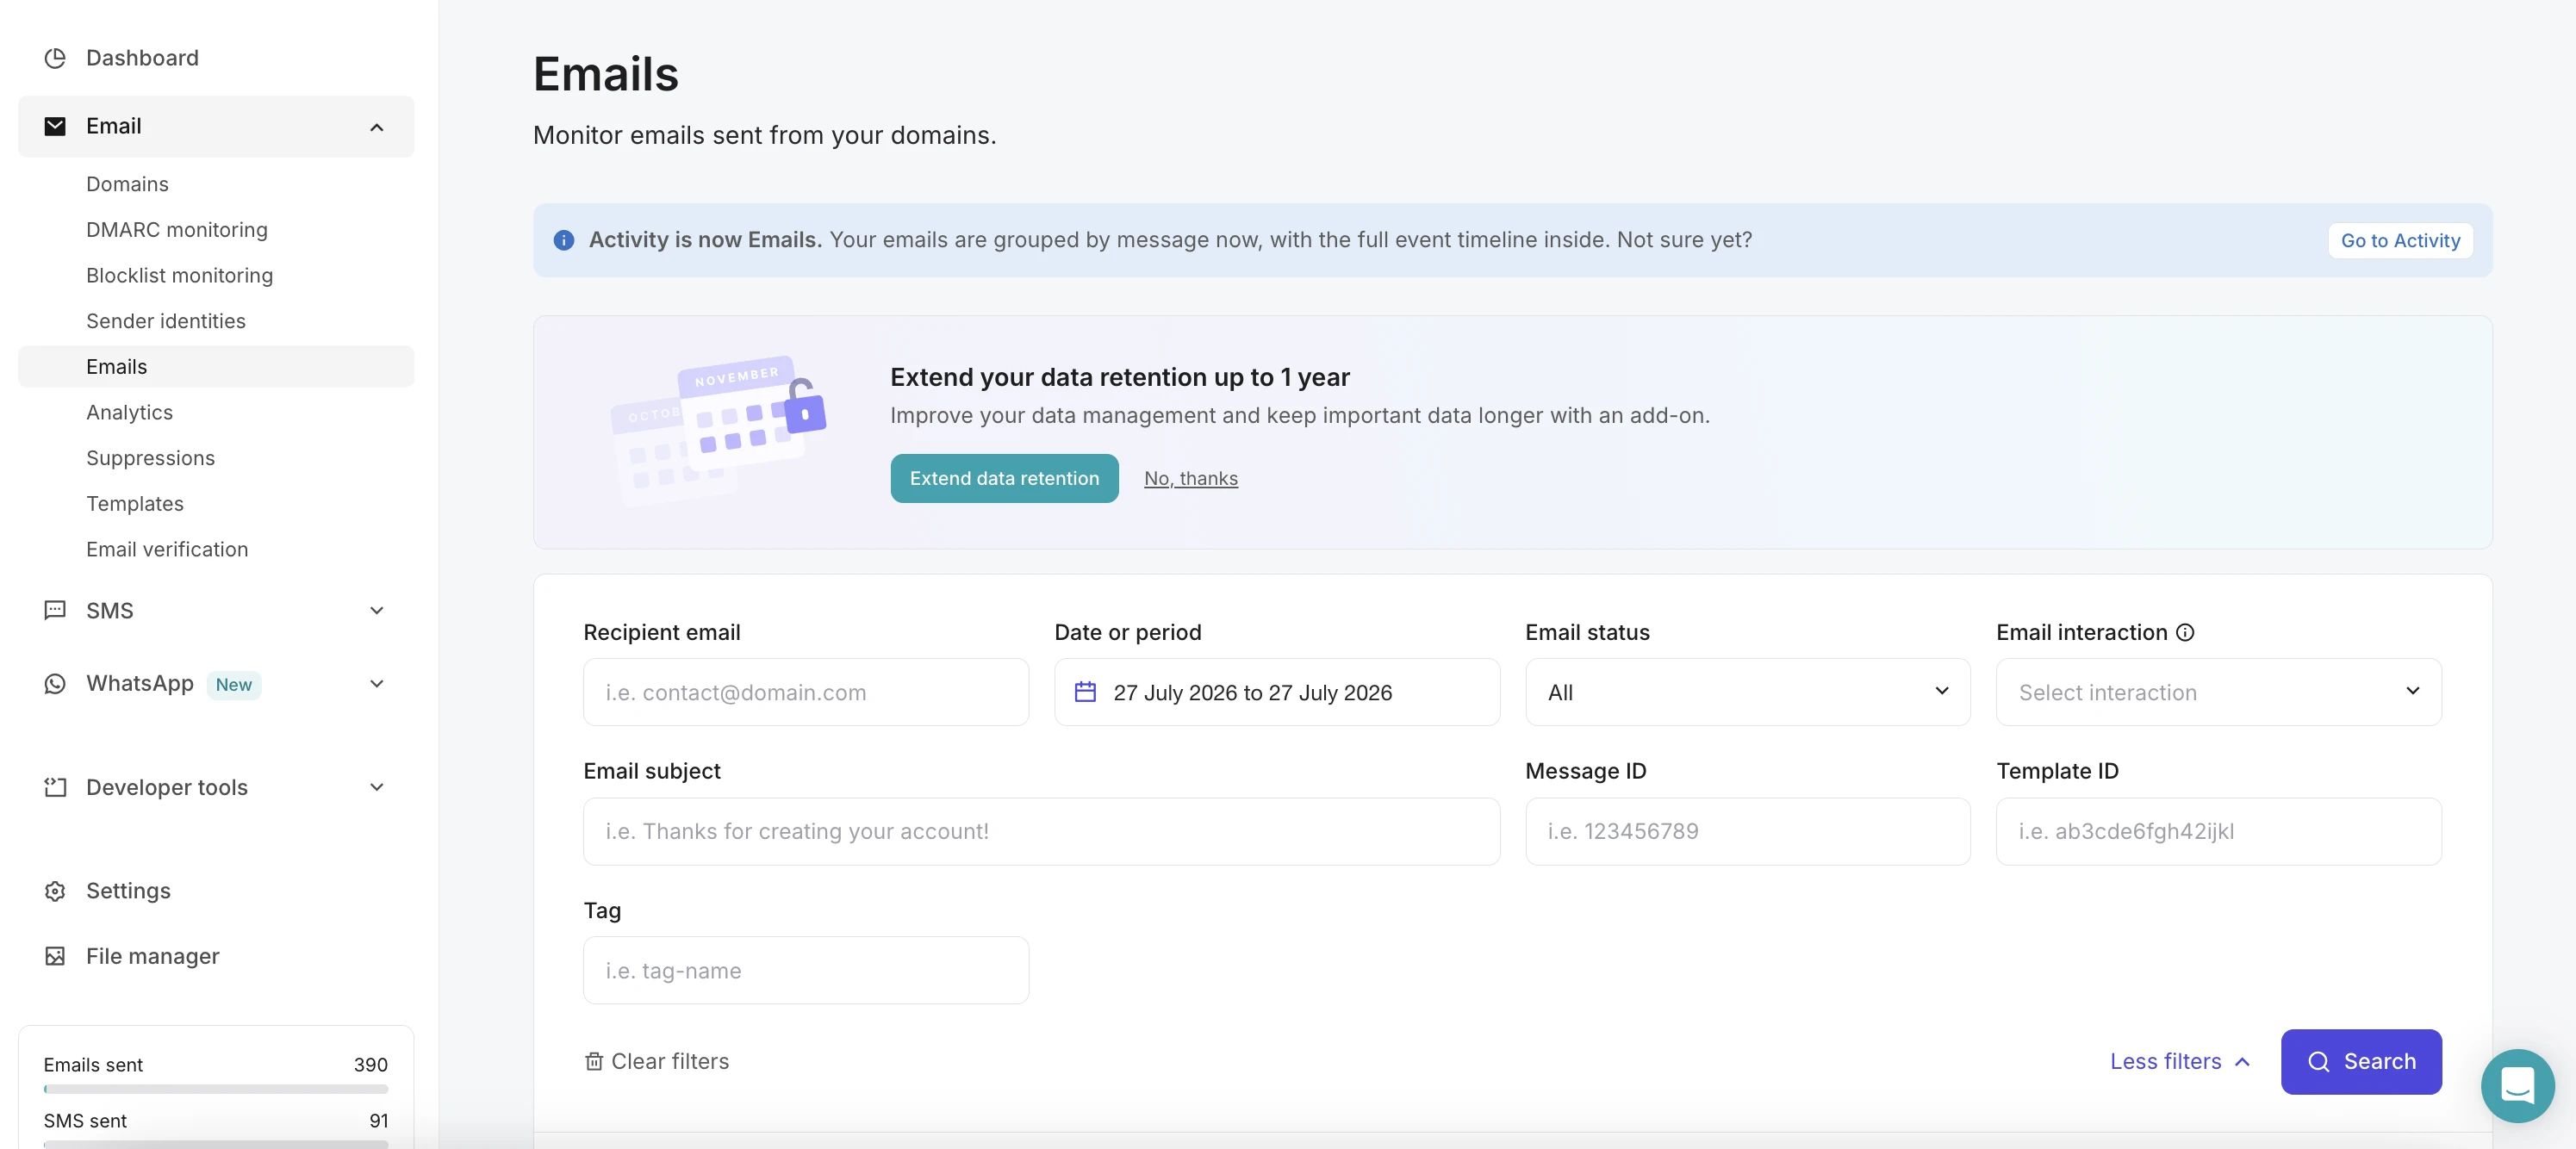
Email activity
The Activity page and endpoint allow you to track the status of every email sent, from queued to delivered, opened, clicked, bounced, and more.
If you want to add clients as users (domain only) and give them access to Activity, check the View email activity checkbox in their custom user settings. They’ll be able to view all activity for their domain, and, if they have multiple domains, can view data for each domain by using the filtering options.
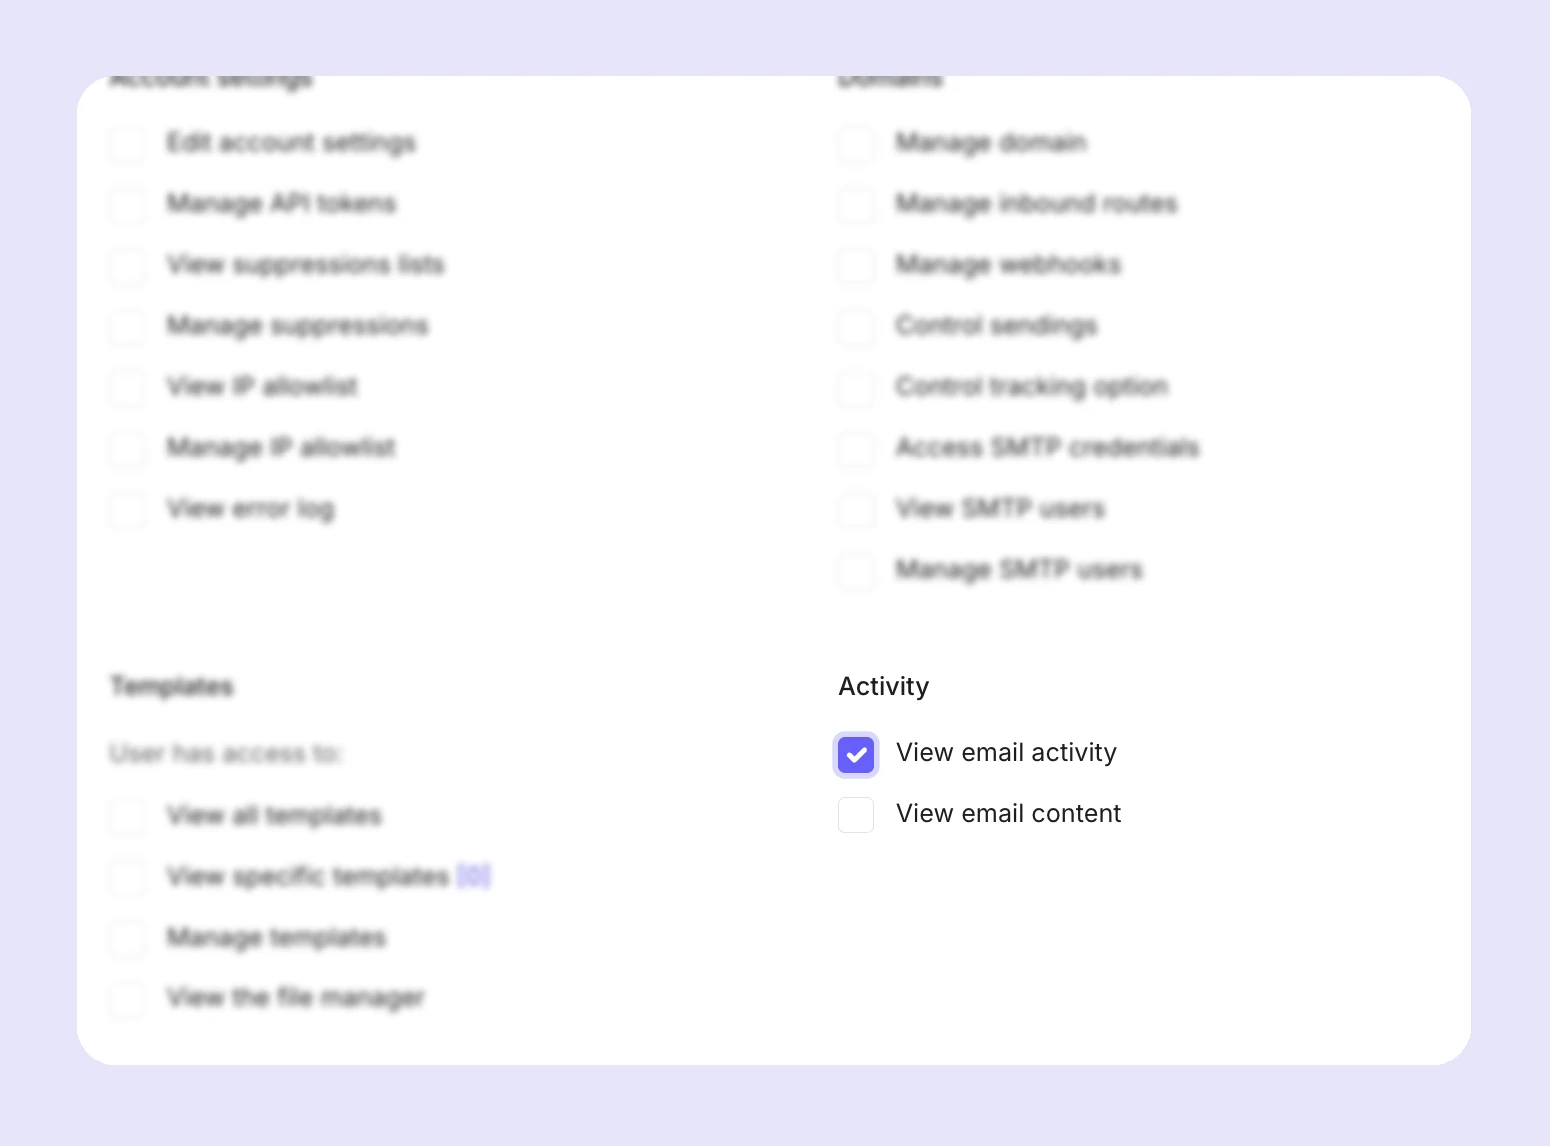
View email content allows users to view the exact message that was sent to the recipient.
Analytics
The Analytics page and endpoint allow you to view analytics for your account and each domain, as well as create custom reports that you can save and download.
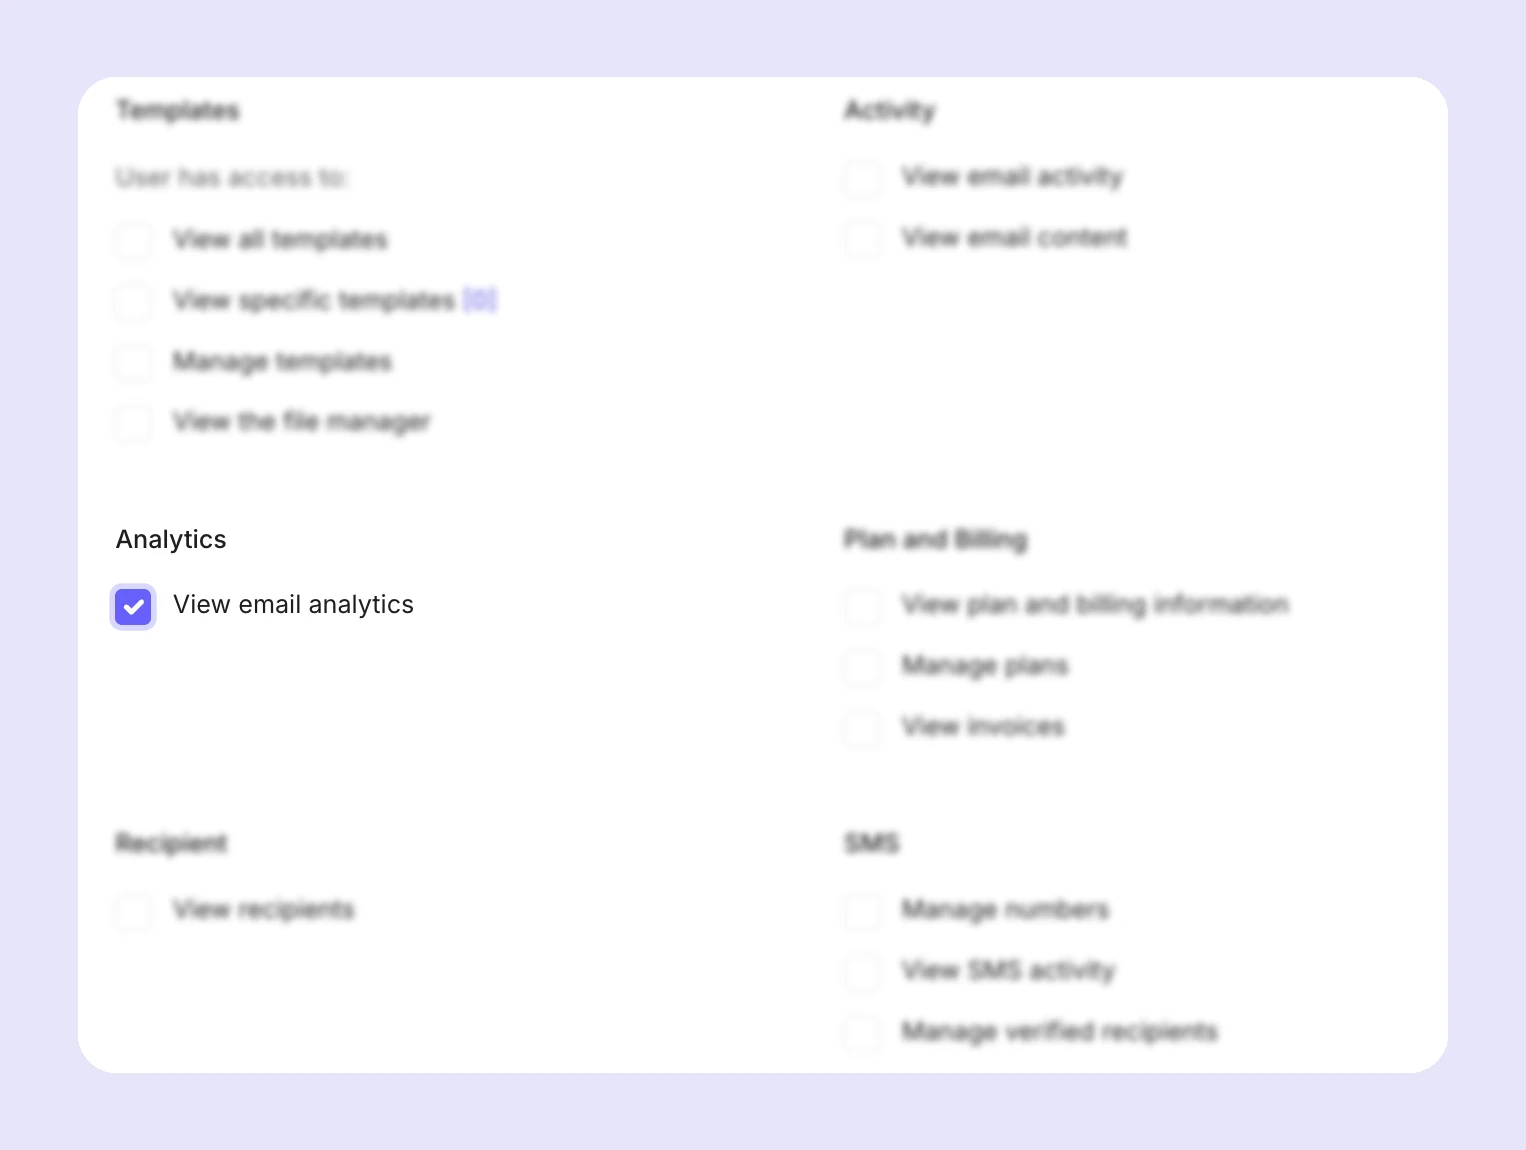
If you want to add clients as users (domain only) and give them access to Analytics, check the View email analytics checkbox in their custom user settings. They’ll be able to view all analytics for their domain, and, if they have multiple domains, can view data for each domain by using the filtering options. They’ll also be able to create, save, and export their own custom reports.
Sender identities
Since you can’t give clients added via sender identity user access, you can create custom reports for them.
To create a custom report for a client:
1. Navigate to Email > Analytics.
2. Enter the filtering options for the data you want to include in the report.
3. In the Tag dropdown, select the tag(s) you have created for tracking your client’s emails.
4. Click Export to export the report as a file you can share with your clients. If you want to save the report for quick access in the future, so you don’t have to recreate it, click Save.
Webhooks
Webhooks allow you to subscribe to real-time notifications about events that occur in MailerSend. When an event fires, an HTTP POST request is sent to a URL you specify, containing a payload of data about that email.
This allows you to get the most recent updates without constantly polling the API. For an agency, this means you can build a live alerting system that catches problems across all client domains the moment they emerge, before they result in deliverability damage. This allows you to ensure ultimate reliability for your clients.
To create a webhook for a client’s domain:
1. Go to Email > Domains and open your client’s domain.
2. Scroll to the Webhooks section and click Add webhook.
3. Enter a name for the webhook and the webhook URL where you want the payload to be sent.
4. Choose the event(s) that you want the webhook to listen for and click Save.
You can then use the webhook to send notifications to your internal alerting tool, like Slack.
Sender identities
You can’t set up webhooks for sender identities; however, you can create webhooks for the domain a sender identity is associated with. Just be sure to give each webhook you create for clients a recognizable name that makes it clear which client it is for.
Logs
Professional plans also have access to API & SMTP logs. This gives you full visibility into every request, including the full request and response, the response code, method, endpoint, IP address, and user agent.
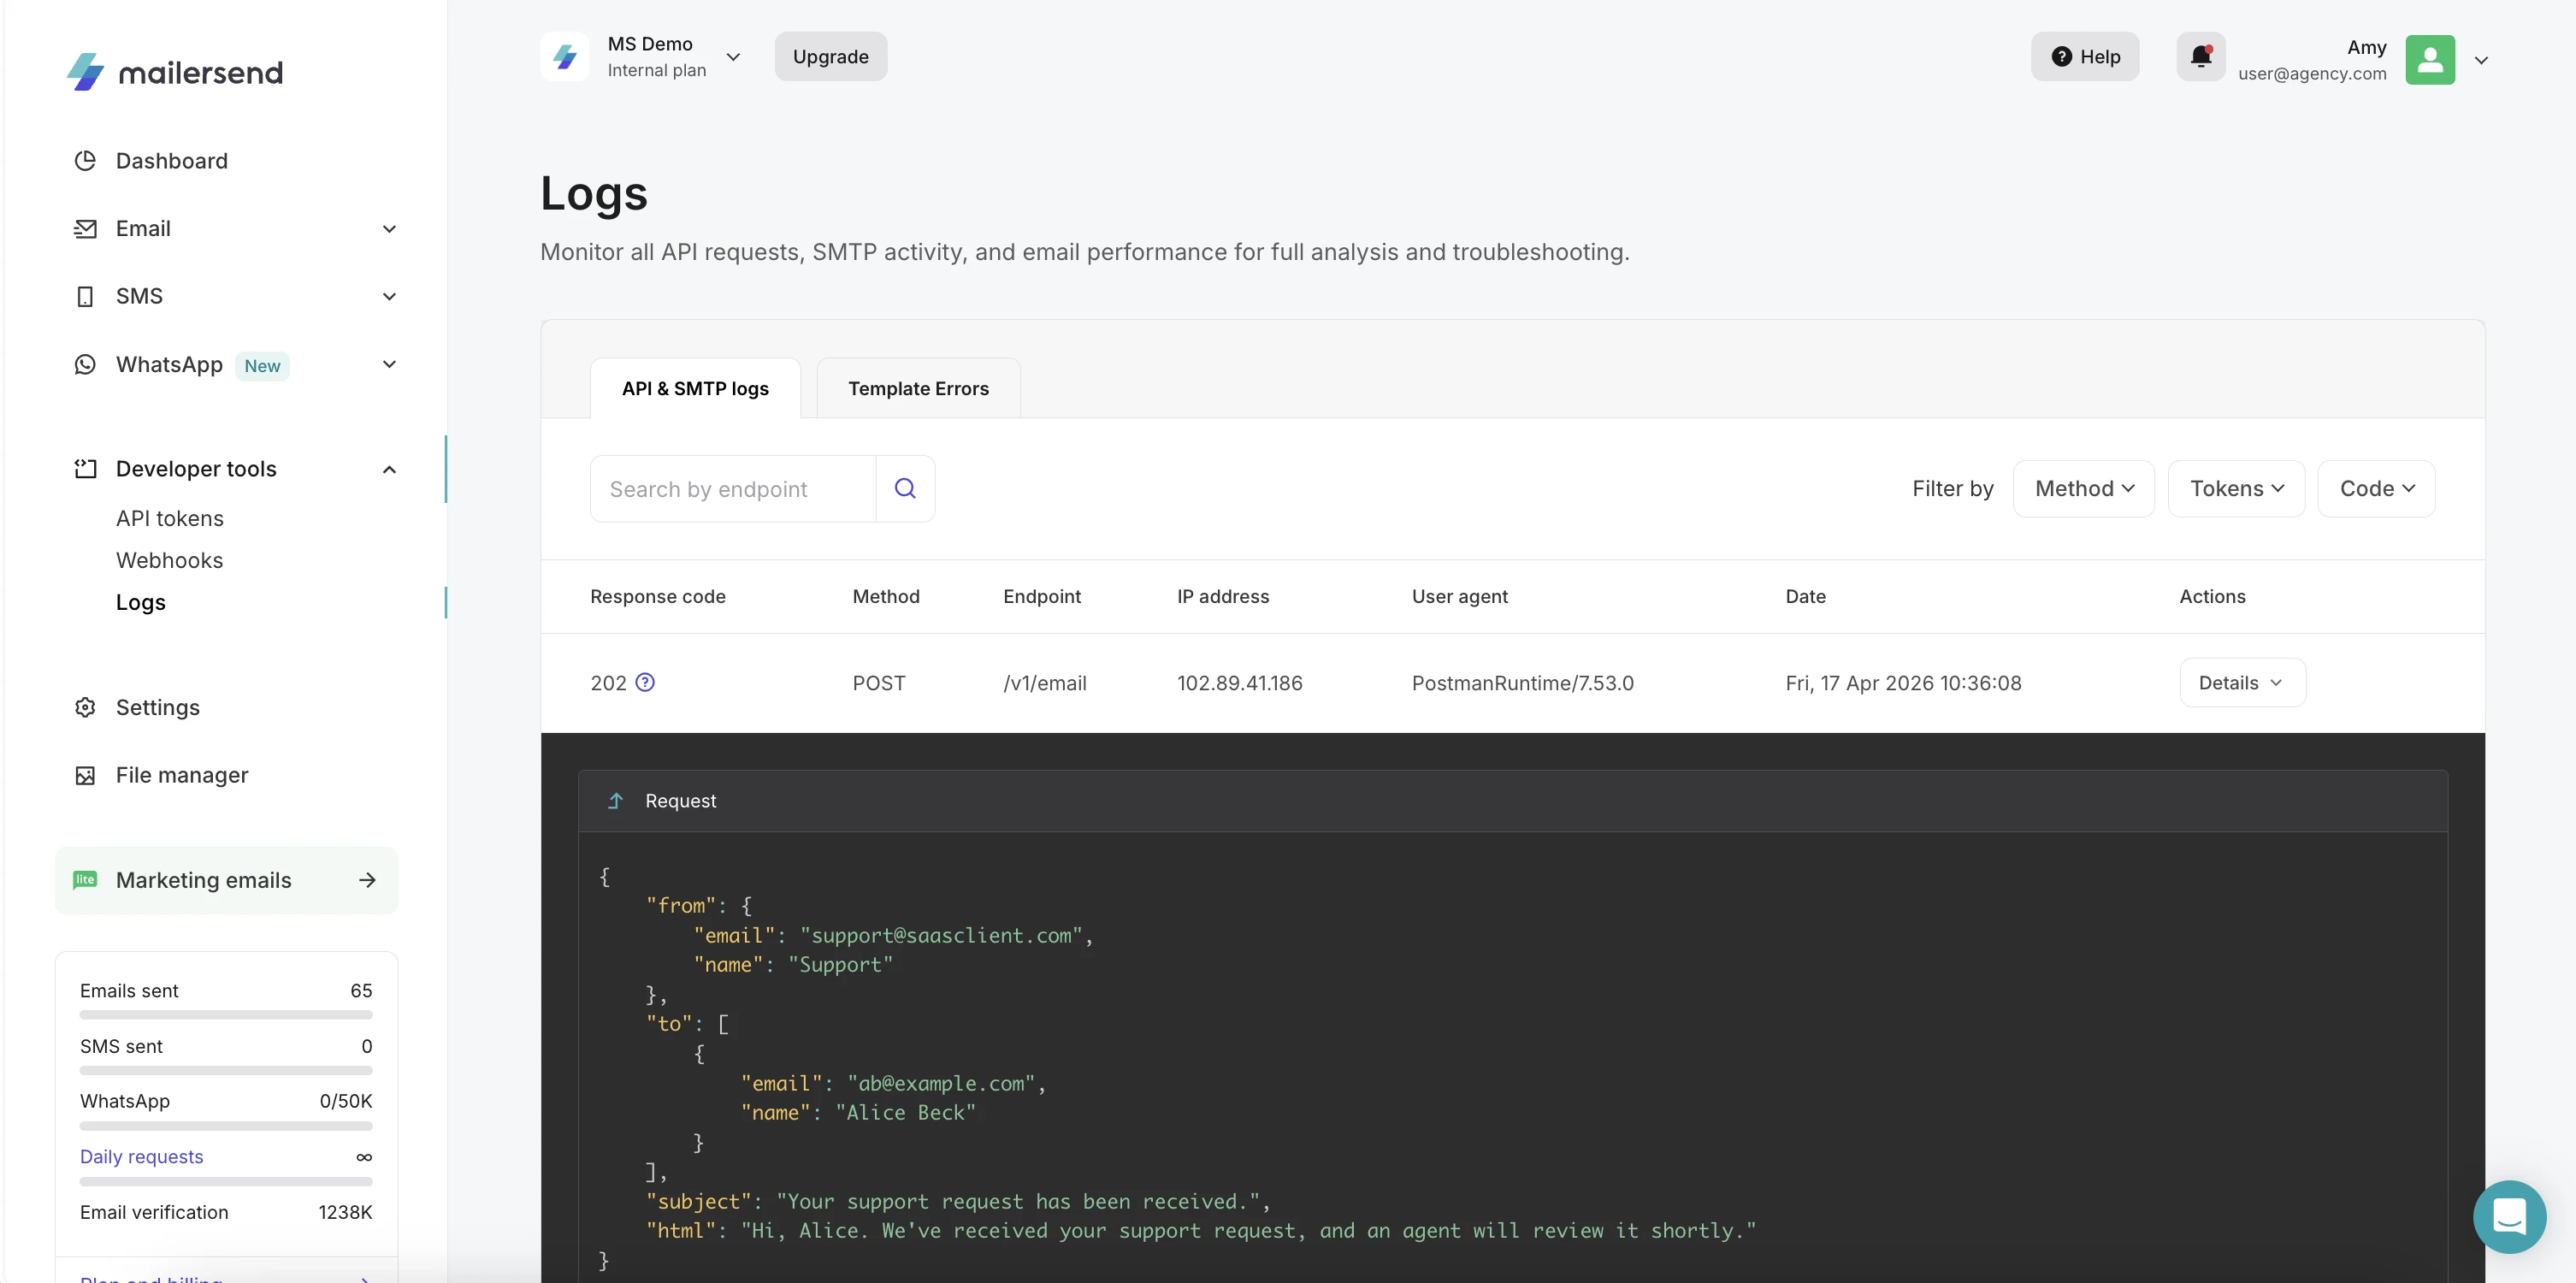
You can filter the Logs via endpoint, method, code, and, crucially for your agency, API token. This allows you to view the SMTP and API requests for a specific client.
To access the logs, click Logs in the left-hand navigation menu.
Suppressions
To maintain healthy sending practices for clients and protect their domain reputation and deliverability, you’ll need to implement proper bounce handling. MailerSend does this for you automatically, so there's no need to build a bounce management flow. Plus, suppressions are managed at the domain level, so you can keep recipient, bounce and complaint data isolated for each client (when the domain method is used).
To access your account’s suppression lists, go to Email > Suppressions. Here you’ll find 5 different lists:
On hold: Recipients who have soft-bounced 5 times within the last 30 days. Recipients will remain on this list for 72 hours.
Hard bounces: Recipients who have hard bounced.
Spam complaints: Recipients who have marked your emails as spam.
Unsubscribes: Recipients who have unsubscribed from your emails.
Blocklist: Emails or domains that have been manually blocked.
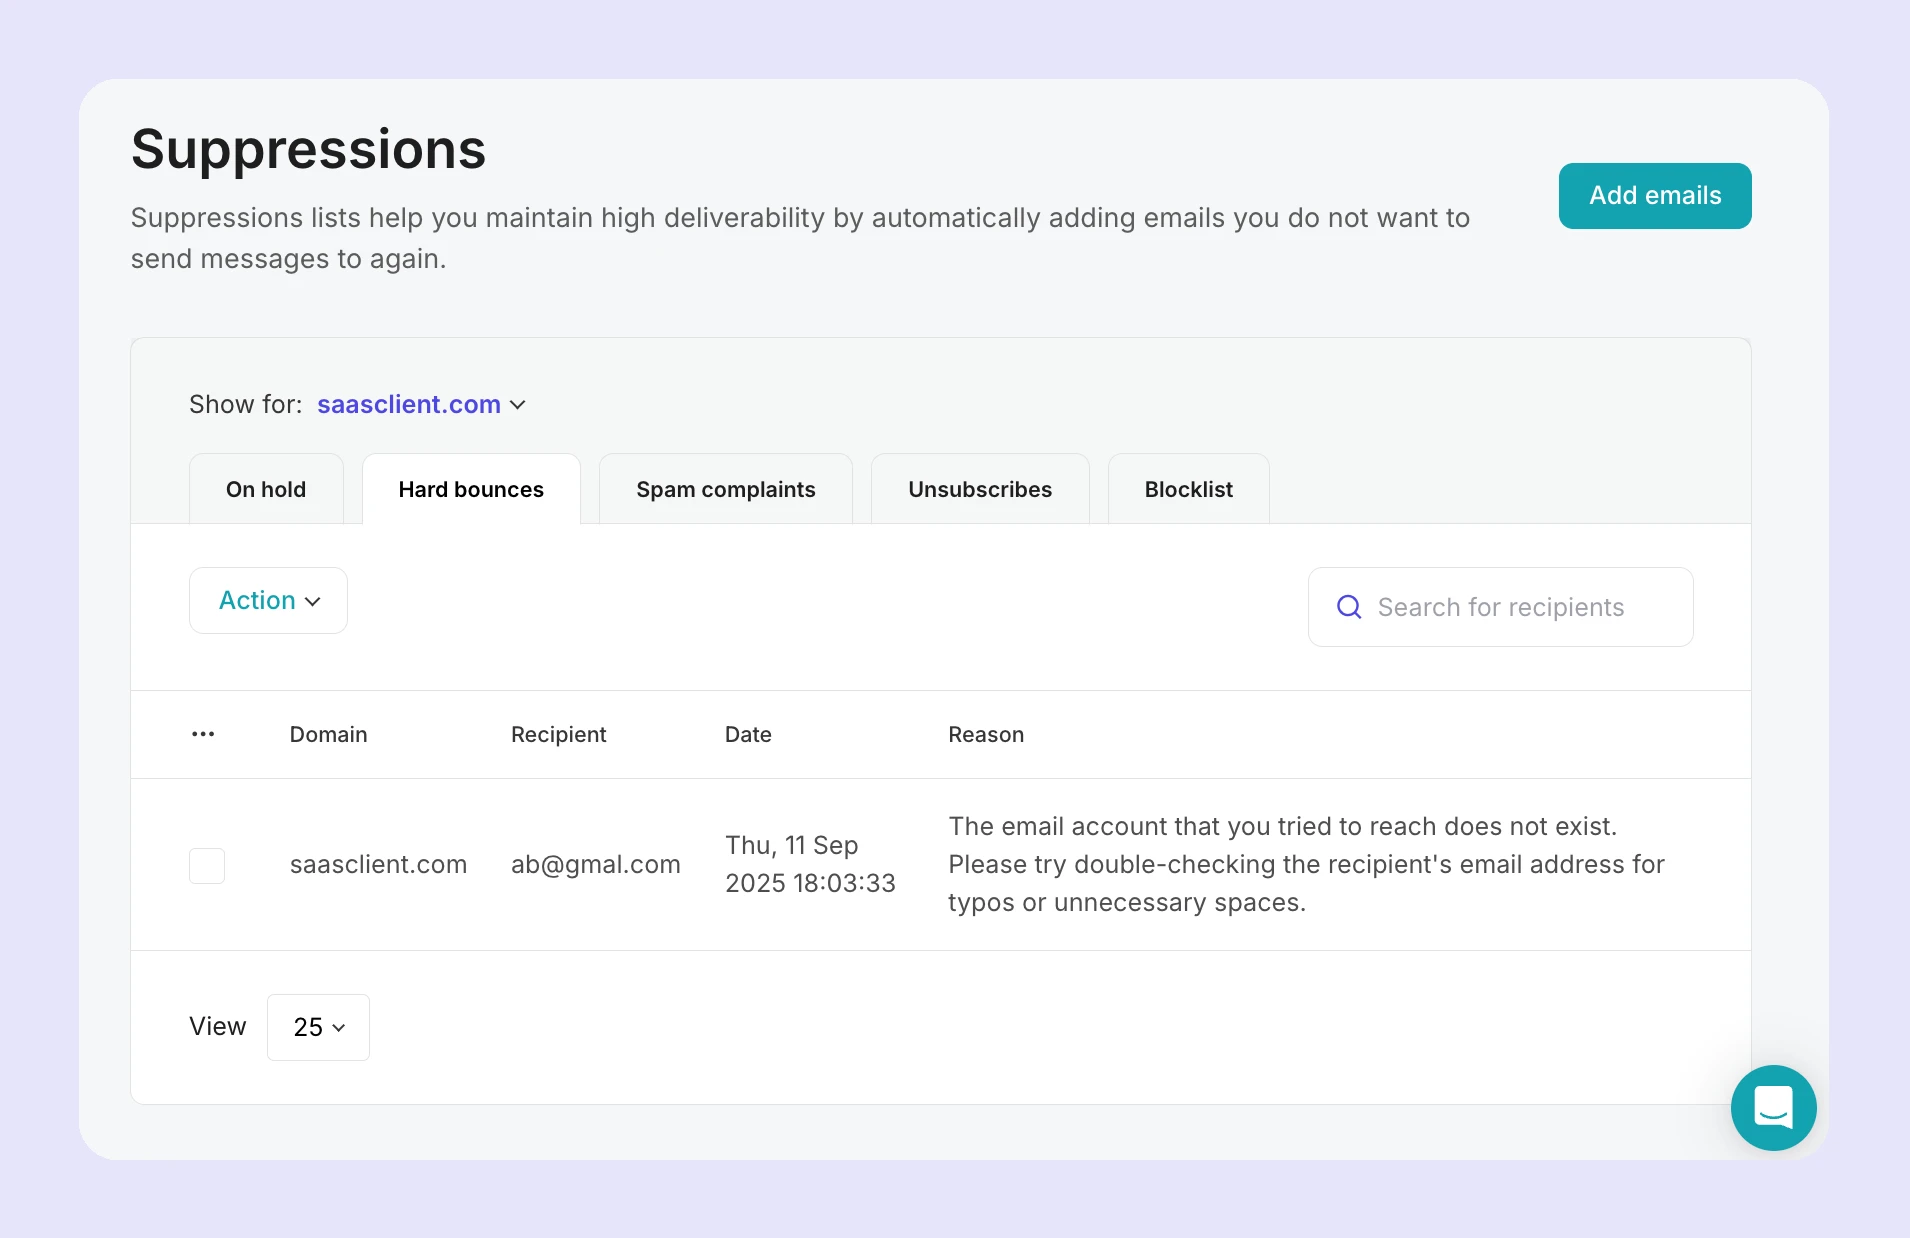
Use the Blocklist to import a list of blocked email addresses, or enter word patterns to block specific types of email addresses, such as specific domains or role-based emails.
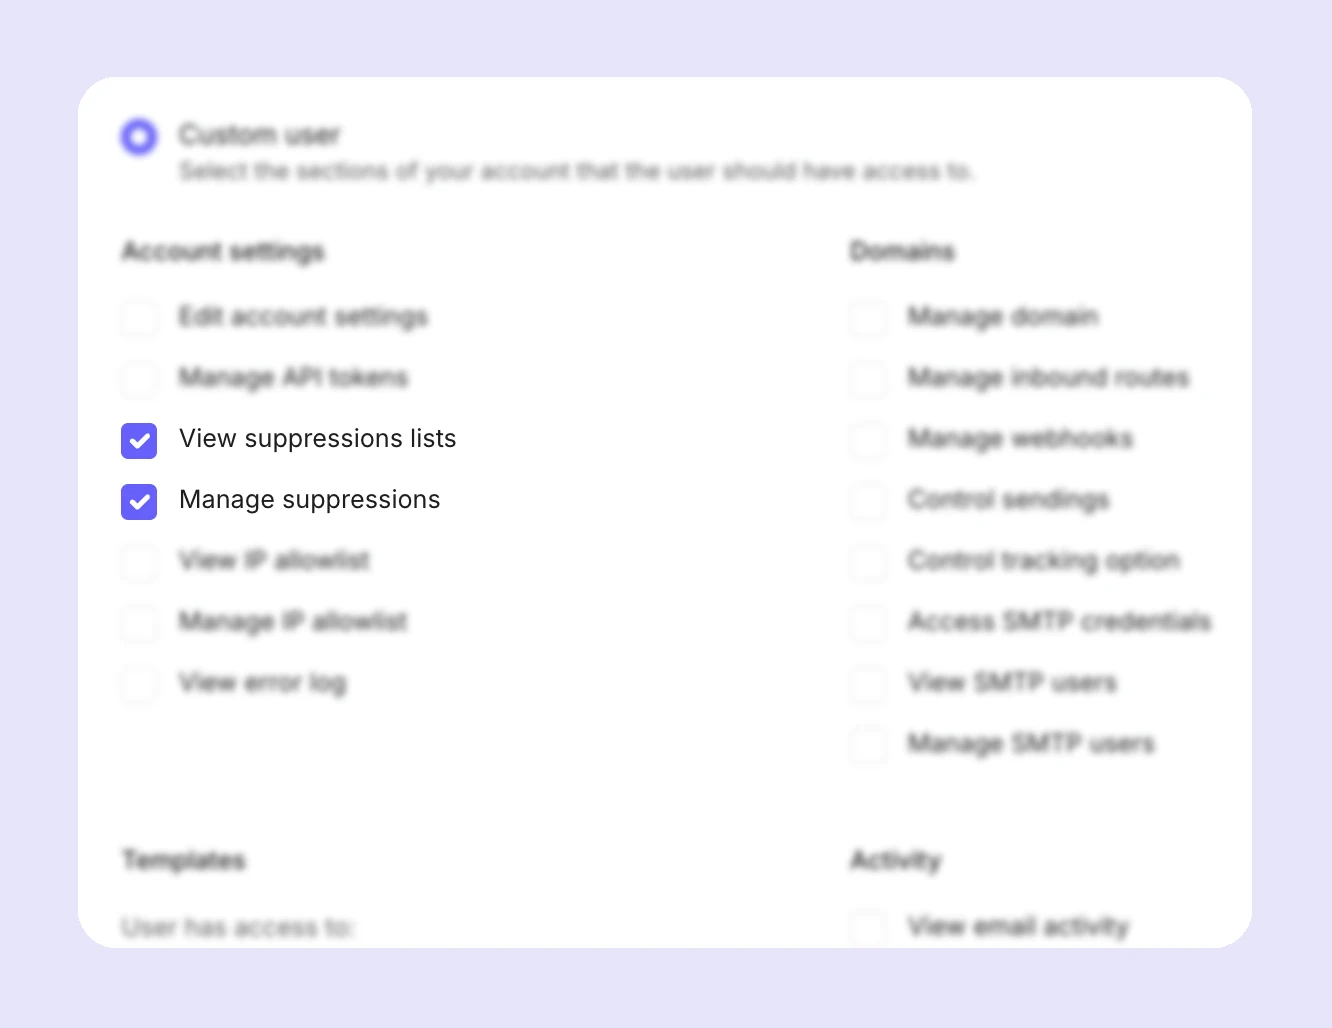
You can view a client’s suppressions by using the domain filter selector. Additionally, you can give a domain-added client access to their suppression lists by selecting the View suppressions lists and/or Manage suppressions options in the custom user settings.
DMARC monitoring
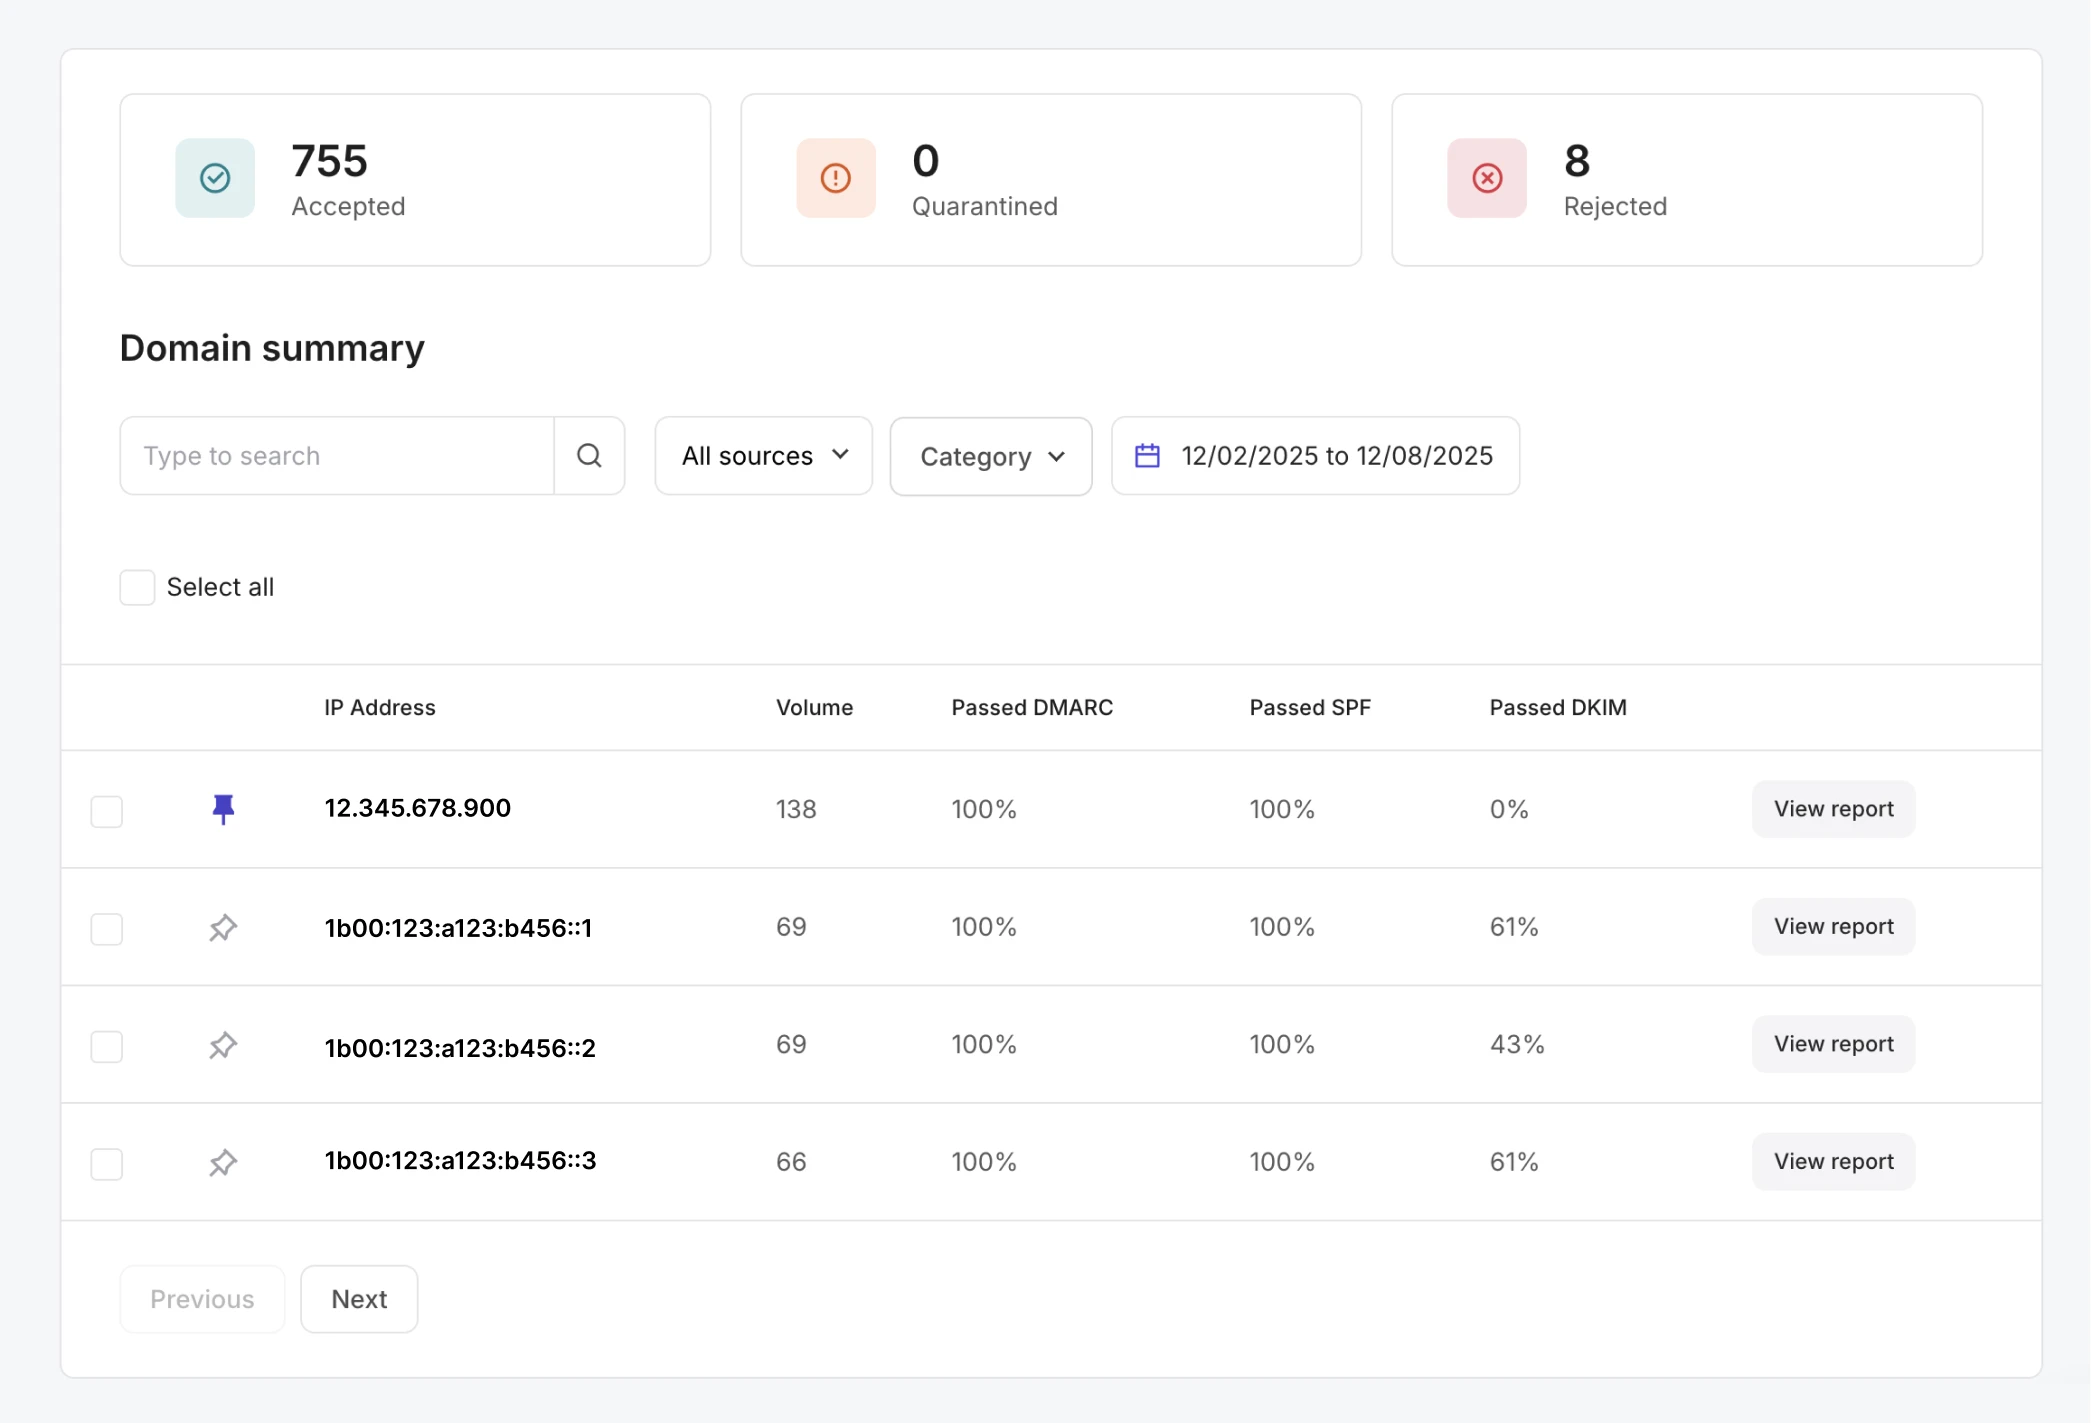
DMARC monitoring allows you to receive DMARC reports for your clients in MailerSend, where the raw reports provided by mailbox providers are parsed into readable insights about the domain’s sending activity.
Setting up DMARC monitoring for clients enables you to:
Have full visibility into all of the emails being sent from clients’ domains
Identify unauthorized sending sources
Catch authentication and deliverability issues early on
Get the appropriate oversight needed to transition clients to a more secure DMARC policy
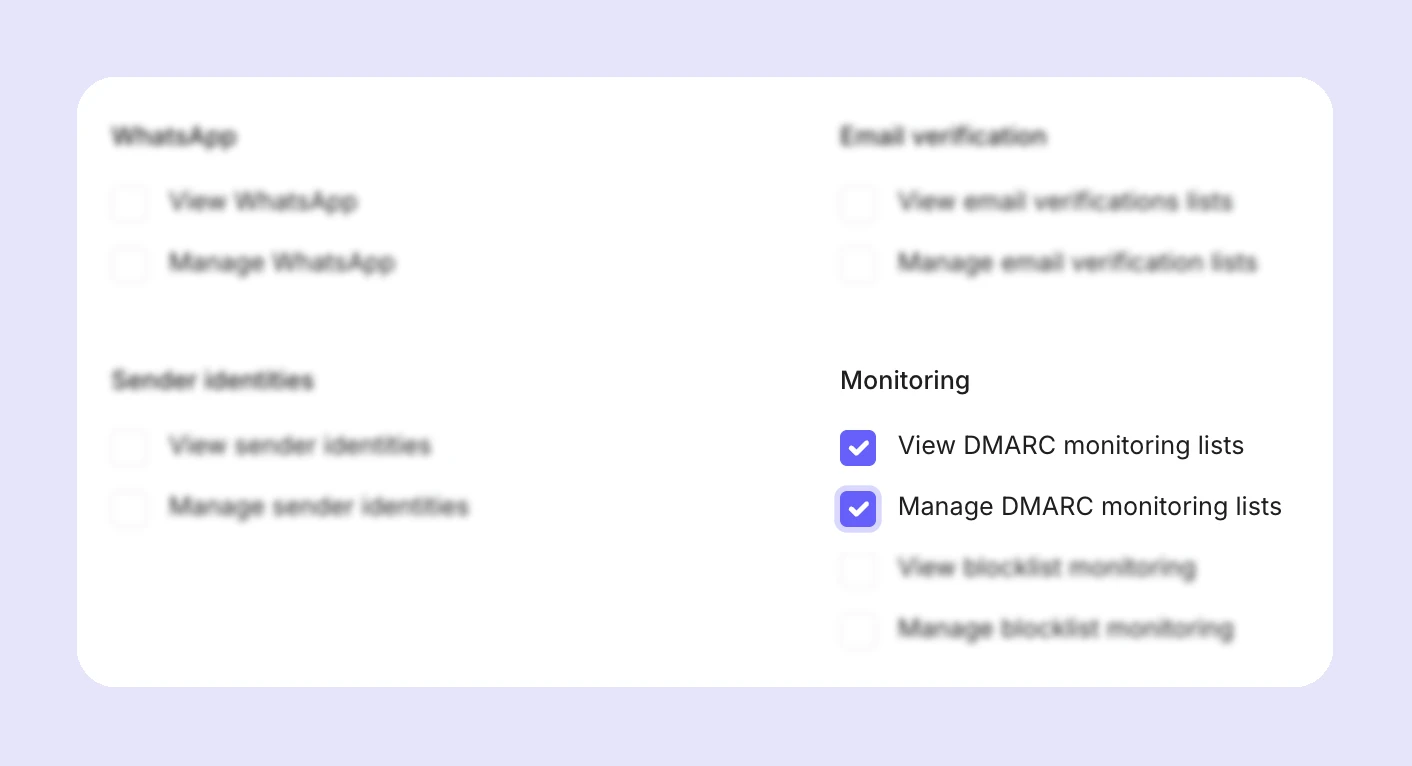
You can access DMARC monitoring by going to Email > DMARC monitoring. To give domain-based client sub-user accounts access, select the View DMARC monitoring lists and/or Manage DMARC monitoring lists options in the custom user settings.
Blocklist monitoring
The Blocklist monitoring feature allows you to set up automated blocklist checks for your clients’ sending domains and IP addresses. This makes it easier to adopt a more proactive approach to monitoring and maintaining deliverability and sender reputation, with automated checks up to every 2 hours against the most impactful blocklists.
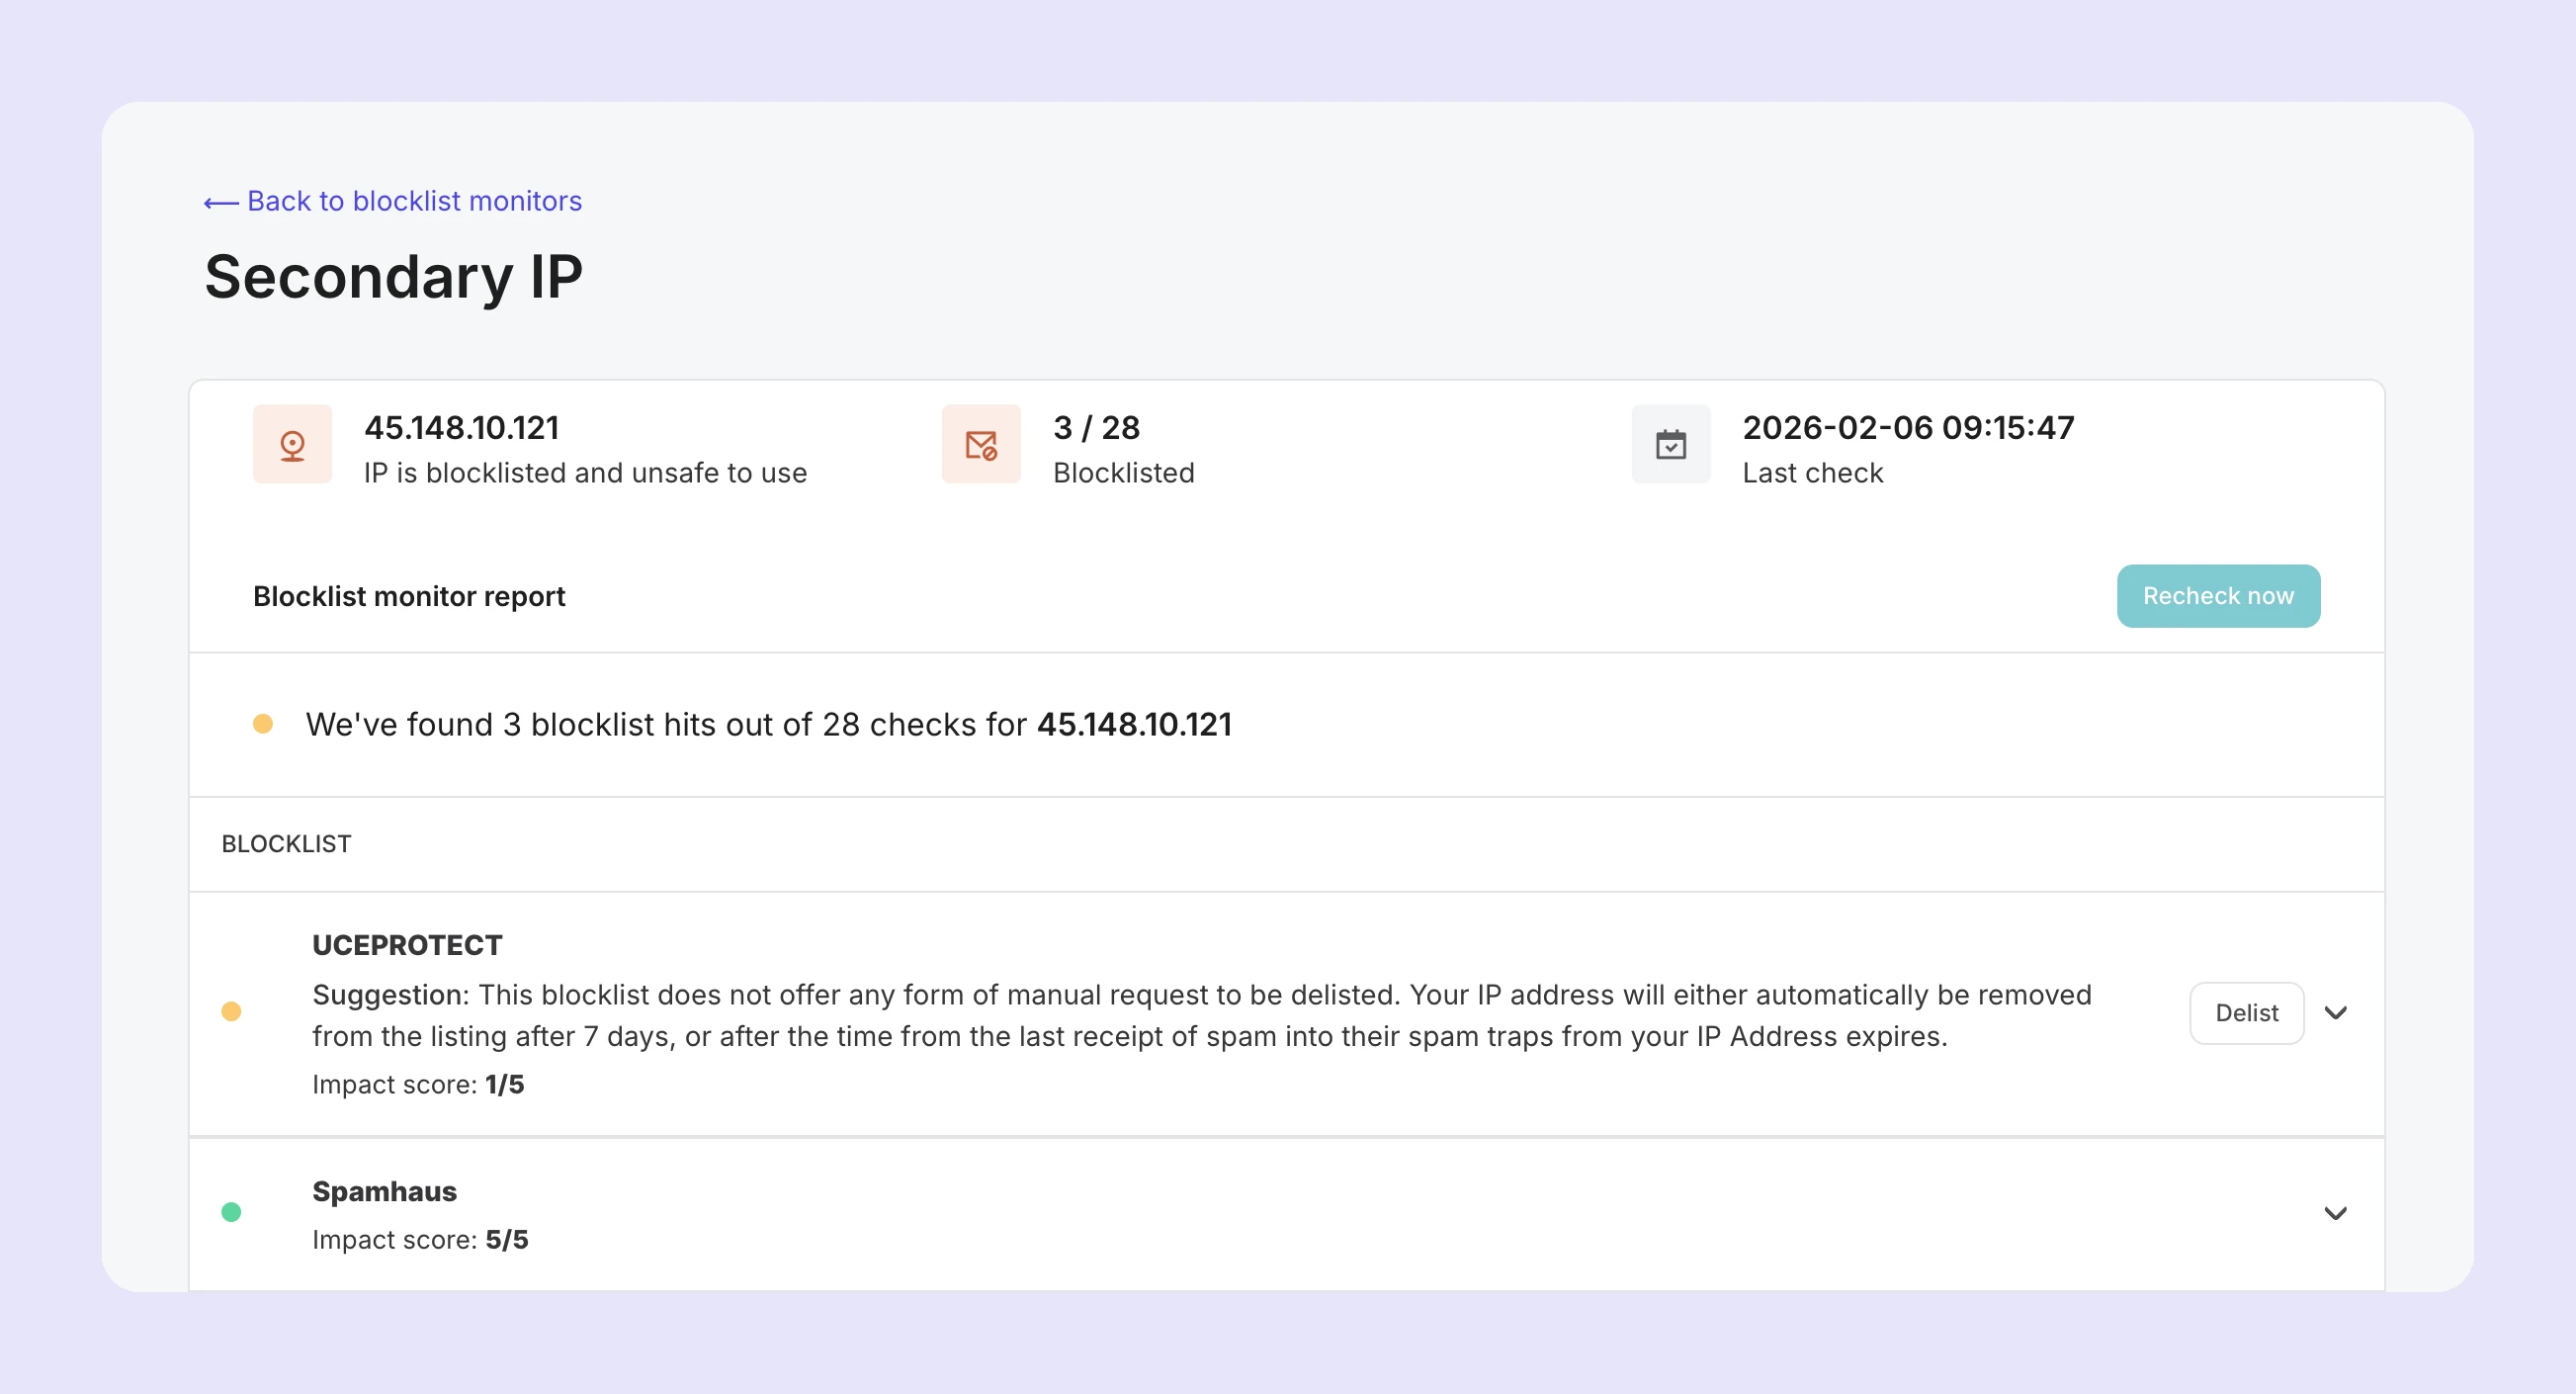
You can also set up email and webhook notifications to trigger if a listing is detected, so you can be alerted in real time. This enables you to learn about blocklisted IPs or domains fast and take immediate steps to rectify any issues that caused the listing, and get delisted before your clients’ deliverability is impacted.
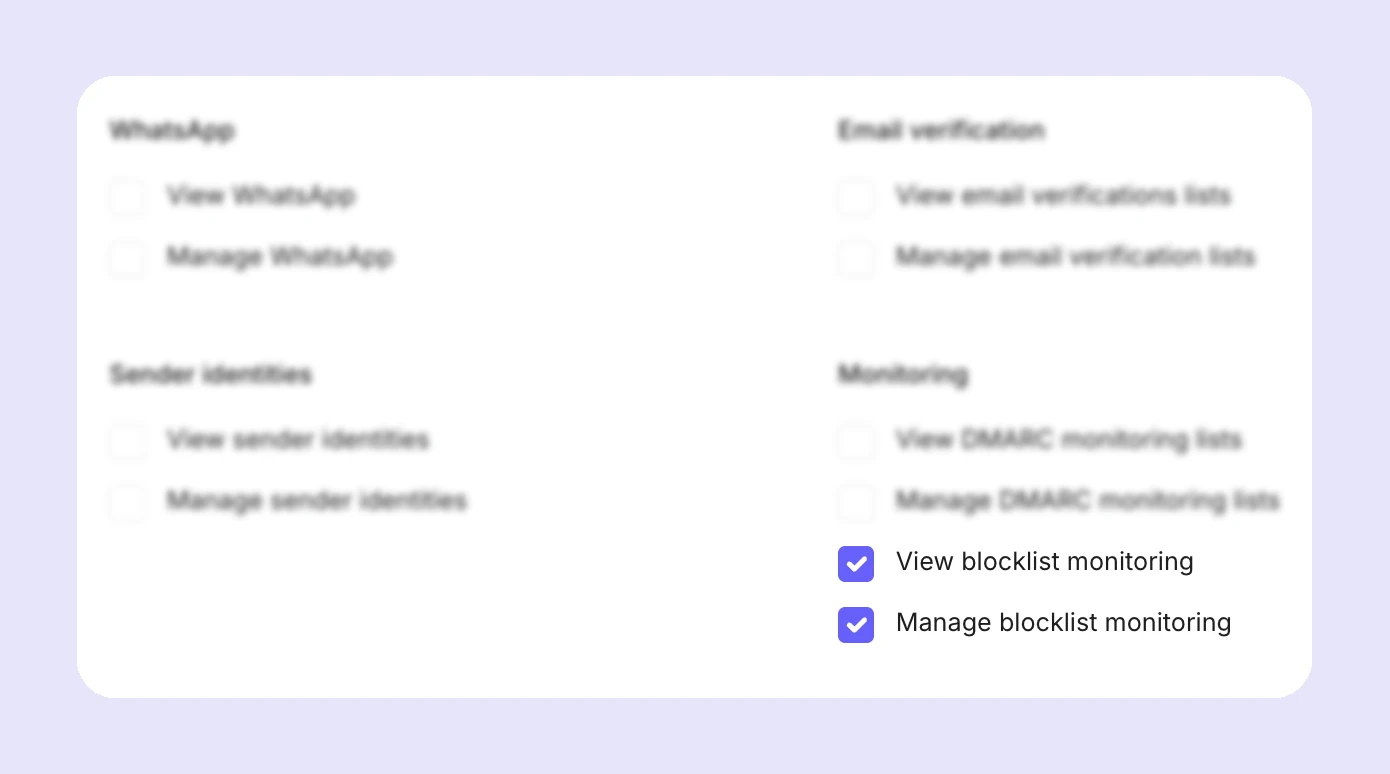
To access Blocklist monitoring, go to Email > Blocklist monitoring. To give domain-based client sub-user accounts access, select the View blocklist monitoring and/or Manage blocklist monitoring options in the custom user settings.
Step 6: Build a client dashboard (optional)
Instead of giving clients user access to your MailerSend account, you can build your own branded dashboard, essentially white-labeling MailerSend, with the API.
Our API endpoints cover the full range of MailerSend features, so you can allow clients to use your whitelabel interface to:
View activity and performance, and create reports
Send emails
Add, manage, and fetch data about their domains
Retrieve their domain’s DNS records
Add and manage inbound routes
Check scheduled messages
View information about recipients and suppressions
Create and manage webhooks
View survey responses
Verify recipients’ email addresses
Send SMSes (US & Canada) and view SMS activity
Create and manage SMTP users
Create and manage DMARC monitors and view reports
Create and manage blocklist monitors and view results
By creating your own dashboard, you can give access to clients without the need for additional users on your account. It’s also an effective solution for clients that you’ve set up using sender identities, as you can give access to additional data and features without exposing your domain or other clients’ data.
For example, to display a sender identity-based client’s activity, you can fetch the associated domain’s activity and filter it by tag server-side to include only the client’s activity, before sending the data to the client dashboard.
Critical points to keep in mind
When creating a white-label dashboard, it’s essential that there is no cross-client data exposure.
For domain-based clients, use domain-scoped API tokens, restrict tokens to only necessary permissions, and filter requests by domain.
For sender identity-based clients, strict tag usage is necessary to avoid missed data and exposure to other clients’ data. Where possible, use unique API tokens for each client, and always ensure your filtering logic is sound.
Related Help Articles & Resources
Need more info?
Feel free to reach out to support@mailersend.com. A member of our support team will gladly assist you.